Let the flour blend determine the method
Gluten-free pizza is easier to plan when you choose a suitable flour blend first and its recipe second. Replacing wheat flour with the same weight of rice flour often produces a crumbly or sandy base. Different ingredients have different jobs: flours provide flavour, starches influence the baked texture, and binders hold water and help the dough stay together. A purpose-made pizza blend already combines these components. It is a convenient starting point because there are fewer individual quantities to balance. The instructions for that particular blend still matter.
Decide what sort of pizza you want before shopping. Dough for a flat tray pizza can be very soft because the tray supports it. A round pizza launched directly onto a baking surface needs enough structure to remain on the peel. Not every general-purpose gluten-free blend is intended for both methods. Look for a specific pizza recipe on the packet or the manufacturer's website. Its water quantity, hydration rest and shaping technique work together. An attractive photograph cannot tell you whether the method will work with the product already in your cupboard.
Read the ingredients before adding another binder
Rice flour and corn starch do not, by themselves, make an elastic pizza dough. Suitable blends may contain ingredients such as psyllium husk, guar gum or xanthan gum. These behave differently and cannot simply be exchanged gram for gram. Check what your mixture already contains. Adding another binder as a precaution can leave the centre sticky or rubbery. If the matching recipe does not ask for an extra addition, start without one. Increasing the water does not reliably correct an arbitrary excess of binder either. Keep the first batch close to its intended formulation.
Gluten-free does not automatically mean wheat-free. Some explicitly gluten-free flour blends contain specially processed wheat starch. For someone with a wheat allergy, the gluten-free wording alone is therefore insufficient; the ingredients and their individual medical advice matter. Spelt, rye and barley are not gluten-free substitutes. If you are cooking for someone with coeliac disease, agree suitable products with them beforehand. This avoids uncertainty at the table. The distinction applies to dusting flour, baking mixes and prepared topping ingredients as well as to the main flour blend in the dough.
Prepare a clean workspace, toppings and tools
Gluten-free preparation involves more than changing the flour bag. Remove open wheat flour from the work area, clean surfaces and equipment thoroughly, and wash your hands. Use clean bowls, dough scrapers, tins and cutting tools. Remember the underside of a pizza peel and the pizza cutter, which are easy to overlook during a shared baking session. Crumbs in a wooden board or flour trapped in inaccessible grooves are reasons to choose another clean implement. Prepare the gluten-free pizza before working with loose wheat flour wherever possible, so the clean area remains easier to manage.
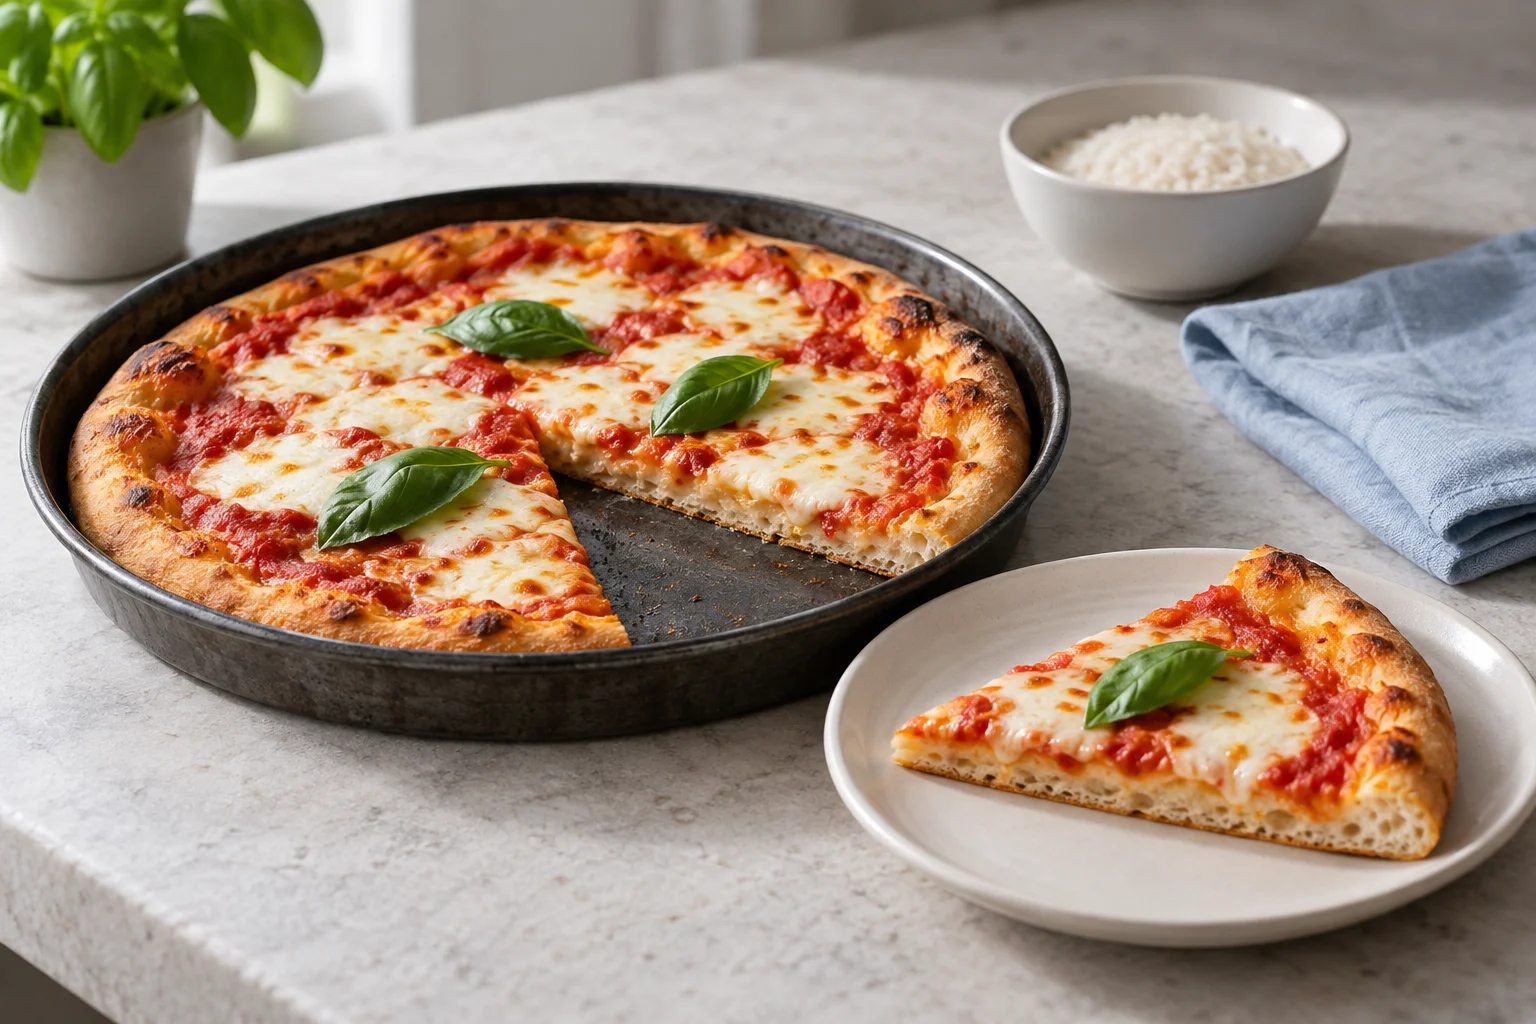
Put the required toppings in separate clean bowls. A spoon that has just spread sauce over a flour-dusted wheat base should not return to a shared sauce container. The same applies to floury hands reaching into the cheese. A separate clean tin can help with transport and separation, but it does not replace clean preparation. Check the labelling of seasoned meats, ready-made sauces and other composite foods. Crushed tomatoes, suitable mozzarella and fresh basil make a straightforward first topping. A short ingredient list also makes it easier to assess the base itself.
Weigh the water and allow the specified rest
A gluten-free dough can feel completely different from wheat dough at the same water percentage. Some mixtures make a soft, almost spreadable paste, while others can be divided into balls after resting. Do not judge the final consistency after the first few stirring movements. Water absorption and binding develop during the specified hydration rest. Weigh water in grams and record the quantity. If a recipe calls for 400 g water with 500 g flour blend, a batch using 200 g blend starts with 160 g water. That calculation belongs to this recipe, not to every gluten-free blend.
Avoid importing a high water percentage from an unrelated formula. One product might hold its shape at 80 percent water while another spreads at the same ratio. Naming a single flour, such as rice, does not describe a complete blend either. With a new batch, add the prescribed water and wait for the stated rest before deciding whether any adjustment is needed. If the method allows adjustment, use small weighed additions. A generous splash from the tap is difficult to reproduce and can quickly lead to further unplanned additions of dry mixture.
Mix thoroughly without looking for a windowpane
One purpose of kneading wheat dough is to develop a stretchy gluten network. That target does not apply to a gluten-free batch. Here you want to distribute the ingredients evenly, remove dry pockets and let the intended binding develop. Depending on the recipe, this may involve vigorous stirring, a paddle attachment or another specified tool. When a method calls for machine mixing, a quick stir with a spoon is not necessarily equivalent. Look for a uniform mixture and scrape down the sides of the bowl where dry material remains.
Do not try to stretch this dough into a translucent windowpane. Tearing during that movement does not establish that a gluten-free dough needs more kneading. Repeated stretching and folding borrowed from a wheat recipe will not automatically improve its structure either. Follow the mixing and resting sequence for your chosen dough. A sticky mixture does not need so much extra flour blend that it becomes dry to the touch. That would change the proportions of water, salt, yeast and binders at the same time. A dough scraper is often the more useful handling aid.
Plan fermentation and shaping together
Gluten-free yeast doughs also need time to become aerated. The way that time is divided depends on the method: some recipes start with a rest in the bowl, some shape the base early and let it rise afterwards, and others use refrigerated portions. Choose one complete sequence instead of combining the longest rest from several different instructions. The mixture needs to retain the gas being produced. A very long warm rise can make an already soft dough harder to handle without necessarily producing a lighter finished base. More time is not automatically the missing ingredient.
Choose the bowl, cover and baking schedule beforehand. A mark on the container helps you recognise an increase in volume. However, do not expect every blend to show the same clear doubling as a strong wheat dough. Follow the description in its recipe and consider the actual temperature. For a shared pizza evening, it makes sense to finish the first gluten-free portion before ordinary dusting flour is being used around the kitchen. If several pizzas are baking in sequence, keep the remaining dough covered and at the temperature specified by its method while it waits.
Support the base while shaping
Decide on the support before dividing the dough. A suitable lightly oiled metal tin is useful when the mixture needs spreading rather than free stretching. Slightly damp or oiled fingers can make a sticky dough easier to distribute; use the approach specified in the recipe. Work from the centre towards the edge and aim for an even thickness. A large thin patch in the middle bakes differently from a thick band immediately beside it. Small cracks can be gently closed before topping, without gathering the whole base up and starting again.
For a pizza baked directly on the oven surface, begin with a smaller round. It is easier to support and move onto a peel. Use suitable gluten-free dusting material and only as much as is needed to release the dough. If you use baking parchment, respect its temperature limit and the appliance instructions. Ordinary parchment should not be placed uncritically in a very hot pizza oven or near an exposed flame. A suitable tin is usually a simpler transport aid for a soft mixture. Do not lift the base by its edge if it tears under its own weight.
Par-bake only as part of a matching method
Some gluten-free recipes bake the base briefly before adding toppings. This can help it set before sauce and cheese introduce more moisture. Other mixtures are expressly designed to bake with their toppings from the start. Both approaches can make sense; the choice depends on the recipe, thickness and baking surface. Do not apply the par-baking time for a thin base to a thicker tray pizza. Preheat the oven fully and position any tin so the bottom receives enough heat. The oven's temperature indicator does not establish that a separate baking stone has heated through.
Keep the first pizza lightly topped. Drain cheese and, where appropriate, cook watery vegetables in advance, letting them cool before adding them. During baking, check the underside as well as the topping. A browned rim does not prove that the centre is baked through. If the cheese darkens while the base remains damp, a lighter topping, thinner centre or suitably preheated support may help next time. Choose the change that matches what you observed. Simply leaving the pizza under the same strong top heat for longer can burn the topping before solving the problem underneath.
Use the finished base to narrow down problems
A sandy, crumbly base can point towards an unsuitable blend, insufficient binding or too little available water. First check that you used the product specified in the recipe and included every ingredient. A rubbery centre may instead relate to an unsuitable binder addition, excessive moisture or incomplete baking. These descriptions are possibilities rather than definitive diagnoses. Cut through a slice and distinguish between a generally chewy crumb and a visibly damp layer immediately below the topping. That observation helps direct the next change towards a specific stage of preparation rather than changing everything at once.
For another batch, record the product name, ingredient weights, resting sequence, base dimensions, oven setting and actual baking time. Then change the most likely cause. If the pizza barely released from its tin, start with the support and greasing; if only the thick centre remained wet, start with shaping and toppings. Let the finished pizza release steam briefly and serve while the base and rim still have the texture you want. A separate clean knife and an appropriate plate complete the preparation without introducing crumbs again at the point of serving.