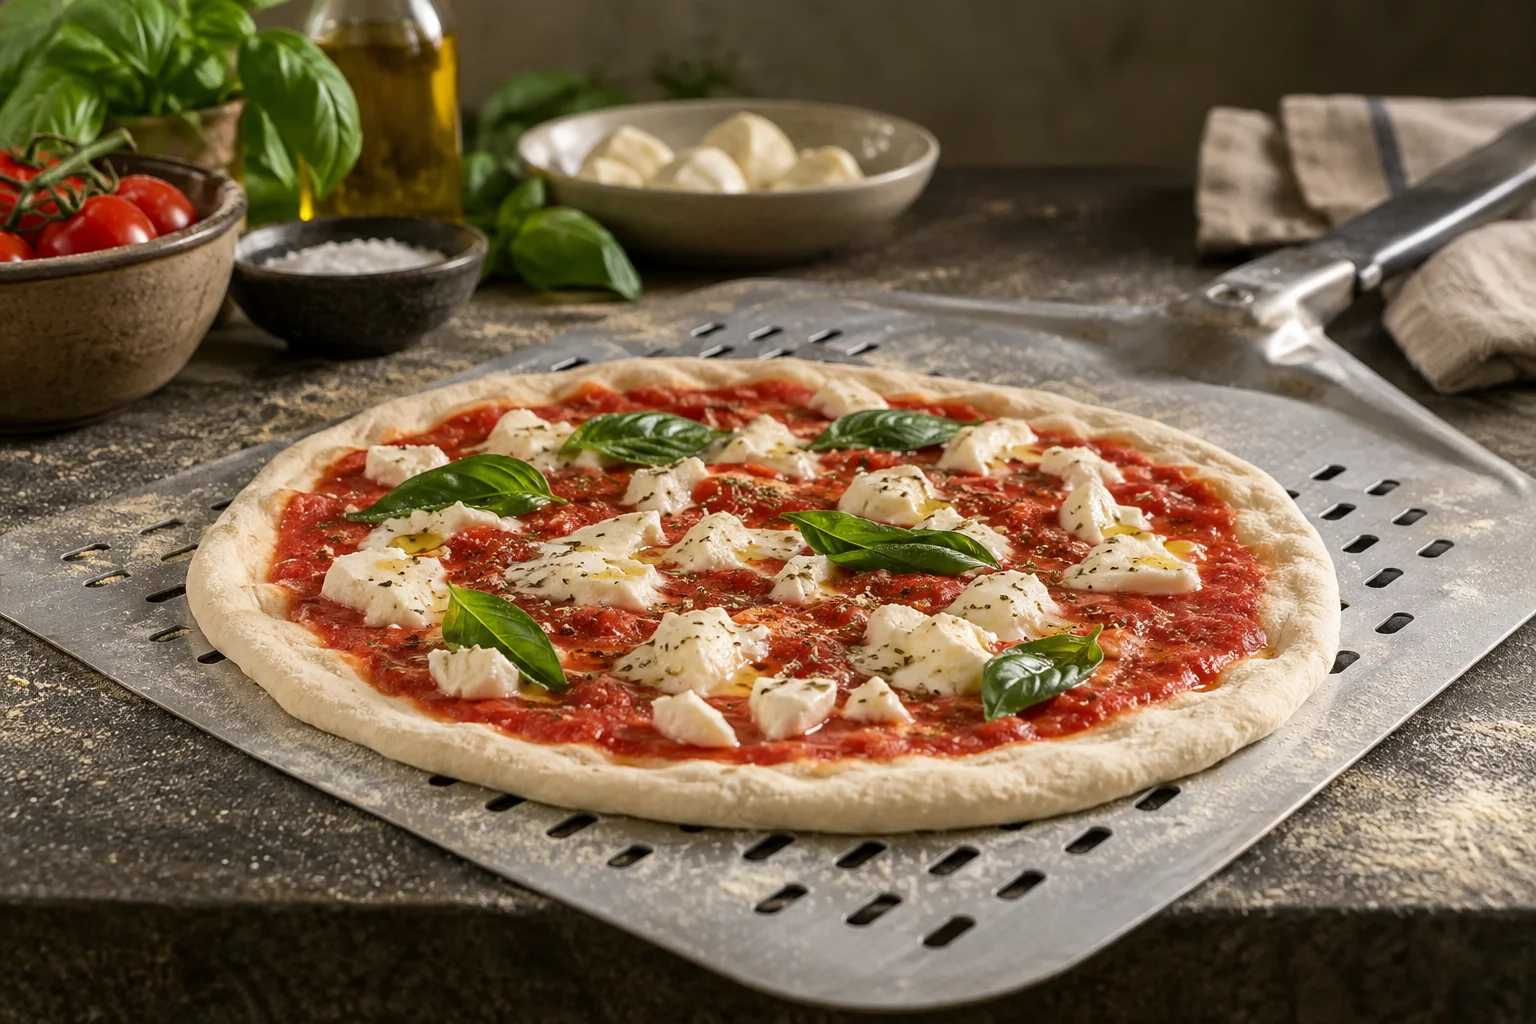
Match the peel to your oven
The dough has risen, the toppings are ready and the oven is hot. Only the short journey onto the stone remains. This is where some pizzas tear or stop halfway off the peel. A suitable working sequence prevents many of these problems. You need a dry peel, a base that moves freely and a short interval between topping and launching. A large collection of accessories is unnecessary. One peel that fits your pizza and oven is enough to begin with.
Measure the usable oven opening and the baking surface first. The peel needs to fit through with some room at either side. Its blade should also support the shaped pizza. For a pizza around 28 to 30 centimetres across, a blade of roughly the same width or a little wider is useful. An oversized model offers little help if it catches on the opening or leaves no room to move above the stone. Check the space in front of the oven too. You need to approach straight and draw the handle back.
Handle length depends on the oven's design and depth. A short handle can be convenient at a compact home oven. A deep outdoor oven requires more distance from its hot opening. Keep your hand outside the hot zone and use a tool intended for the task. Check the manufacturer's material and heat-contact instructions. A wooden board for assembling pizza is not automatically suitable for spending time inside an oven. Plastic components also need an appropriate heat rating before they go near that heat.
Wood, metal and perforated blades
Wooden peels are popular for launching because dough can be prepared on a dry, lightly floured surface. Their blades are often thicker than metal ones. That can make it harder to slip underneath a baked pizza on a flat surface. Wood also absorbs moisture. After cleaning, allow it to dry completely before placing fresh dough on it. Follow the care instructions for the particular tool rather than assuming every wooden peel needs the same treatment.
A thin metal peel slides readily beneath a baked base. It can also launch pizza when its surface is cool, dry and clean. Perforated models allow some excess flour to fall through their holes. This reduces the amount carried onto the baking surface. Perforations do not fix wet or torn dough, however. A small round turning peel has a different purpose. It moves and rotates a pizza during baking, but provides poor support for a large uncooked pizza.
A manageable first attempt
Start with a fairly small pizza and modest toppings. Stretch a properly proofed dough ball of about 250 grams into a circle roughly 28 centimetres across. Keep the centre intact and reasonably even. For our Margherita recipe, around 80 grams of tomato and about 60 grams of well-drained mozzarella suit this size. Weigh both before shaping. You should not need to look for a tin, sieve or knife while the dough waits on the peel.
Fully preheat your suitable baking surface and clear the route to the oven. Lightly dust the dry peel with flour or fine semolina. Spread it evenly and shake off any visible excess. Place the shaped base on the blade, check that it moves and add the toppings promptly. Check again afterwards. Only approach the oven when the entire pizza can slide on the peel. Our home-oven pizza guide covers the baking sequence that follows the launch.
How much flour should go underneath?
A thin separating layer keeps the moist dough from making direct contact with the peel. The whole underside does not need to look white. Large amounts of loose flour travel onto the stone or steel, where they can burn and taste bitter. This happens particularly quickly in a very hot pizza oven. Fine semolina is another option, alone or mixed with flour. Use that sparingly too. Coarse grains can leave an unpleasant texture beneath the baked crust.
Start with a small amount, spread it and check the dough. If one spot catches, treat that spot. Pouring more flour onto the exposed peel will not help if none reaches the stuck area beneath the pizza. Carefully lift the nearest edge and work a small pinch underneath. Avoid stretching the centre as you do this. If you repeatedly need large quantities of flour, investigate dough maturity, surface moisture and how long you spend adding toppings.
Why waiting on the peel causes trouble
Once dough rests on the peel, it starts moistening the separating layer. Tomato sauce, cheese and other ingredients add weight to the base. A topped pizza waiting several minutes for oven space may therefore stick more than it did immediately after assembly. Work backwards from oven availability. The baking surface should be ready before the next pizza is fully topped. If there is only one baking position, do not create a long queue of topped pizzas on boards.
Sharing jobs helps at a pizza evening. One person shapes and tops while another handles the hot oven. They agree when the next pizza can go in. Working alone, you can prepare the next portion of toppings while the current pizza bakes, provided you keep watching it. Transfer the next raw base onto the peel only when you will have time to launch it immediately afterwards. Dough waiting for its turn is better kept covered in its proofing container.
Check that the pizza can move
Hold the peel level above the worktop and give it a small forward-and-back movement. The pizza should slide a little as a complete piece. You only need enough movement to see that the base is free. Vigorous shaking can shift sauce, throw toppings off or slide the pizza over the edge. Check once before topping and once afterwards. That tells you whether a problem came from the dough itself or developed with toppings and waiting time.
If only the rim moves while the centre stays fixed, the pizza is not ready to launch. Set the peel down again. Find the sticking area and release it carefully with a little flour underneath. If the base has already torn and sauce has reached the peel, more shaking rarely improves things. Return the pizza to the worktop if you can do so without tearing it further. A suitable oiled baking tin can rescue badly damaged dough. Do not force a broken pizza onto an open stone.
The launching movement
Open the oven only when the pizza moves freely and the route is clear. Bring the peel over the intended spot on the baking surface. Keep its front edge close to the stone or steel. A small forward movement followed by a brisk withdrawal lets the pizza slide off onto the surface. You are not throwing it into the oven. The tool moves away underneath as the leading edge of the dough meets the baking surface.
Keep the peel reasonably level. Tipping it steeply can send toppings forwards and fold the base. Avoid drawing it slowly backwards for a long distance and then stopping halfway through. A short continuous movement is easier to control. To practise the motion and check the space required, use a cold peel and a folded kitchen cloth on a clear worktop. This cannot reproduce dough sticking, but it helps you understand where the handle and blade need to travel.
Allow the base to set before moving it
Fresh dough is soft at first. Do not immediately try to straighten it on the hot surface with a peel. You can tear holes and spill toppings. Let the base bake enough to support its own shape. The time needed depends on temperature, dough thickness and the oven. Lift an edge gently only when it has released and appears stable. You can then inspect the underside to see how quickly it is colouring.
An outdoor oven with strong heat from one side may require regular turning. A home oven may need fewer interventions, depending on its heat distribution. Follow the browning and the baking method you are using. A turning peel makes small rotations easier but is not essential for every pizza at home. Remove the finished pizza with a suitable metal peel and place it on a board or briefly on a rack. Cut it on a separate board rather than using the peel as a chopping surface.
Keep the next launch easy
If the same metal peel removes a baked pizza and then carries the next raw base, it may still be hot. Let it cool before assembling another pizza on it. Remove crumbs and flour residue, and check for stuck sauce or cheese. A hot, dirty surface makes the next launch harder to control. Do not splash water onto a hot tool over the oven. Clean it away from the heat and dry it completely.
People who regularly bake several pizzas in succession may find two appropriate tools convenient. One stays cool for assembly and launching; the other turns and removes pizzas. For a first evening, organising the sequence with your existing peel is usually the more useful step. Keep measured topping portions, a dry cloth and a little dusting flour within reach. Clear a landing place for the cooked pizza before lifting it out. This avoids searching for space while holding a hot tool.
Read the result and change one thing
If your pizza lands as a long oval, it may have been larger than the blade, hung over the front or stretched during launch. Make the next one slightly smaller and keep the centre even. If it folds on the stone, check its freedom to move and the angle of the peel first. Burnt flour patches underneath point instead to excess loose flour or residue on the baking surface. Remove residue only with suitable tools and the safe method specified for your oven.
A misshapen rim alone is no reason to change the entire dough recipe. Separate the stages when diagnosing the problem. Does the plain base slide? Does it still slide after topping? Does it stick only after waiting? These observations usually suggest one specific change for the next pizza. Make a brief note. A little less sauce, a cooler peel or oven space ready at the right moment may help more than buying another accessory.