Choose the kind of convenience you need
Pizza dough can be frozen in individual portions. A useful supply starts before it reaches the freezer, however: choose practical portion sizes, record its stage of fermentation and allow enough time for thawing. This guide covers ordinary yeast dough made with flour, water, salt and sometimes oil. For bought frozen dough, follow the storage and preparation instructions on its packaging as well.
A frozen raw dough ball saves weighing, mixing and kneading on the day you bake. It does not remove every preparation step. The dough still needs to thaw, relax and, depending on the recipe, complete its final rise before shaping. If you usually decide what to eat shortly before dinner, a fully baked pizza that has been cooled and frozen may be a more useful supply. These two options solve different timing problems and need different labels.
Think about when pizza normally fits into your week. For a planned Friday dinner, you can move the required dough portions into the fridge on Thursday. For an unexpected snack later the same evening, that process has started too late. Organising the freezer around your actual routine reduces the temptation to rush thawing with excessive heat. A portion of frozen dough is convenient only when you have also planned its route to the baking surface.
Begin with a familiar basic recipe
Use a simple pizza dough whose fresh handling you already understand for your first freezer batch. A direct dough like the one in our margherita recipe is a possible starting point. Freeze part of an ordinary batch instead of filling the freezer immediately. This lets you assess how that particular flour, water ratio and yeast quantity behave after thawing. Introducing an entirely unfamiliar recipe at the same time adds another source of uncertainty.
Do not automatically increase the yeast simply because you intend to freeze the dough. Some recipes include adjustments for longer storage, while others use their normal formula. Instructions for your chosen dough are more useful than a universal multiplication factor. The same applies to oil. It affects texture and is not an interchangeable substitute for water. If the dough contains oil, include its actual quantity when calculating the total batch weight and dividing portions.
Record the stage at which you freeze
A common approach is to divide and freeze the dough after its first rise. Fermentation has already started at this point, but that does not mean every recipe requires exactly the same increase in volume. Follow the development described in your recipe. The essential information is which stages have already happened and what remains to be done after thawing. Freezing pauses your planned process; it does not create a complete new recipe with a universal schedule.
For example, label a batch "first rise complete, final proof still needed". Dough frozen when fully ready for baking requires a different continuation from very young dough. Do not mix those stocks under a date alone. Freezing also cannot make spoiled dough, or dough with an uncertain storage history, suitable again. Freeze planned portions while they are in good condition and while you can still account for how they were prepared and stored.
Weigh portions before they enter the freezer
Divide the dough into the amounts you will want to use individually. A large frozen block is inconvenient when you need only two pizzas. Dough-ball weight depends on the recipe, intended diameter and thickness. As a simple stock calculation, eight portions weighing 250 g each require 2,000 g of dough. If you bake four of them immediately, four independently usable portions remain for another day rather than one awkward lump.
Total dough weight is not the same as flour weight. Water, salt, yeast and any oil all contribute. Our dough calculator works backwards from the number and weight of dough balls to the ingredients. Weigh the finished batch as well and divide what is actually present. Small losses left on the bowl or your hands can explain a slightly smaller final portion. A kitchen scale creates more consistent portions and makes later thawing behaviour easier to compare.
Prepare the packaging and freezer space
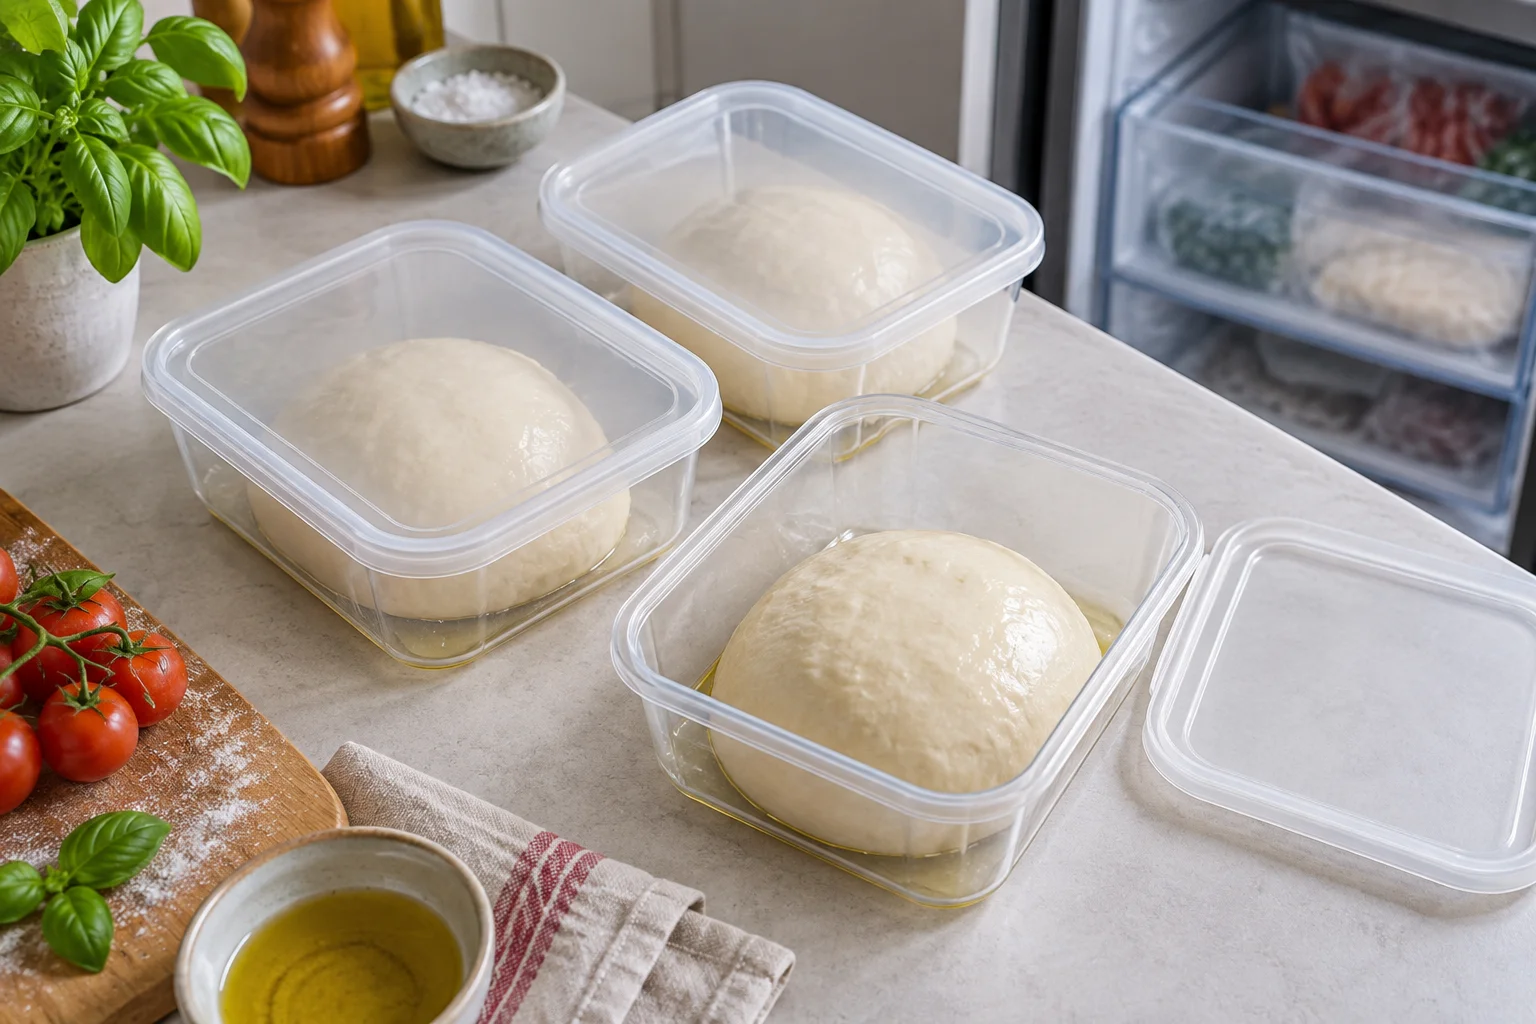
Plan the supply for a freezer at approximately −18°C. Use clean containers or bags suitable for food contact and freezing. Each dough ball should be removable without thawing the others. A thin coating of oil can help prevent sticking when appropriate to the recipe; suitable separating material is another option. What matters is protecting the surface from drying during storage and being able to remove the packaging later without tearing the dough apart. Choose containers that you can also handle comfortably when cold.
Arrange soft portions so that they retain their shape and do not merge. A suitable shallow container can use space more efficiently than several loose round bowls. Stack only when the containers remain stable and do not squash the fresh dough. Consider your appliance's freezing capacity when preparing a larger batch. A substantial warm mass places a different load on the freezer from two small portions and can unnecessarily warm food already stored beside it.
A clear label prevents later guessing
Include the freezing or preparation date, recipe, portion weight and fermentation stage. Add a short identifier if you keep different flours or dough styles. "250 g, direct wheat dough, first rise complete" is more useful than "pizza". If someone other than the person who made it might take it out, also make clear that it is raw dough and must be baked fully before eating. A label should answer practical questions without requiring a separate conversation.
Place older portions where you will use them first. There is no single quality-storage period that reliably covers every recipe and package. Recipe developers and manufacturers give different recommendations. For your first home routine, plan a supply for the next few weeks and assess how it handles. This is more manageable than building a large stock around an unverified long shelf-life claim. With commercial dough, the specific storage and use instructions on the pack take priority.
Thaw gradually in the refrigerator
For a planned baking day, move the required portions from freezer to fridge the day before and keep them covered. Use a container that also leaves room for later expansion. If you remove close-fitting packaging, try to preserve the dough's surface. A flattened portion and a large compact ball thaw differently, so a fixed number of hours cannot fully account for every shape, size and refrigerator. Start early enough to check the actual condition.
Before continuing, make sure the centre has thawed as well as the outside. Dough with a soft exterior and a hard frozen core will stretch unevenly. Do not force it flat or try to knead the frozen centre away. Give it more time in an appropriate container. The refrigerator stage fits easily into a simple routine: transfer it the previous evening, check it the following day, then continue the remaining steps of the original recipe.
Thawed dough is not necessarily ready to bake
Once thawed, dough may still be cold and firm, or may still need its final proof. For fully thawed portions around 250 g in a room at approximately 21 to 23°C, initially allow three to four hours of covered acclimatisation and final proofing. Check earlier: this is a planning window for the direct yeast dough described here, not an automatic endpoint. The time depends on portion size, room conditions and its state when frozen, among other factors. Allow a window for this stage instead of taking dough from the fridge five minutes before you intend to load the oven. That small planning difference makes the process much less hurried.
Use several observations together. Is the centre soft? Has the dough developed visibly? Can you stretch it gently without an immediate strong recoil? These signs help with baking readiness but do not establish whether its storage history was hygienically sound. A finger poke alone cannot decide everything. When working with several portions, bring out those that will be baked first and keep the remainder under appropriate storage conditions until their turn approaches.
An example for Friday evening pizza
Suppose you want to bake two pizzas around 7 pm on Friday and have two 250 g portions frozen after their first rise. Put them into covered containers in the fridge on Thursday evening. Around 3 pm on Friday, check that the portions have thawed throughout, then keep them covered at approximately 21 to 23°C. From around 5 pm, check regularly for visible development, softness and extensibility. Plan to start preheating the baking surface around 6 pm so that you can begin with a ready portion at 7 pm. If the dough develops substantially earlier, return it to the fridge until shortly before handling. If it remains firm or underdeveloped, postpone baking rather than forcing it open.
The early check is deliberate. If the middle remains hard in the afternoon, you still have time to adjust dinner. If the dough is already very soft and well developed, it does not automatically need several more hours in a warm room. For guests, an uncomplicated alternative meal can be useful when timings change. Frozen dough reduces the work, but you still need to coordinate its condition, the oven and the time you hope to eat.
Troubleshoot the dough after thawing
A dry outer skin often points to insufficient protection during storage or resting. It makes stretching harder and can tear. Check packaging and covering for the next batch. If the dough has thawed evenly but springs back strongly, a further covered rest may help. If it spreads very easily and tears, adding large amounts of flour shortly before baking is not a dependable repair. The original formula or its fermentation may also be involved.
Record the dough's condition when freezing and again when baking. This helps distinguish a portion that was already far advanced from one left warm too long after thawing. A pan can physically support a usable but soft dough, although that changes the baking method. Discard dough showing mould, unusual discolouration or an uncertain storage history. Smell and appearance alone cannot verify that a previously mishandled portion is safe. Do not confuse a handling problem with a food-safety decision.
Plan for unused portions and leftovers
Take out only the portions you expect to use whenever possible. This reduces the need to decide what to do with dough that has repeatedly warmed and cooled. If the guest count changes, you can bake an extra pizza from properly stored, ready dough and then cool the cooked leftovers appropriately. This creates a different kind of freezer supply and deserves a different label. Do not leave finished pizza at room temperature until the next morning.
Do not taste raw dough, even when it contains no eggs: flour is also a raw ingredient. Clean hands, surfaces and tools after handling it before touching ready-to-eat food. For the next batch, focus on the practical organisation that makes the biggest difference: useful individual portions, clear labels and a planned transfer from freezer to fridge. Together they turn frozen dough into preparation you can rely on for an easier pizza evening.