A specific batch to start with
A direct pizza dough does not require a stand mixer. A bowl, scales, clear work surface and dough scraper are enough for a manageable batch. The important distinction is between mixing, kneading and resting. This guide explains the movements and helps you decide when to keep working, when to pause and when an actual measuring error needs correcting.
Our working example doubles the dough in the margherita recipe: 600 g German Type 550 wheat flour or suitable pizza flour, 390 g water, 15 g salt and 3 g instant dry yeast. That is 65 percent water relative to flour and a total of 1,008 g dough before small handling losses. Divide it into four portions of approximately 252 g. This produces several pizzas while remaining a reasonable amount to handle without machinery.
For this direct method in a kitchen around 21 to 23°C, allow approximately 90 minutes for the first rise and a further 45 to 60 minutes after dividing. Mixing, kneading and baking take additional time. Actual dough development still determines readiness. A substantially warmer or colder room changes the schedule. For overnight dough, choose a suitable overnight method rather than transferring the yeast quantity from this quicker example unchanged to a multi-day process.
Weigh the water in grams as well. This avoids interpreting small differences on a roughly marked jug. Use instant dry yeast as specified in the example. Fresh yeast and other dry-yeast types require the appropriate recipe or manufacturer conversion rather than an identical weight by assumption. Small yeast quantities are easier to measure on suitably precise scales. Record substitutions so that a later difference in the dough has a traceable explanation.
Prepare the work area and tools
Set out a sufficiently large bowl, dough scraper and weighed ingredients. The work surface should be clean and suitable for food preparation. Clear delicate objects away from the immediate area. A stable surface makes the kneading movement easier; a sliding board or mat turns a simple task into unnecessary effort. If you use a mat, make sure it stays in place when pressed and can be cleaned properly afterwards.
A scraper has two useful jobs: releasing dough from the worktop and collecting small remnants without requiring extra flour. A small bowl of water can help you moisten your hands lightly. Avoid placing a large mound of flour nearby ready to add whenever the dough feels sticky. Freshly mixed dough often feels stickier than it will after absorbing water and developing through handling. Keeping the area clean makes that change easier to notice.
Mix thoroughly before expecting smoothness
Combine the flour and instant yeast in accordance with the yeast instructions, add the water and incorporate the salt. Begin with a sturdy spoon or one hand if that is more comfortable. Scrape along the bottom of the bowl regularly so that dry flour does not remain underneath. The first goal is a connected mass with the ingredients distributed throughout. It does not yet need to look smooth or pull neatly away from every part of the bowl.
If isolated dry patches will not join, press them into the wetter dough before adding more water. When the mixture seems unusually wrong, check that every measured ingredient actually reached the bowl. A missing portion of water is different from dough that simply needs time. Once no loose flour remains, you can cover it briefly while the flour absorbs moisture. A pause of around ten minutes can make the next stage easier to handle and assess.
Use a simple repeated kneading movement
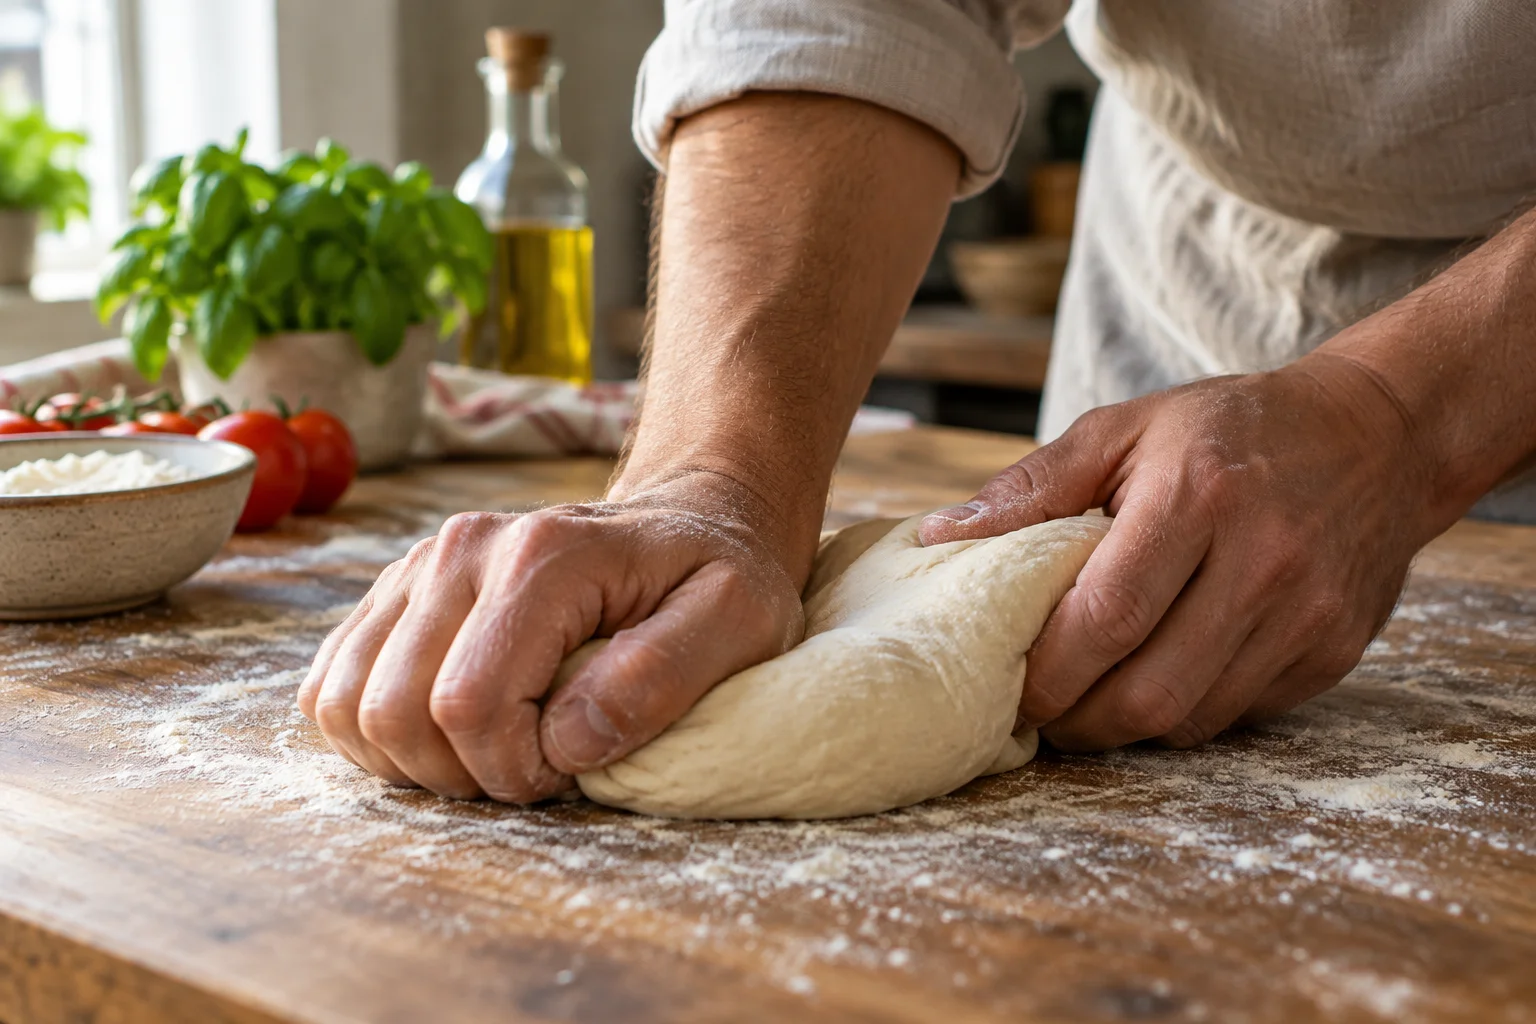
Place the dough on the work surface. With the heel of your hand, push it a short distance away without stretching it into a torn, thin sheet each time. Fold the far end back, turn the dough slightly and repeat. Work steadily rather than frantically. Your hands guide and fold the mass; they do not need to drive it across the table with maximum force. Release stuck remnants with the scraper and return them to the dough.
For the example batch, roughly eight to ten minutes of active kneading is an initial guide. Pause sooner if your hands tire and cover the dough briefly. After a rest, you may find that its surface already appears more even. Different flour or water quantities can change how the dough behaves, so the clock alone cannot tell you whether it is sufficiently developed. Look at the condition of the dough as well as the elapsed working time.
Spread the movement across the whole mass. Repeatedly pulling one small corner leaves other areas less worked. Turning and folding help develop it more evenly. Choose a comfortable work height and keep your shoulders relaxed. If hand pain or limited strength makes kneading difficult, a recipe designed around longer rests and minimal kneading may be more suitable. That means choosing its complete method, rather than simply removing the kneading stage from this example.
Recognise useful signs of development
Freshly mixed dough is often rough and sticks to fingers. As work continues, it should become more connected and move as one mass. The surface grows smoother and gentle stretching reveals more cohesion. It does not need to become completely dry. Slightly tacky dough can be well developed. What matters is whether it can take shape and lift without immediately breaking into separate, poorly connected pieces. Judge the whole dough rather than one sticky fingertip.
You can gently stretch a small piece between your fingers. If it forms a thinner connected area, that provides a useful sign of development. Do not pull violently or demand a flawless transparent membrane from every flour. Wholegrain particles and other coarse ingredients change what this looks like. Combine the observation with surface smoothness, elasticity and the behaviour of the full batch. The dough needs to work for your pizza, rather than pass one presentation-style demonstration.
Do not answer every sticky moment with flour
When dough coats your hands, first scrape the remnants back into the batch. Fingers already heavily covered in dough stick more readily to the next surface. Moisten your hands only lightly if necessary, then continue or give the dough a short covered rest. Adding a whole handful of flour changes the formula immediately and can produce a firmer finished base. Check the handling technique before assuming that the recipe itself contains too much water.
The arithmetic illustrates the effect. With 390 g water and 600 g flour, hydration is 65 percent. If you work another 60 g flour into the dough, hydration falls to roughly 59 percent, even though the water quantity has not changed. That is a substantial difference. When an adjustment is genuinely needed, weigh the addition and record it. Your next batch can then start from a known formula rather than repeat the same improvised correction.
Know when resting or folding is useful
A covered rest gives the flour time to absorb water and changes handling. For example, you can wait ten minutes after the initial mix before beginning to knead. If the dough becomes very resistant during work, another short pause often helps more than extra force. Protect its surface from drying while it rests. A dry outer skin can interfere with later stretching even when the dough underneath remains soft and otherwise workable.
For softer doughs, folding in the bowl may form part of the recipe. Lift one side gently towards the centre, rotate the bowl and repeat around several sides. This needs less clear worktop space. Folding is not an arbitrary shortcut, however: its frequency, intervals and fermentation time belong to the chosen method. For an initial comparison, keep one method consistent. You can then deliberately choose a different dough process later and understand what has changed.
Set up the first rise
Gather the kneaded dough into a rough round and place it in a suitable container with room for expansion. Cover it. A transparent container marked at the starting dough level makes growth easier to see. Put it somewhere with reasonably stable conditions. Direct sunlight, a radiator or a hob that is still hot produce different conditions from the ordinary room temperature used in the example. Avoid choosing a resting place simply because it feels warm.
Kneading and the first rise have different functions. Smoothly kneaded dough is not instantly ready for baking. It continues developing and producing gas during fermentation. In the example, inspect it around the 90-minute point rather than treating that time as an automatic endpoint. A visibly risen, cohesive dough is then divided. If development is minimal, check temperature, yeast use and the recipe sequence before adding new ingredients at random or assuming that further kneading will solve it.
Divide and shape the dough balls
Weigh the finished dough and use the scraper to divide it into four similar portions. Cut cleanly rather than pulling long strips apart. For each portion, fold edges underneath and form a round ball with a closed upper surface. Work enough to make it hold together. Repeatedly tightening it very firmly can make it harder to stretch immediately afterwards and does not remove the need for the following rest. Keep the movements purposeful and limited.
Place the portions with space between them in suitable containers or a dough box, then cover. The example allows another 45 to 60 minutes. Use that period to prepare sauce, cheese and the oven. If a ball springs back strongly when you begin opening it, do not force it larger. A further short covered rest can help. The complete recipe and our home-oven guide connect these handling steps with the subsequent shaping and baking method.
Interpret small problems before changing the dough
An unusually hard batch may indicate insufficient water, extra flour incorporated during kneading or a different flour from the one expected. A very loose mixture calls for a measurement check first. Dry patches may indicate incomplete mixing or poor covering. A smooth but resistant ball is not automatically badly kneaded; it may simply need more rest. Describe the actual behaviour before choosing an adjustment, because similar-looking frustrations can have different causes.
Keep a brief record of the recipe, actual quantities, approximate room temperature and resting stages. That is usually enough to plan the next batch deliberately. Do not taste raw flour or unbaked dough, and clean hands, tools and the work area after handling them. A manageable batch and clearly separated stages teach you to read the dough: combine the ingredients, develop its structure, then allow the planned time for fermentation rather than trying to finish every job through kneading alone.