Explore biga without prefermenting all your flour
Biga is an Italian preferment. In pizza making, the term often describes a firm, roughly mixed preparation of flour, a small amount of water and yeast. It ferments separately before you complete the final dough. Unlike a liquid poolish, this firm version cannot simply be poured from its container. The next day, you break it into small pieces and incorporate more water. That transition needs particular attention: the biga should become evenly distributed without prolonged, forceful kneading making the dough unnecessarily warm.
For this introduction, half the total flour goes into the preferment. That makes it a biga dough with 50 percent prefermented flour. This figure describes neither the biga's hydration nor its share of the finished dough's weight. The biga itself has 45 percent hydration, while the final pizza dough has 65 percent. You will make three portions of just under 280 g. A bowl, scraper and scales are enough to work through the method by hand. A mixer can help, but this small batch with only half the flour prefermented does not require one.
Separate all the quantities before starting
The biga needs 250 g strong wheat pizza flour, 112.5 g water and 0.5 g instant dried yeast. The following day's final mix takes another 250 g flour, 212.5 g water, 12.5 g salt and 0.5 g instant dried yeast. Together, these give 500 g flour, 325 g water, 12.5 g salt and 1 g yeast. Total dough weight is 838.5 g, or three calculated portions of 279.5 g each. Measure the small yeast quantities with suitable precision scales. An estimated pinch is too imprecise for this process.
Record the two water quantities separately. The 212.5 g used on the second day is additional to the 112.5 g already inside the biga. Adding the full 325 g again would produce 87.5 percent hydration and a completely different dough. Before making the final mix, weigh out its entire water allowance. You can then reserve small portions for gradual addition. This lets you hold water back during kneading without accidentally using more or less than the calculated total. Keep the container beside the bowl until the final measured portion has gone in.
Choose suitable flour and a realistic temperature
Use flour that its manufacturer recommends for pizza and longer fermentation. The biga needs to retain structure through an extended rise and then accept more water. Strong wheat flour is a sensible starting point. A higher protein figure can help with selection, but does not describe baking performance on its own. Two flours with the same type designation may behave differently. For your first batch, use one flour and learn how it handles before blending several varieties or adding wholemeal flour. This keeps the cause of any difficulties easier to identify.
Allow approximately sixteen to eighteen hours for this biga at around 18 to 20°C. That is a working range for these quantities, not a universal timing rule for every room. A kitchen at 27°C does not fit the schedule unchanged. Find a cooler suitable position or choose another dough method for that day. A refrigerator is not a direct replacement for the intended room temperature either. Record the actual temperature. Without it, you will struggle to explain later why one batch became soft early while another remained dense.
Mix only roughly on the first evening
Thoroughly combine the 250 g flour with the 0.5 g instant yeast before adding water. Distribute the 112.5 g water across the flour and work it in with a spoon and your fingers. You want irregular pieces that hold together. Collect loose flour from the bottom of the bowl and press it into the damp portions. With so little water, the mixture will not become a soft, glossy dough ball. That is intentional. Do not add extra water just to recreate the familiar feel of finished pizza dough, because that would already change the preferment method.
Stop mixing when there are no loose, dry flour pockets and the pieces appear evenly moistened. There is no need to develop a strong gluten network at this stage. Place the pieces loosely in a clean food container with ample space. Do not compress them into one solid block. Cover against drying, for example with a suitable loosely resting lid. The vessel should not act as a rigidly sealed pressure container. Put it in the prepared location and note the time. Keep the salt and second yeast quantity aside until the next day.
Distinguish ripe biga from dry or overripe pieces
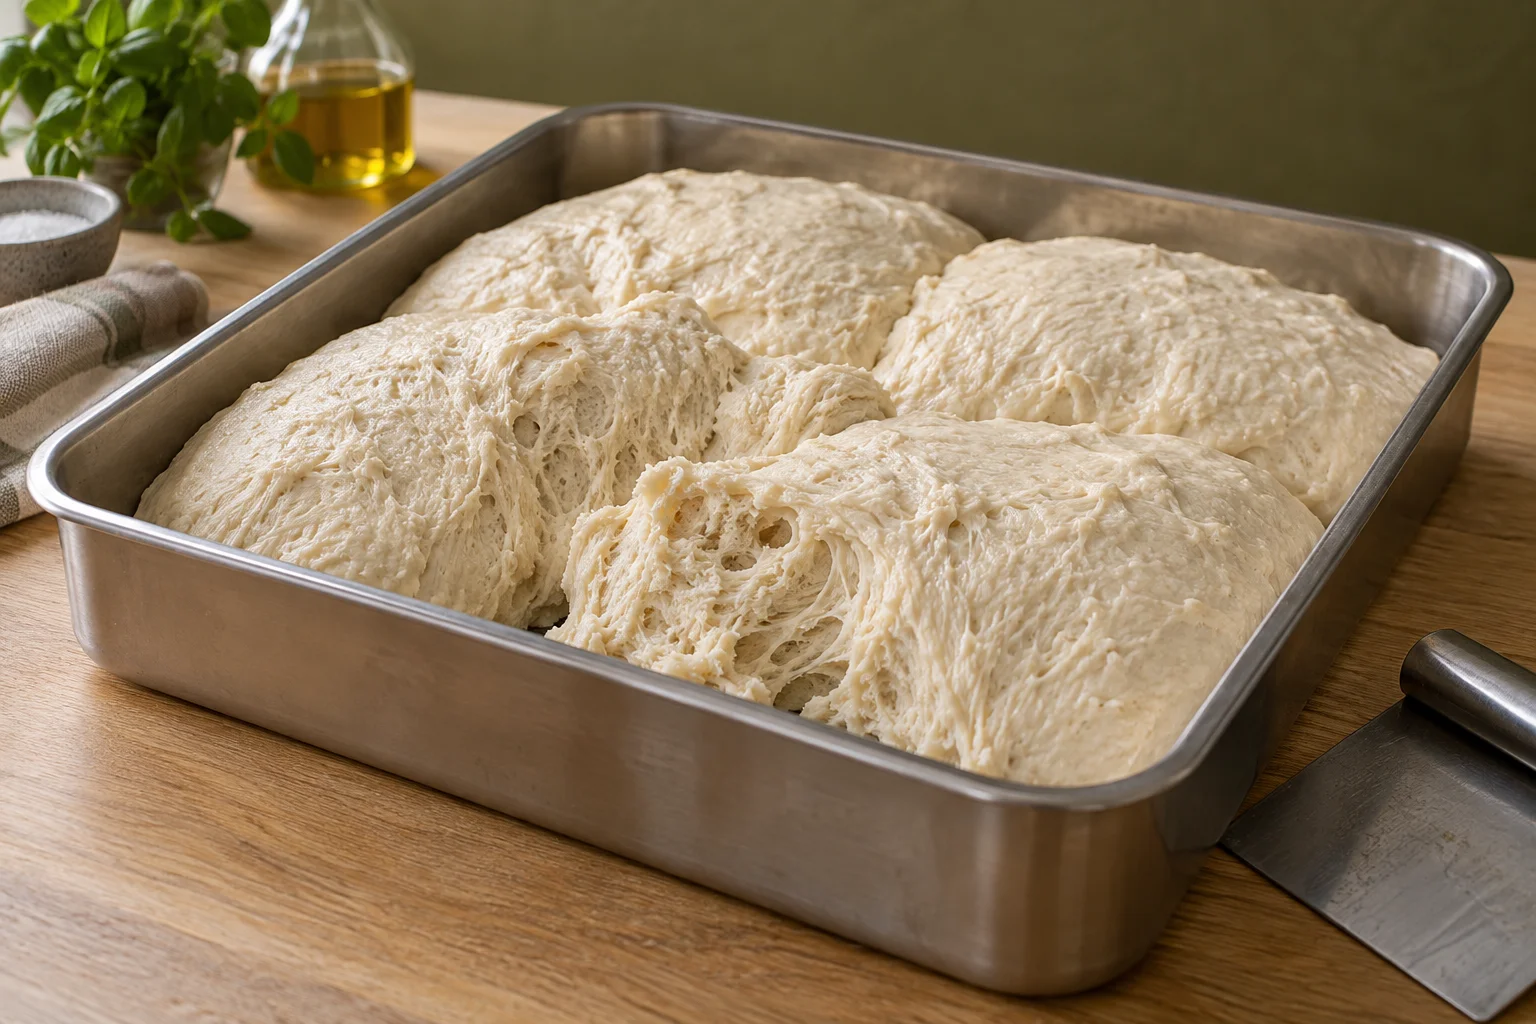
The following day, first inspect the surface and smell the mixture. The pieces should look aerated and may have joined together more than when you first placed them in the container. Gently pull one piece apart and look for a porous, fibrous interior. Development is less obvious from the outside than it is in a bubbly liquid preferment. A pleasantly fermented aroma is appropriate. A fixed doubling mark is not a reliable single test when the container holds loosely arranged pieces: their original arrangement affects the measured height considerably.
Hard, dry islands suggest that water did not reach all the flour during mixing or that the surface dried out. Do not mistake those areas for the intended firm consistency. Overripe biga, by contrast, may become very soft, sticky and collapsed. Extra yeast does not restore weakened structure to its earlier condition. Discard any mixture with visible mould. If the biga is simply dense and has shown little development, first check temperature and yeast activity, then allow more time where appropriate before beginning the final dough.
Distribute the pieces through the final mix
Use a scraper or your fingers to divide the ripe biga into small pieces. Add 170 g from the measured 212.5 g final-dough water allowance. Leave the pieces in it for a few minutes, then squeeze them apart with your fingers. You do not need to create a perfectly smooth liquid. The aim is to break down large firm centres. Mix the remaining 250 g flour with the remaining 0.5 g instant yeast and work these in. Cover the rough mixture and let it rest for about ten minutes before kneading more intensively.
Next, incorporate the 12.5 g salt and the remaining water in stages. You have 42.5 g water left for this step. Add each small portion only after the dough has taken up the previous one. The surface may initially become slippery and the dough may seem to separate. Gather it with the scraper and continue until it becomes more uniform. Look specifically for hard preferment lumps. Small soft irregularities often disappear with rest and further mixing, but dry clumps should not simply be hidden underneath a smooth outer surface.
Watch the temperature while kneading. Finished dough at roughly 23 to 25°C is a useful starting point for the following warm rise. If a mixer makes it considerably warmer, stop in good time and adjust water temperature for the next batch. Higher speed does not replace controlled water absorption. When mixing by hand, short rests often help more than continuous forceful pulling. The finished dough should hold together and become more elastic. It does not have to feel dry or completely free of stickiness before you move on to fermentation.
Plan the bulk rise, dough balls and baking window
Let the final dough rise, covered, for around one to two hours at approximately 23 to 24°C. After the first hour, assess whether it feels lighter and has increased noticeably in volume. If it initially spreads widely, you can give it one gentle fold after about thirty minutes. Once this first rise has visibly progressed, divide the dough into three equal portions and round them. Smooth each ball's surface without tearing it. Place the balls in suitable covered dough containers, leaving enough room between them for expansion.
For the final proof, initially plan another two to three hours at a similar temperature. The balls are ready to open when they feel relaxed and aerated and spread without strong resistance. One possible Sunday-afternoon schedule starts with the biga at around 6 pm on Saturday. Assess it between 10 am and noon on Sunday, then prepare the final dough. Depending on its development, baking follows later in the afternoon. If your meal has a fixed starting time, allow a buffer and inspect the biga early instead of first opening the container immediately before you need to mix.
Preserve the dough's aeration during shaping
Release one ball from its container as intact as possible. On a lightly dusted surface, press from the centre outwards and leave a slightly thicker rim. A diameter of around 30 cm is a useful starting point for just under 280 g dough. Work slowly enough to notice thin areas developing. Dough that immediately springs back needs further relaxation. Dough that is already very soft needs less handling and a prompt move towards baking. The word biga alone cannot tell you how far any particular dough ball is ready to stretch.
Keep the first topping simple, for example 70 g crushed tomatoes and 70 g well-drained mozzarella. Preheat a suitable baking surface according to its manufacturer's instructions. In a domestic oven at around 250°C with conventional top and bottom heat, inspect the pizza from minute six; roughly eight to twelve minutes is an initial working range. Pay particular attention to the underside. A dedicated pizza oven needs a different, much shorter baking process. Move the finished pizza onto a board or rack and let steam escape briefly before judging the base.
Use specific observations to improve the next batch
If the baked base contains firm, pale inclusions, first review how you mixed the biga and distributed it through the final dough. Do not immediately change the yeast quantity. A dense rim may indicate an immature biga or dough balls that needed more proofing. If dough initially develops well but later becomes increasingly sticky and weak, investigate excessive warmth or fermentation time instead. Record its condition at the transitions between stages. One total duration explains these differences less clearly than separate observations of the preferment, final dough and rounded balls.
For six pizzas, double every ingredient in this version. Using all the flour in the biga is a different change: it would put 500 g flour and, at 45 percent hydration, 225 g water into the preferment. Only 100 g water and no fresh flour would remain for the final mix. Water incorporation and fermentation would then behave differently. Treat that as a separate method with an adjusted process. First gain experience with the half-flour version described here, rather than assuming that a higher preferment percentage automatically produces better pizza.