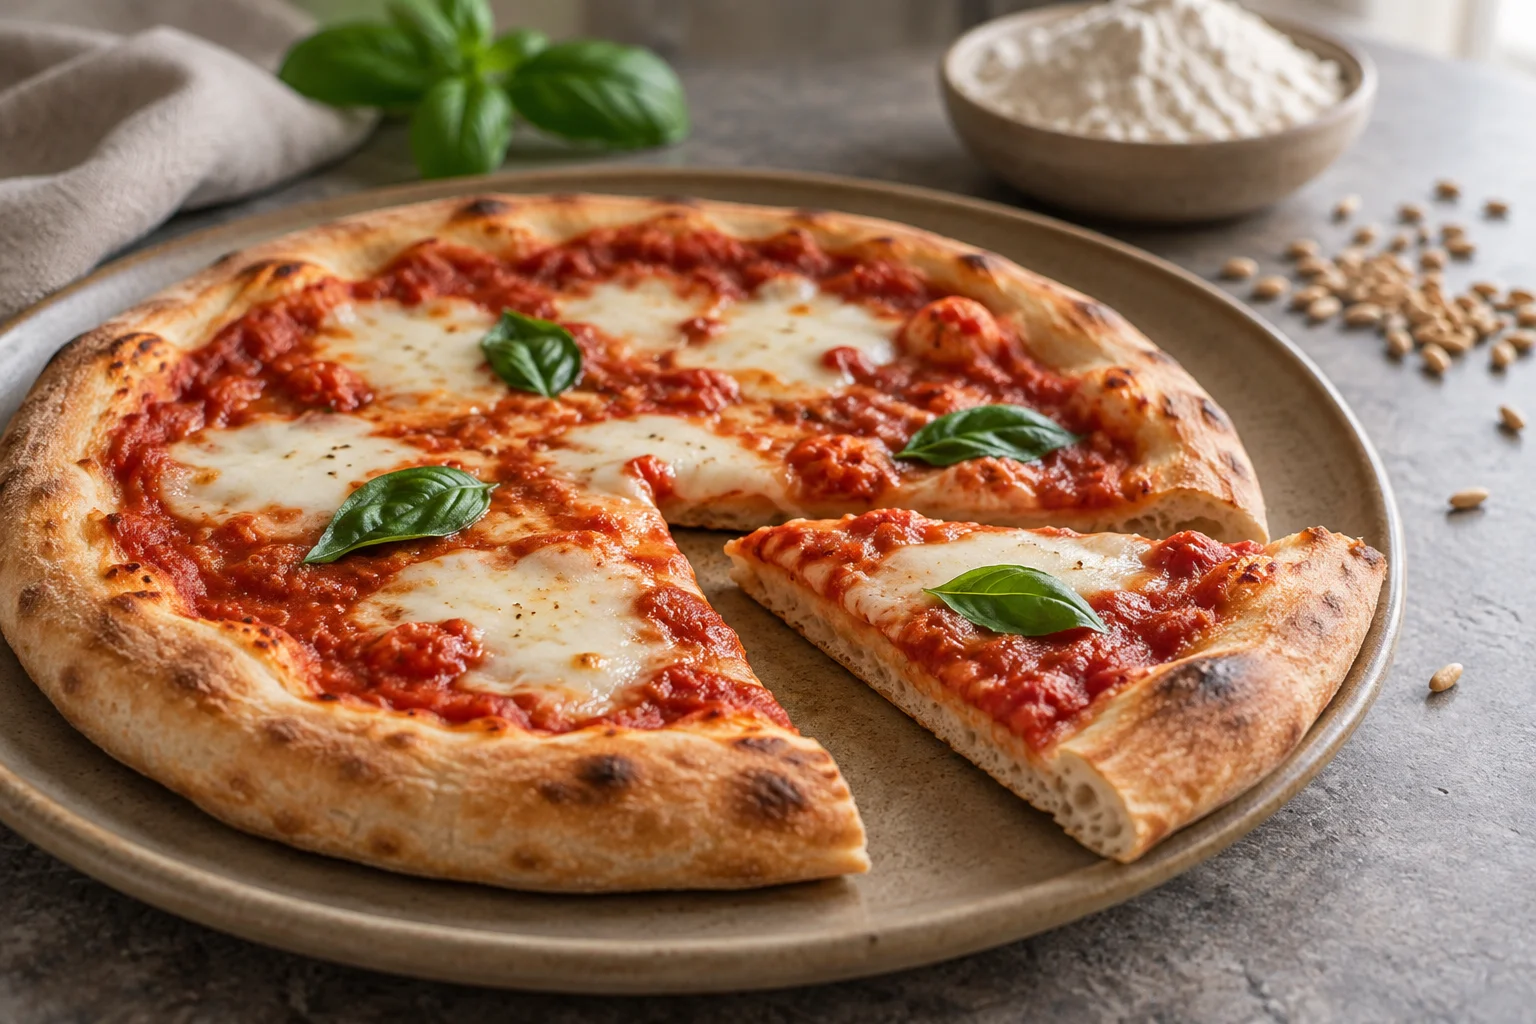
Spelt pizza with a clear same-day method
Light spelt flour, sold in Germany as Type 630, makes a pale pizza base with a mild grain flavour. A manageable dough mainly needs an appropriate water quantity, gentle kneading and enough time to relax. This method takes you from flour to three round pizzas in one day. It uses no bread mix and requires neither a preferment nor a long refrigerator rise. If you are used to kneading strong wheat dough very intensively, check spelt's consistency earlier instead of simply setting the same mixer time.
Use light spelt flour specifically for this batch. German Type 1050 and wholemeal spelt contain different proportions of grain components and may need more water or different handling. Switching between them is therefore more than a small change to the shopping list. Spelt contains gluten and is not a gluten-free alternative to wheat. The choice here concerns flour and flavour, rather than a health promise. A separate gluten-free preparation needs a recipe and ingredients designed for that purpose; this spelt method does not fulfil that requirement.
Calculate three dough balls in full
Weigh 500 g light spelt flour, 315 g water, 12.5 g salt, 10 g olive oil and 3 g instant dried yeast. This gives a calculated total of 840.5 g dough, or three portions of approximately 280 g. Hydration is 63 percent, based on the 500 g flour. Oil is not counted as water in this standard calculation. Salt is 2.5 percent of flour weight and oil is 2 percent. Use scales accurate enough for the small yeast quantity, and do not replace the specified 3 g with an entire sachet.
The water allowance is a starting point for light spelt flour, but different products may still feel different in use. Initially measure 300 g water into one container and reserve the remaining 15 g separately. After a short mixing rest, decide whether and how quickly to incorporate the reserve. If you ultimately use only 305 g, actual hydration is 61 percent. Record that amount for the next batch. The important point is to work deliberately with a measured reserve instead of adding unrecorded water or flour while handling the dough.
Combine flour and water, then allow a short rest
Mix the instant yeast into the flour and add the initial 300 g water. Stir until no dry patches remain. Cover the rough mixture and leave it for about twenty minutes. This pause makes the following kneading easier. Because yeast is already present, fermentation starts during the rest; the step does not need a special technical name. Salt and oil go in afterwards. Choose a water temperature that leaves the mixture near room temperature or in the low to mid twenties Celsius, rather than automatically using water as warm as possible.
Sprinkle the salt evenly over the dough and work it in with some reserved water. There is no requirement to dissolve it completely in that small portion of water beforehand. Continue gently kneading, then add the oil. Work in the remaining water a little at a time if the dough absorbs it while retaining enough support. Its surface may initially feel slippery. Gather it with a scraper and allow a brief rest if helpful. Reaching for more flour is not the only response to this temporary change in texture.
Stop kneading before the dough becomes weaker again
Spelt dough should not run at high speed for a long time merely because another pizza recipe specifies ten or fifteen minutes. Start a mixer slowly and check progress at short intervals. When working by hand, use calm periods of kneading with brief rests too. Useful dough becomes more even and stretches a little when handled gently. It may feel softer than a particularly tight wheat dough. There is no need to force a completely dry surface or an exceptionally thin windowpane before moving on to fermentation.
If the mixture initially improves but then becomes smearier, spreads more widely and tears more easily, further intensive kneading is not a dependable improvement. Stop and check the dough temperature as well. A short pause may help handling, but it cannot fully repair severely damaged structure. For this batch, a soft dough that still holds together can later be baked in an oiled pan. Next time, shorten kneading and incorporate the water reserve more cautiously. That changes the stage most likely to have contributed to the difficulty instead of treating every ingredient as suspect.
Support the first rise with little handling
Put the dough into a lightly oiled or suitably non-stick bowl and cover it. At roughly 22 to 24°C, an initial observation range of one and a half to two and a half hours is reasonable. The dough should become noticeably lighter and increase in volume. First check after an hour. A very cool mixture may need longer, while a warm one ferments faster. Look beyond the clock: assess whether the surface is becoming slightly domed and whether the dough responds more softly when you move the bowl.
If it initially lacks support, give it one gentle fold after approximately thirty minutes. Lift a side, bring it towards the centre and continue around the bowl. Stretch only until you feel the first clear resistance. Frequent aggressive folding is not part of this method. If the dough already holds together, leave it alone. The first rise does not have to reach a maximum doubling. Once it is visibly aerated and can be divided comfortably, prepare the next stage before the mixture becomes excessively soft and spreads too widely.
Divide the dough and let the balls relax
Use a scraper to divide the dough into three similarly sized pieces. Check their weight if needed before rounding. Shape each portion with a few movements and close the seam underneath. Repeatedly rounding the same ball puts unnecessary strain on its surface. Place the balls in covered food containers with enough space. A thin oil film makes release easier later. Do not let portions stick together, because pulling them apart forcefully sacrifices some of the aeration you have developed and can tear their outer skin.
Initially allow one to two hours for the final proof at a similar room temperature. The balls should relax and become easier to spread. Avoid repeatedly pressing deeply into them to check progress. A small gentle indentation and their general behaviour on release provide additional clues. One possible daytime schedule starts mixing at about 11 am. After the mixing rest, kneading, bulk fermentation and final proof, the first baking window falls around 3 to 5 pm. Treat this as a planning aid. Actual development determines whether you can shape sooner or need to allow more time.
Start with smaller pizzas to make shaping easier
Lightly dust the work surface and carefully release one ball from its container. Open it initially to about 26 cm. Press from the centre towards the outside while leaving a narrow rim. If the dough remains stable and relaxed, enlarge it to around 28 to 30 cm. A target diameter is not a reason to keep pulling at a thin spot. A smaller, even base is easier to launch than a large one that develops holes while being topped. Use particularly light pressure in the centre.
Avoid leaving dough hanging over your hands for a long time if your spelt mixture thins quickly in that position. Stretch it mostly on the work surface or support it broadly instead. Transfer it to a lightly dusted peel and check that it slides before topping. A small dry hole can be pinched closed carefully. Once sauce has leaked through, that area soon becomes sticky on the peel. Keep the first topping modest and launch promptly. Shape the next pizza only when the baking surface is ready again, rather than letting an opened base wait for a long time.
Watch the base and topping together in the oven
Preheat a suitable baking surface in your domestic oven according to its manufacturer's instructions. Around 250°C with conventional top and bottom heat is a useful starting setting. Top one base with about 70 g crushed tomatoes and 65 g well-drained mozzarella. A heavy layer of raw vegetables would add moisture and weight. If you want vegetables, prepare them beforehand and let them cool. Keep the centre particularly clear of topping piles. On the first bake, you want to see how your dough behaves on the surface you actually have.
Inspect the pizza from minute six. A baking time of approximately eight to twelve minutes is an initial range for this domestic-oven version. Check the underside with the peel and assess the rim and centre too. Very dark cheese over a still-soft base suggests a heat-distribution or preheating problem more readily than a fundamental fault with spelt. A dedicated pizza oven needs its own appropriate settings and shorter times. Let the finished pizza release steam briefly before slicing. The thin centre should be cooked through without becoming a hard cracker.
Use a pan as a deliberate alternative
If launching freely is still difficult with your dough, use a suitable oiled round metal pan for each portion. A pan around 28 to 30 cm is a useful starting size for approximately 280 g dough. Press the dough in gently, let it relax briefly if resistant and then add a thin topping. The pan supports the base during transfer. Since metal now sits between the oven's heat and the dough, heat transfer changes. Do not assume the free-baking duration applies unchanged. Inspect the underside particularly carefully before deciding that the pizza is ready.
For six pizzas of the same size, double every planned ingredient: 1000 g flour, up to 630 g water, 25 g salt, 20 g oil and 6 g instant yeast. Resting times do not double with the batch. First check how many containers and baking rounds you will need. If only the final pizza becomes too soft, its longer additional wait may be the problem. Record baking order alongside the water quantity. That observation is more helpful than the general assumption that spelt must always produce dry or difficult dough.