Why counting eggs is not precise enough
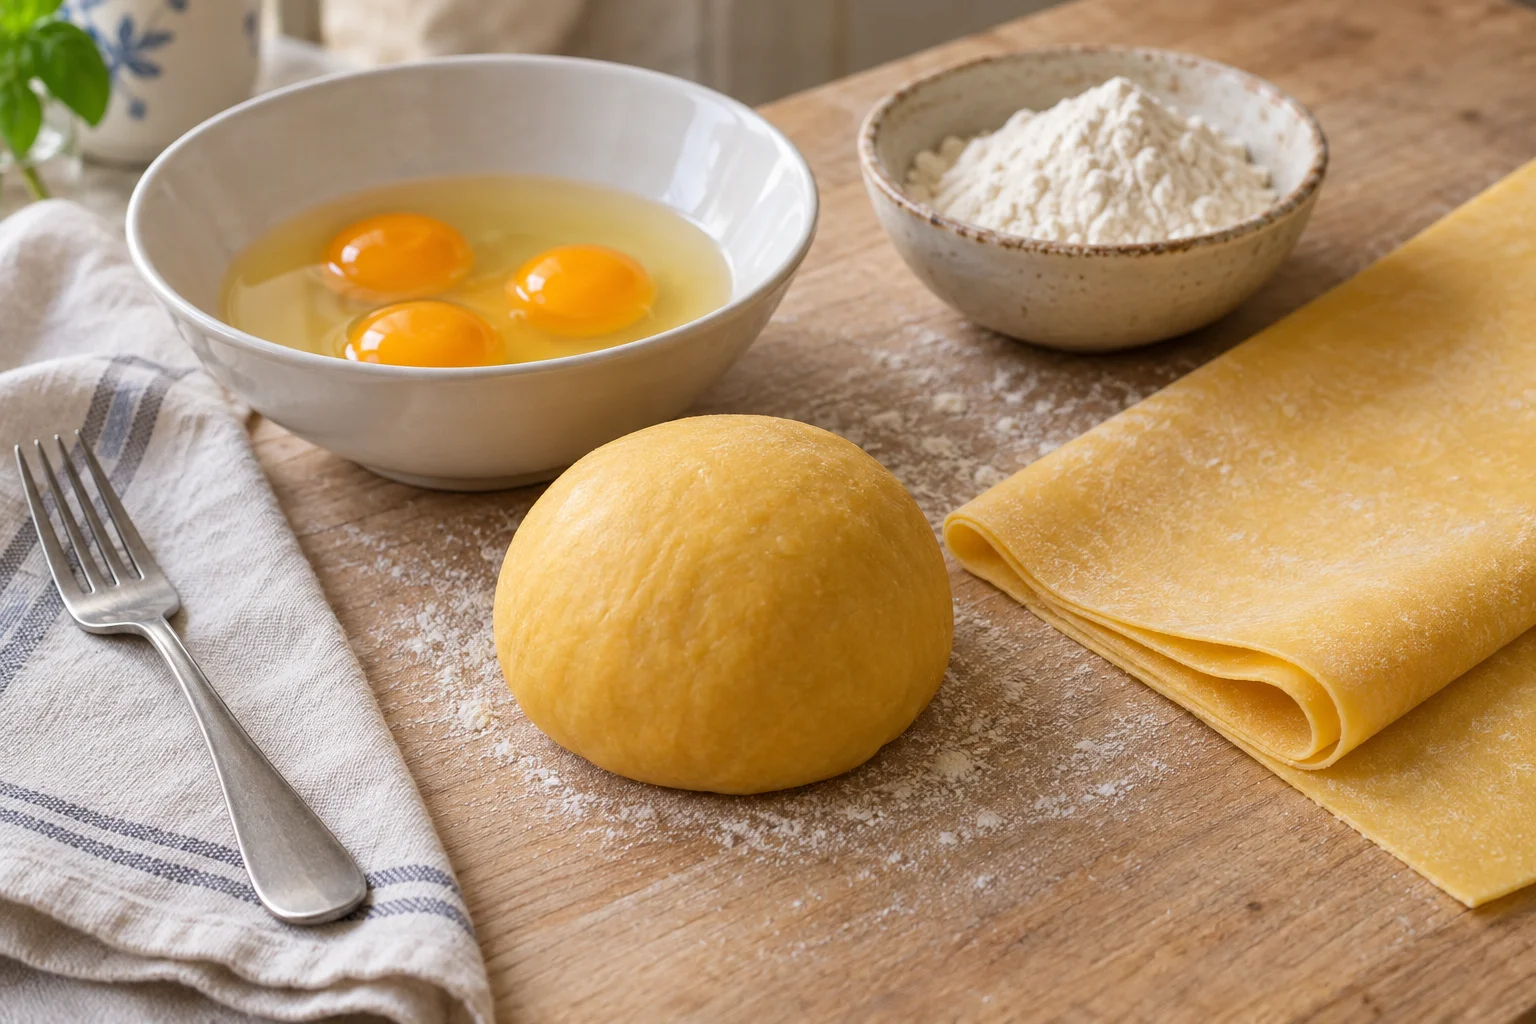
The familiar rule of one egg for every 100 grams of flour is a useful reminder, but it is not a complete formula. Eggs vary in size, and the shell does not belong in the dough. Three eggs can therefore produce a noticeably different result from three eggs bought the following week, even when the flour weight stays the same. If your dough alternates between supple and crumbly, start by checking the actual egg weight. Crack the eggs into a small bowl, beat the yolks and whites together thoroughly and weigh out what you need. This takes little longer than cracking them directly into a flour well and makes later adjustments much easier to understand.
For your first batch, record the flour product and the egg weight. “300 grams of flour and 165 grams of beaten whole egg” can be repeated; “three fairly large eggs” remains imprecise. Even an exact weight will not guarantee an immediately identical texture, however. Different flours absorb moisture differently, and an uncovered dough surface dries as you work. Assess the quantities alongside the condition of the dough. A recorded starting point lets you make a deliberate small change next time instead of having to work out the whole mixture again.
What whole eggs and yolks contribute
Whole eggs introduce water along with other components from both yolk and white. They moisten the flour and influence the colour, flavour and cooked texture. Yolks also contain fat and pigments, so a yolk-rich mixture behaves differently from one made with the same weight of whole egg. A strong yellow colour does not reveal the exact egg content or prove the quality of the pasta. The flour and the natural colour of the yolks also affect its appearance. Pale pasta has not necessarily gone wrong, and a deeply yellow dough still needs suitable moisture and careful handling.
You cannot reliably convert a whole-egg recipe simply by replacing every whole egg with one yolk. That changes both the total weight and the composition of the wet ingredients. For deliberately yolk-rich pasta, start with a formula designed for that purpose. If you want to experiment with a familiar dough, alter only a small part at first and record the weights. Changing the flour, egg balance and rolling thickness together makes any later difficulty harder to trace. A straightforward whole-egg dough is quite sufficient for your first ribbon pasta.
A weighed starting point for ribbons
For the method described here, start with 300 grams of finely milled wheat flour intended for egg pasta and 165 grams of beaten whole egg, weighed without the shells. This makes 465 grams of dough before dusting flour or small corrections. It provides roughly three pasta portions; you can serve smaller portions as part of a meal with several courses or a particularly rich sauce. You also need a little flour for handling and salt for the cooking water. This mixture contains neither oil nor added dough salt. Set out a bowl, scales, fork, dough scraper and a close-fitting cover. Use a pasta machine for rolling, or a long rolling pin with enough clear worktop space.
The 165 grams of egg equal 55 per cent of the flour weight, but this is explicitly not a water addition of 55 per cent. Egg contains more than water. Do not compare that figure directly with the hydration of a flour-and-water dough. For a smaller batch, for example, use 200 grams of flour and 110 grams of beaten egg, making 310 grams altogether. Beat enough eggs to weigh the amount you need. Keep any small remainder refrigerated for a promptly prepared, thoroughly cooked egg dish. Pouring it into the pasta as well would change the weighed formula you are trying to establish.
Choose the flour and mix it thoroughly
A fine flour that its manufacturer recommends for fresh egg pasta gives you a clear starting point. Tipo 00 does not describe every property of a flour: the designation cannot replace the product information or your observation of the dough. Recipes using ordinary wheat flour can work too, but may need different small corrections. Coarse durum semolina behaves differently during a quick mix from finely milled pasta flour. Avoid making an unnoticed weight-for-weight substitution. If you want a blend of soft wheat flour and fine semolina, begin with a suitable blended formula and record the two flour weights separately.
A bowl is convenient for a first attempt. Put the flour in it, make a well and add the weighed egg. Stir in the centre with a fork, gradually drawing in flour from around the edge. Once the mixture becomes too stiff for the fork, continue with your hand and a dough scraper. Press the loose crumbs into the main mass as well. An uneven mixture at this stage does not automatically need extra water. You can only judge whether moisture is missing after the ingredients have been thoroughly combined. The bowl keeps both the egg and the dry fragments contained while you do this.
Knead firmly without drying the dough
Knead the gathered mixture on a clean work surface with the heel of your hand, folding it back and turning it regularly. Allow roughly eight to ten minutes initially for hand kneading. This is a guide, not a target to follow regardless of how the dough feels. The mixture should become cohesive and increasingly smooth. Pasta dough remains considerably firmer than many pizza doughs; it does not need to flow softly around your fingers. If you tackle every slight trace of sticking with a large dusting of flour, you gradually change the ratio and make thin rolling harder later.
If dry crumbs remain after thorough mixing and kneading, add a few grams of beaten egg and work them in completely. Start with perhaps three to five grams, rather than another whole egg. If the dough is distinctly smeary and sticks across a broad area, add flour in similarly small weighed increments. First check whether you simply need to scrape dried dough from the worktop. A sticky work surface can make a properly mixed dough seem worse than it is. Do not transfer the hand-kneading time directly to a stand mixer: follow the load limits and instructions for your particular appliance.
Resting is part of the process
Cover the kneaded dough closely and leave it to rest for about 30 minutes. A closed container or suitable close-fitting cover prevents a firm skin from forming on the outside. Resting makes the subsequent rolling easier. This is not a yeast rise: the dough should neither puff up nor double in volume. When you flatten a small piece to check it, it should hold together as it changes shape. A dry outer layer is a different problem from an excessively dry mixture throughout. It often means that the cover was insufficient or too much dough was exposed while you worked.
After resting, divide the dough into four pieces and work on only one at a time. Keep the others covered. Refrigerate egg pasta dough if you need a longer interruption; do not leave it uncovered for hours while doing other kitchen jobs. A chilled piece may initially feel very firm. Keep it covered and allow enough time for it to become pliable enough to flatten without force, then assess the consistency again. Adding liquid purely because the cold dough feels stiff changes the formula unnecessarily when some of that stiffness may ease as it warms.
Roll evenly before aiming for thinness
Flatten the first piece enough for the widest roller gap on your machine to accept it easily. Start at that setting; your appliance instructions identify the relevant number. Feed the sheet steadily and support it as it comes out, without pulling hard. You can fold the dough between the initial wide passes to establish an even sheet. After that, reduce the thickness gradually. Avoid jumping across several narrow settings at once. If the sheet becomes longer than your work surface can comfortably accommodate, cut it across into two shorter sections and continue with those.
For ribbon pasta, an even sheet that cuts cleanly matters more than reaching the smallest possible gap. The appropriate setting depends on the machine and the pasta shape. If the dough springs back strongly, cover it for a few minutes before trying again. If the edges tear, check the moisture, the amount of dusting flour and the size of your last reduction in roller gap. With a rolling pin, also work progressively from thick to thin and turn or move the sheet regularly to prevent sticking. Pulling hard on one corner makes the sheet uneven and rarely solves the underlying problem.
Cut the pasta and prepare it for cooking
For cutting, the surface should be dry enough for the ribbons to separate while the sheet remains flexible. If necessary, leave it briefly and check often; dry room air changes it more quickly than a humid kitchen does. A fixed waiting time will not suit every situation. Dust both sides sparingly before using a suitable cutter attachment. If cutting by hand, fold or roll the sheet loosely, cut even strips and then open them out again. Tightly compressed folds are more likely to stick together and make separating the ribbons difficult.
Lay the cut ribbons loosely, with some space between them, on a lightly floured surface. Very tight nests of still-moist pasta may stick together in the centre. Have the sauce and cooking water ready in good time. For a later meal, you can freeze suitable shaped portions separately on a tray and pack them once firm. This is different from uncontrolled drying for cupboard storage. A ribbon that feels dry on the surface does not establish that it will keep safely at room temperature. Do not taste raw flour or raw egg pasta dough as you work.
Plan the cooking check and sauce together
Fresh ribbon pasta usually cooks much faster than dried pasta from the cupboard. The time needed for your batch depends particularly on its thickness and shape. With thin ribbons, begin checking early and think in terms of a few minutes, rather than the cooking time printed on a dried-pasta packet. Lift out a ribbon, let it cool briefly and check the thickest part. It should be cooked and yield pleasantly, without retaining a raw, floury core. Floating at the surface is not enough to make that decision by itself. Neither egg colour nor flour colour replaces a cooking check.
Save some cooking water before draining or lifting out the pasta. If the ribbons are to finish in a hot sauce, its pan must already be ready. That final stage counts towards the overall cooking time; ribbons cooked until completely soft in water would continue softening in the sauce. Cold pesto provides no such hot finishing stage, so the pasta needs to be sufficiently cooked in the water first. Add cooking water in small amounts as needed and toss gently. Egg noodles do not need a heavy sauce to show their flavour: a thin coating leaves the structure of the ribbons apparent.
Make the next batch easier to improve
After the meal, record the flour weight, egg weight and final roller setting you used. Add a short observation: did the sheet cut readily, did the ribbons stay separate in the pan, and was the centre properly cooked? These details help more than a general judgement about three eggs. An excessively firm bite might come from a sheet that was too thick even though the ingredient ratio worked well. Sticky nests can result from how the pasta was laid out, despite the rolled dough being suitable. Next time, begin by changing the stage at which the problem actually appeared.
Choosing a different pasta shape does not automatically require a completely new formula. Depending on how you process it, a familiar egg dough can make ribbons of several widths. Filled shapes do introduce additional requirements for moisture, sealing and filling, so a dedicated method is useful for those. If you want to work without eggs altogether, start with a flour-and-water recipe instead of simply leaving out these 165 grams. This gives you a clear starting point for each dough type and lets you use their respective qualities without confusing their ingredient weights.