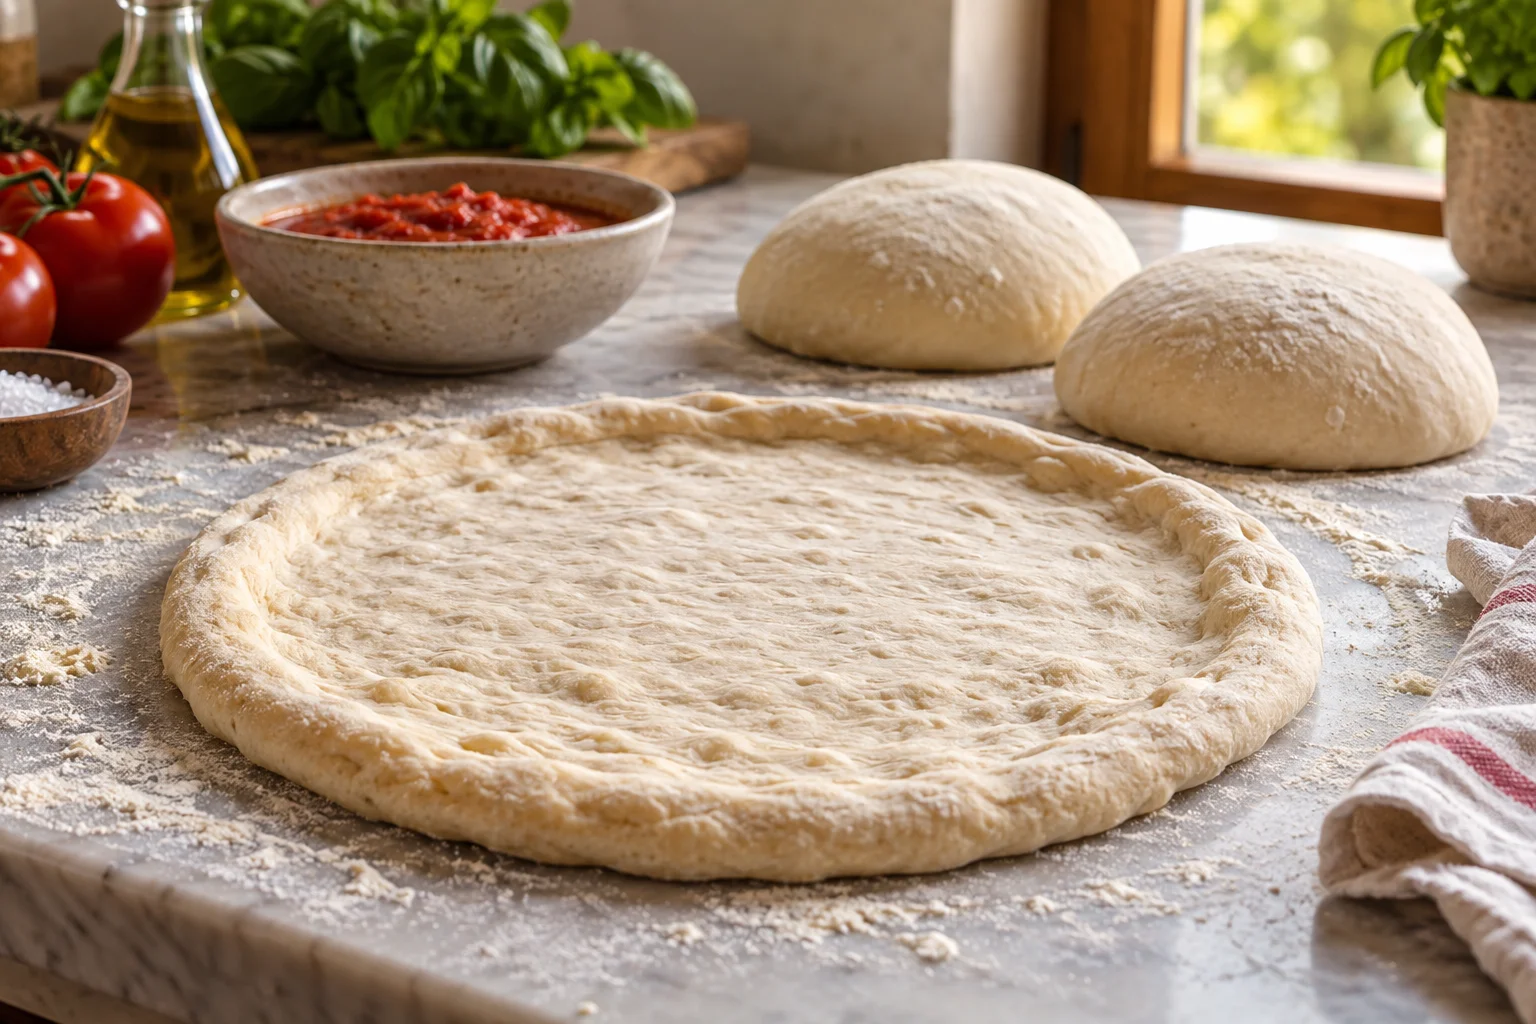
What a soft, airy rim needs
A Neapolitan-style pizza dough should stretch into a thin base and rise around the edge. Flour, water, fermentation and baking heat need to work together for that to happen. A high water percentage alone does not make a good dough. Start with a mixture you can knead, divide and move onto a peel with confidence. An evenly stretched base and a gently handled rim are more useful than chasing a few enormous bubbles. The method below makes four dough balls and can be adapted for a dedicated pizza oven or a domestic oven.
The classic Neapolitan dough mixture consists of flour, water, salt and yeast. This starting formula needs neither oil nor sugar. Decide on your baking day and oven before mixing. A domestic oven needs a different baking routine from a very hot pizza oven. Prepare suitable containers as well. Four dough balls kept separately are easier to remove than balls that have grown into each other. A lid prevents the surface from drying out. Check that the containers fit in your refrigerator before you make the dough.
A straightforward mixture for four dough balls
Start with 600 g suitable wheat pizza flour, 384 g water, 15 g salt and 1 g instant dry yeast. Those ingredients add up to 1,000 g dough, divided into four 250 g portions. Hydration is 64 percent and salt is 2.5 percent, both calculated against the flour weight. The yeast quantity is a starting point for the refrigerated schedule below. It is not a fixed amount for every room temperature or fermentation time. Weigh this small quantity of yeast on a suitable precision scale.
Choose flour that its manufacturer recommends for pizza and overnight fermentation. Tipo 00 alone does not tell you how strong a dough the flour will make. Two flours carrying that designation can behave differently with the same amount of water. Reserve 10 g of the measured water at first, then work it in as the dough becomes able to absorb it. If the mixture remains unusually soft and smeary, do not force in the remaining water. Record the amount actually used so you can make a deliberate adjustment next time and enter your own hydration in the dough calculator.
A schedule from the evening before to dinner
For pizza at about 7 pm on Saturday, you could begin mixing at about 6 pm on Friday. Knead the dough, leave it covered for roughly 45 to 60 minutes, then divide it into portions. Place the balls in closed food containers in the refrigerator. This starting schedule assumes a refrigerator temperature of about 4 to 5°C. Check the actual temperature with a refrigerator thermometer. A warm or tightly packed refrigerator cools dough more slowly, which changes how fermentation develops during the first part of the chilled stage.
On baking day, initially take the dough balls out around three hours before you intend to bake. A cool kitchen may require more time, while summer heat can reduce it considerably. Judge the dough as well as the clock. It should have visibly loosened, feel soft and open with little resistance. If the balls are already spreading widely early on, return the portions needed later to the refrigerator. There is no reason to leave every ball out all afternoon when your oven will bake just one pizza at a time.
Mix and knead without overheating the dough
Mix the instant yeast into the flour. Dissolve the salt in the water and add most of the liquid to the flour. Bring everything together until no dry pockets remain. A short covered rest of ten to fifteen minutes then makes kneading easier. The dough does not need to be a smooth ball yet. Scrape any pieces from the bowl back into the mixture and initially keep extra flour off the worktop. Adding flour repeatedly changes the balance of flour, water and salt without giving you a clear record of the adjustment.
Knead until the dough holds together and becomes noticeably more elastic. By hand, stretch it, fold it back and turn it. With a mixer, follow the manufacturer’s permitted dough load and kneading speed. Check the dough temperature during mixing if the bowl becomes noticeably warm. A finished temperature in the low to middle twenties Celsius is a useful target for this schedule. If it gets too warm, stop kneading and let it cool while covered. More time at full machine speed will not correct dough that has already overheated.
Divide the dough and form a smooth surface
Weigh the finished dough and divide it into four portions of similar weight. Small losses on the bowl and your hands are normal. Bring the outer edges of one piece underneath and close the seam. Round the ball on the worktop using lightly cupped hands. The aim is a smooth upper surface without repeatedly squeezing the ball flat. If its outer skin begins to tear, you have applied too much tension. Let the piece relax briefly before finishing the shaping with a gentler movement.
Place each ball in its container with the seam underneath. Allow enough room for it to spread as it ferments. A very thin coating of oil inside the container can help with removal later, but there should be no puddle. A suitable lightly dusted proofing container is another option. Close the lid before the surface develops a dry skin. Label the container with the dough weight and mixing time for your own reference. This is especially useful when comparing two flours or yeast quantities, because you can connect later observations with the correct batch.
Check readiness before stretching
A dough ball ready for baking feels relaxed and can be lifted with a dough scraper without snapping back like a firm rubber ball. Small visible gas bubbles and a softer surface provide useful clues. It does not have to double in size exactly. A finger impression is not a reliable timer on its own either, since flour, hydration and temperature affect how the dough springs back. Consider several signs together: volume, softness, stretchiness and whether the dough still holds its shape sufficiently well for you to handle it.
If it contracts immediately when you start opening it, cover it and give it another fifteen to twenty minutes to relax. Extend the warming period if the centre is still cold. If it spreads very flat and tears with little pulling, its structure has weakened. Handle it carefully, make a smaller pizza and keep the topping light. A badly overproofed portion may be easier to bake in a lightly oiled pan. Adding a large handful of flour to the outside cannot reverse fermentation that has already taken place.
Stretch the centre while preserving the rim
Dust the worktop and dough only enough to prevent sticking. Release the ball all the way round its container with a scraper and place it on the worktop. Press with your fingertips from the middle towards the outside. Leave a rim approximately one to two centimetres wide largely untouched. Do not work only in the very centre, or you will create a thin weak spot while the rest of the base remains thick. Turn the dough regularly and spread the pressure across the whole inner area.
Once you have a small disc, stretch it further with care. For a 250 g ball, a diameter of about 28 to 30 cm is a useful starting point, provided the peel and baking surface are large enough. You can drape the dough over the backs of your hands and let its own weight help. Avoid pulling at individual points, and remove rings or sharp jewellery first. Close a small hole by gently pressing its edges together. If the centre becomes translucent, stop stretching and accept a slightly smaller diameter.
Top lightly and launch promptly
For a first pizza, use around 60 to 80 g crushed tomatoes and 60 to 80 g well-drained mozzarella. The exact amount depends on the diameter and moisture content. Spread the sauce with a spoon, leaving the dough visible beneath a thin layer. Large piles of cheese and pools of liquid make even baking more difficult. Cut the mozzarella ahead of time and drain it in a sieve in the refrigerator. Keep utensils and the worktop clean, and do not taste the raw dough.
Before topping, check that the base can move on the lightly dusted peel. A small shake is enough. If one spot sticks, lift that spot and add a little flour or fine semolina beneath it. Top only the pizza that will go straight into the oven. A topped pizza left on the peel for ten minutes becomes harder to launch. Keep sauce and cheese away from the front edge of the peel as well. Sticky topping residue can catch the dough during launching and tear the base.
Match the baking heat to your oven
In a suitable dedicated pizza oven, the dough can bake at very high heat within a few minutes. Follow the particular appliance instructions for preheating, flame settings and operation. Measure the baking surface if you have a suitable infrared thermometer. Hot air alone does not tell you how much heat is stored in the stone. Turn the pizza once the edge facing the flame starts to colour and the base is firm enough to support the movement. Avoid lifting a part of the base that is still soft.
In a domestic oven, preheat a suitable stone or steel thoroughly. At 250°C with top and bottom heat, approximately eight to twelve minutes is a plausible starting range. Check from minute eight, or earlier with stronger top heat. Appliances, shelf position and toppings all change the timing. Judge the rim, underside and fully baked centre together. If the cheese darkens too early, reduce the heat reaching it from above or add it later. If the base remains pale, check preheating and shelf position before changing the dough formula.
Improve the next batch deliberately
After baking, note the flour, water and yeast quantities, dough temperature and actual resting times. Add a short observation: did it stretch easily, stay soft underneath or develop a dry rim? Change one major variable at a time for the next batch. If you simultaneously add more water, switch flour and double the yeast, it is difficult to tell which change helped. A soft base may also come from a wet topping or a baking surface that is too cool. It does not automatically mean the dough itself was wrong.
For a calmer pizza evening, prepare toppings and the serving area while the oven heats. The first pizza gives you information for the ones that follow. Does the surface need more recovery time? Would less sauce help? Should you turn the pizza sooner? Adjust the baking routine instead of leaving four topped pizzas waiting. A manageable batch and clear observations turn a recipe into a process you can adapt to your own kitchen. To increase the quantity, use the dough calculator with the percentages you actually used.