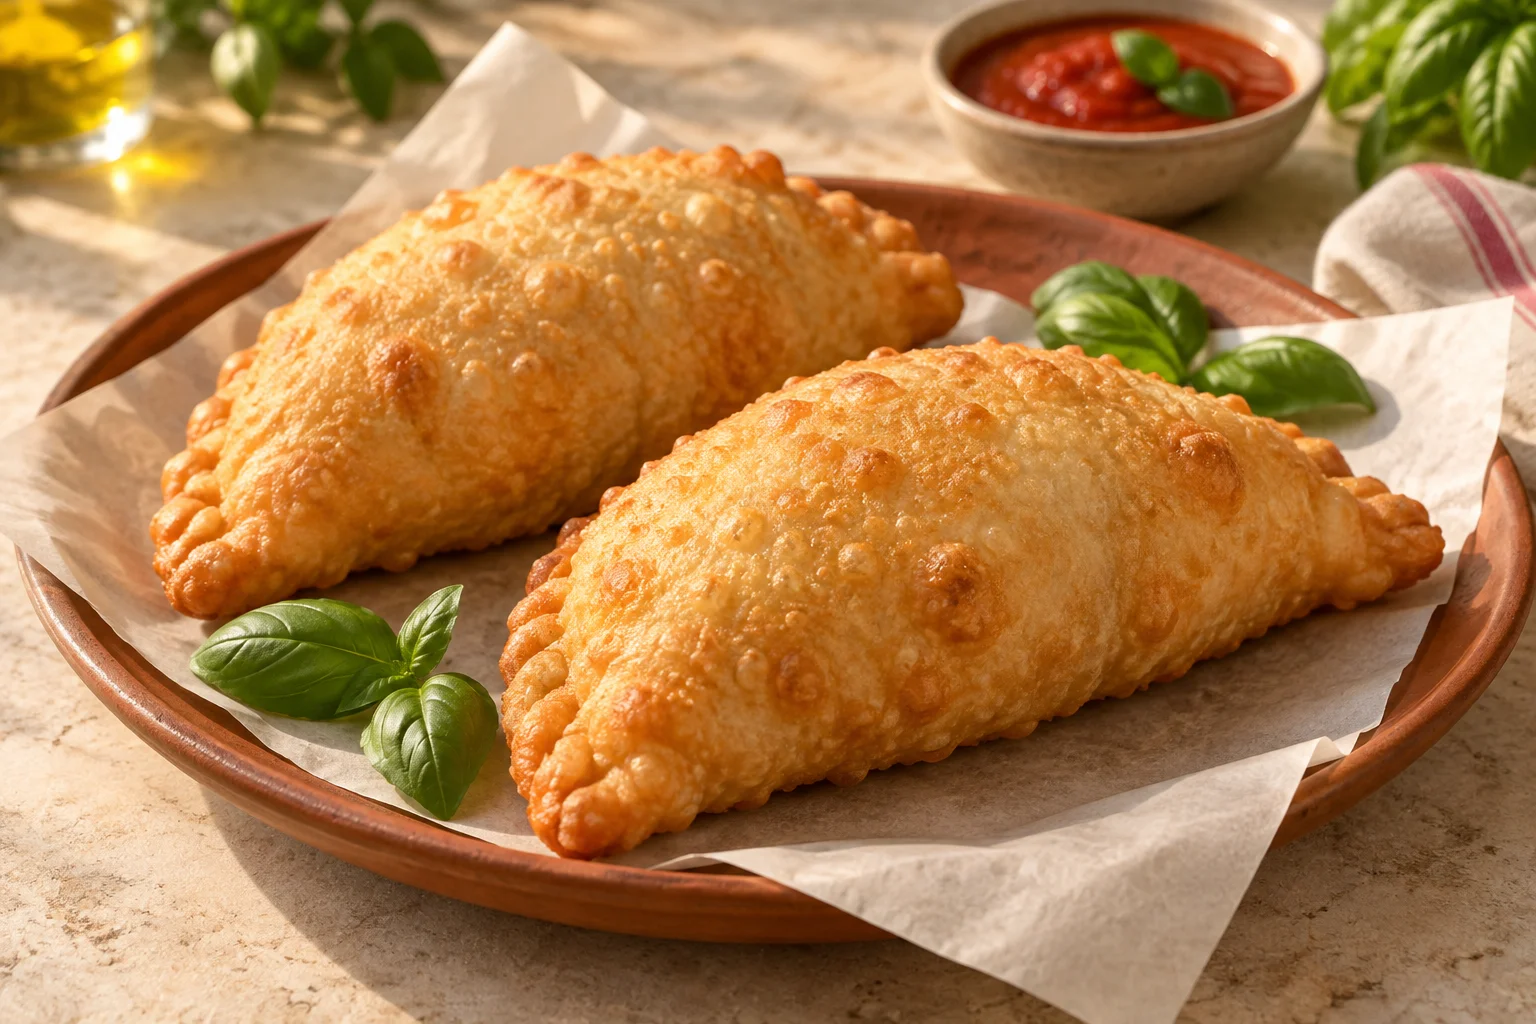
How filled pizza fritta differs from baked pizza
Pizza fritta means fried pizza. Depending on the version, the dough is filled before frying or topped afterwards. This guide focuses on filled half-moons, with the ingredients enclosed between two dough surfaces that cook together in oil. Unlike an oven, the surrounding oil transfers heat to the outside of the pocket. The dough can puff considerably and form bubbles on its surface. A shell that browns quickly still does not tell you whether the dough directly beside the filling is cooked. Size, thickness and temperature have to work together.
Prepare a suitable pizza dough and complete its fermentation according to its own recipe. Frying time does not replace proofing. Choose a dough that can be shaped thinly without tearing immediately. A very sticky, unstable dough makes filling and transferring it safely into oil harder. Small pockets are easier to handle for an initial batch than one very large pizza. They need less space, turn more readily and can be served in sequence. The number of portions in a recipe does not tell you how many will fit into your frying vessel at the same time.
A quantity example for four small pockets
Prepare four fully proofed dough balls weighing 125 grams each. For the filling in this example, use 120 grams drained ricotta, 80 grams firmer mozzarella and 40 grams thick, cooled tomato sauce. Add pepper and a little salt if needed. Cut the mozzarella into small cubes. These quantities refer to ingredients in the condition in which they go inside the dough, so after draining where required. This is a simple suggested combination, without implying that every Neapolitan pizza fritta should have exactly this filling or come in the same size.
Each pocket gets 30 grams ricotta, 20 grams mozzarella and 10 grams sauce: a total of 60 grams filling. With 125 grams dough, each uncooked portion weighs about 185 grams before the small amount of seasoning. Four portions require 500 grams dough and 240 grams filling altogether. Their finished weight cannot be predicted precisely from those figures, because cooking removes water and adds some absorbed oil. Do not automatically increase the filling because the circle appears to have spare space. You need a clear border and enough dough to close the pocket without stretching it tightly.
Keep the filling cool and spoonable
Drain ricotta if liquid has visibly collected around it. It should remain creamy and hold on a spoon. Very wet fresh mozzarella needs more preparation than a firmer version. If you substitute it, cut it small and drain it thoroughly. The tomato sauce should be thick and already cooled. The specified ten grams adds tomato flavour to each small pocket without a large volume of sauce. A thin, watery sauce is more difficult to contain and can soften the dough before frying even begins, making the filled pocket harder to lift.
You can mix the ricotta and sauce or distribute them separately; the important point is that liquid should not pool around the filling. Taste it before assembly and allow for the salt in the mozzarella. For an initial variation, replace some existing filling rather than adding more ingredients to it. Cooked mushrooms need to be cooled and freed of excess liquid. Meat should already be cooked through or be an appropriate ready-to-eat ingredient. Frying a closed dough shell is not a reliable way to cook raw meat pieces of an unknown size safely at the same time.
Set up the vessel, oil and work area
A suitable temperature-controlled deep-fat fryer makes heat easier to manage. Follow its instructions, filling marks and limits on the size of food. For a pan method, choose a stable vessel with high sides and enough width. Fill it no more than one-third full with oil, leaving room for displacement and rising bubbles. There must also be enough oil for the small pocket and the shape of the pan. If those requirements cannot both be met, the vessel is unsuitable for that size. Make smaller portions or use an appropriate alternative vessel.
Choose an oil labelled as suitable for frying. Have a thermometer rated for hot oil, a suitable slotted spoon or tongs, and a draining area ready. Utensils and the outside of the dough should be dry. Water entering hot fat can cause vigorous spitting. Clear the work area and plan the transfer from the dough board to the pan before heating anything. Keep pan handles out of passing space. Children and pets need to stay away, because lowering and turning the food require your full attention at the hob.
Measure the temperature and adjust steadily
For this filled version, an oil temperature around 170 to 175°C is a useful starting range. Measure with a suitable immersed probe according to its instructions, without leaving the tip against the hot bottom of the pan. An infrared thermometer reads a surface and is not a straightforward replacement for this measurement in the oil. Heat gradually and reduce the hob setting in time to avoid overshooting substantially. Visible smoke is not a signal that the oil is ready. Switch off the heat and allow the oil to cool if it starts smoking.
Adding the pocket initially lowers the temperature. Do not immediately turn the hob to its maximum setting; watch the reading and adjust moderately. Excessively hot oil can darken the shell before the inner dough layers cook. Oil that is too cool extends the process and changes the crust. One small piece is easier to assess for the first batches than a full pan. Before adding the next pocket, wait for the oil to return to the intended range. The hob setting alone cannot give a reliable temperature, since the pan, quantity of oil and heat source all affect the response.
Shape the dough and close the entire seam
On a lightly floured surface, shape a mature dough ball into a circle about 20 centimetres across. Keep it evenly thin without translucent weak spots. If it pulls back strongly, cover it and allow a short rest before continuing. That pause does not replace fermentation that is still missing. Brush away excess loose flour. Put the measured filling on one half, keeping about two centimetres clear around the curved edge. Spread it fairly flat so that the upper half will not need to stretch over a tall mound. The empty border must stay clean and free of oil.
Fold the other half over and gently ease large air pockets towards the still open edge. Press firmly along the whole curve. If the contact surfaces are very dry, dampen them extremely lightly with water first, leaving no wetness on the outside. Fold the outermost edge over once in a narrow fold and press again. Inspect the seam along its full length. Do not cut steam vents or prick this pocket with a fork. Unlike some oven-baked calzones, it needs a closed shell so that filling cannot escape into the oil and oil cannot enter through a deliberately made opening.
Fry one at a time and turn gently
Shape the pocket that will go into the oil next, rather than leaving filled dough waiting for a long time. A moist filling gradually makes transfer more difficult. Use suitable utensils to lower it carefully into the oil, away from you, without dropping it from a height. The small pizza needs sufficient room. Start with one at a time and keep the oil within the intended range. If using a fryer, follow its instructions for loading and using the basket. Avoid improvised handling that brings fingers close to the oil or requires moving an overfilled vessel.
Allow roughly six to eight minutes as an initial guide, but begin checking these small pockets at about five minutes. Turn carefully once the first side is stable and taking on colour, so that both sides cook evenly. Do not squeeze sharply pointed tongs into the dough. Shape, thickness and actual oil temperature all affect the time. Lift the finished pocket with suitable utensils and let excess oil drain over the vessel without squeezing it out. The exterior should be evenly golden. The first portion also needs an internal check rather than relying on that colour alone.
Inspect the centre and serve freshly fried
Let the first pocket drain and rest briefly before cutting it with a sharp knife. Examine the seam and the dough surfaces directly against the filling. There should be no raw, sticky dough layer. Melted cheese sits between those layers and needs to be distinguished from undercooked dough. A hollow outer bubble or a golden surface is not enough to establish that the centre is ready. If it is still raw, do not serve the portion in that condition. Finish cooking it in the oven rather than returning a cut-open pocket with exposed filling to the oil.
For the following portions, adjust dough thickness, filling depth or cooking time according to what you found. If the outside darkens too quickly, check the actual oil temperature first. Rest finished pieces briefly on suitable absorbent paper or on a rack over a tray, without stacking them tightly. Trapped steam would soften the crust more quickly. Pizza fritta is best served for the meal soon after a short cooling period. The filling remains hot; cutting the pocket makes its temperature easier to judge before eating. Serve any extra sauce separately so that the shell does not sit in liquid.
Deal with problems and handle hot oil carefully
If a seam opens, check the next piece for clean edges, less filling and a continuous seal. Close visible small tears before frying; an obviously unstable pocket should not go into the oil. A wet or heavily floured exterior makes the process less manageable. If the oil starts spitting heavily, keep your distance and switch off the heat if necessary instead of working hurriedly over the pan. Never leave heated oil unattended. Do not carry a hot pan of oil around the kitchen in an attempt to make it cool faster.
Never pour water onto burning fat. Turn off the heat if safe, and smother a small pan fire with a suitable lid only if you can do so without putting yourself at risk. If danger remains, leave the area and call 112 in Germany or the appropriate emergency number where you are. After normal cooking, let the oil cool completely before transferring or disposing of it. Do not pour it down the drain; follow local disposal guidance. Any later reuse depends on its condition, previous heating and product instructions, rather than a universal number of allowable batches.
Organise several portions before guests arrive
For guests, portion the cheese and sauce ahead and keep perishable ingredients refrigerated until needed. Keep dough balls covered according to their recipe. Plan to shape each pocket immediately before its turn in the oil. One person at the hob has limited capacity to fill dough, monitor oil temperature and hand out finished portions at once. Set out plates and side dishes beforehand and serve the small pockets in sequence. That avoids leaving the first pieces under a cover while the last dough ball is still waiting to be filled on the work surface.
If everyone must eat at exactly the same moment, tray-baked calzones may suit the schedule more easily. With pizza fritta, frying in portions is part of the method. The four small pockets in this example can be divided as a shared starter or served differently according to appetite and side dishes. Identify different fillings through a clear order, without piercing the shell afterwards to mark them. Check specific cheeses and other ingredients for dietary requirements. A carefully prepared small batch gives you more useful information than several differently sized pockets competing for space in the oil at once.