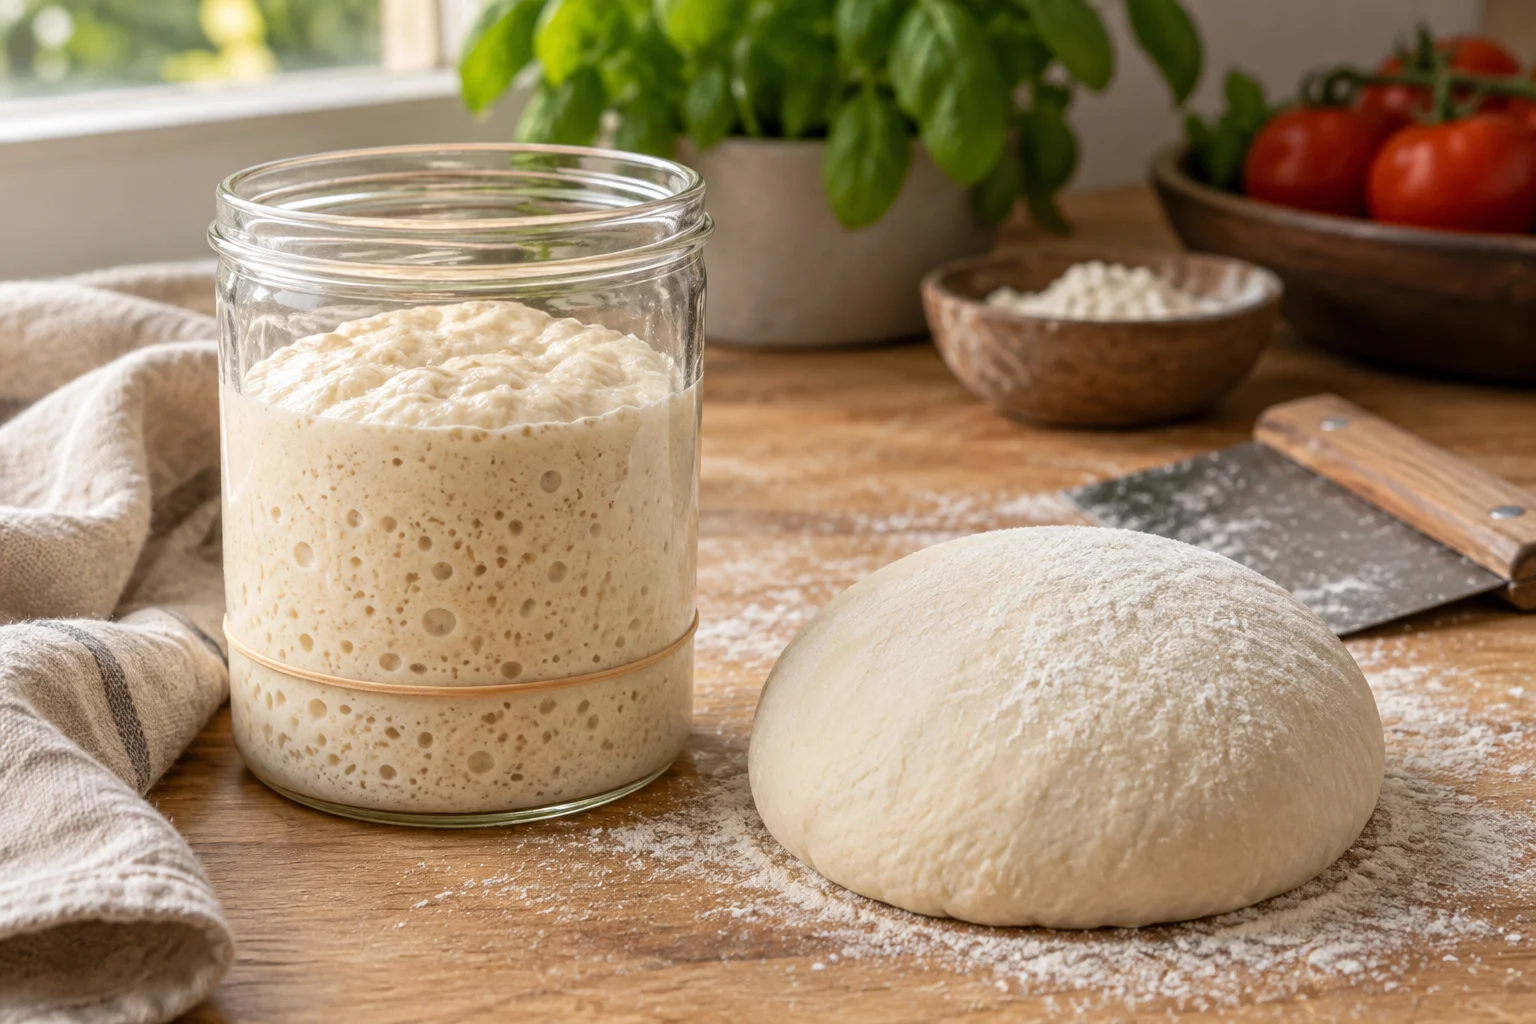
Sourdough pizza starts with an active culture
Sourdough pizza needs a starter that rises reliably after feeding. A jar of old, barely active starter taken from the fridge does not meet that requirement. This method uses sourdough as the only leavening and adds no commercial baker's yeast. The dough is not yeast-free, however: natural yeasts are among the organisms working in the starter. They produce the gas that aerates the dough. If you have previously baked only with instant yeast, the most useful observation shifts from a weighed yeast quantity to the condition of your starter and dough.
The batch makes three pizzas from portions of approximately 279 g each. The schedule combines an initial rise at room temperature with a night in the fridge. You do not need a new mixer. A scale, bowl, suitable covered dough containers and some fridge space are enough for preparation. A thermometer helps with judging the timings. Make the first batch on a day when you can respond if the dough develops slowly. A precise time printed in a recipe cannot make an inactive starter finish on schedule regardless of its condition.
Refresh the starter and recognise ripeness
The calculation here uses a wheat starter containing equal weights of flour and water, which means 100 percent hydration. For example, mix 20 g of an established, active starter with 50 g water and 50 g wheat flour. This gives 120 g of refreshed starter, of which 100 g will go into the final dough. The small excess makes weighing easier. Keep some culture back for future feeding. If your usual starter is considerably firmer or more liquid, the water calculation explained below will need adjusting rather than transferring unchanged.
Put the mixture in a clean container with room to expand and mark its starting height on the outside. Cover it to prevent the surface from drying. At around 24 to 26°C, observe how it increases in volume. Roughly four to eight hours can be an initial guide, but the culture and feeding ratio affect that interval. Use it when it is well aerated, full of bubbles and clearly risen. The top may be slightly domed before eventually beginning to sink. One large bubble is not sufficient evidence of dependable leavening power.
If the culture shows little activity after this feed, refresh it again and postpone mixing the final dough. A starter newly created from flour and water needs several days, sometimes longer, to become reliable. That process cannot be compressed into this pizza schedule. Visible mould is a reason to discard the starter. Otherwise, judge ripeness from several signs rather than relying only on a float test in a glass of water. Whether a spoonful floats also depends on how much gas remains trapped in it when you take the sample.
Include the starter's flour and water in the total
For the final mix, weigh 450 g suitable wheat pizza flour, 275 g water, 100 g ripe starter at 100 percent hydration and 12.5 g salt. The starter already contains 50 g flour and 50 g water. Your complete dough therefore has 500 g flour and 325 g water, giving 65 percent hydration. The total dough weight is 837.5 g, or three portions of about 279 g each before allowing for small amounts left on the bowl and tools. These totals explain why the starter cannot simply be treated as a dry yeast replacement.
Salt is 2.5 percent of the total flour. Ten percent of that flour has already fermented in the starter. This distinction helps when comparing recipes: the 100 g of starter is 20 percent of the total flour weight here, but contains only 50 g of prefermented flour. Two recipes can therefore give similar numbers for their sourdough percentage while meaning different things. Record the actual gram quantities for your own batches. That keeps the flour and water supplied by the starter visible even when you change the overall dough quantity.
Mix, knead and develop a coherent dough
Stir the ripe starter into most of the water until well dispersed. Add the flour and mix until no dry patches remain. Cover the rough mixture and rest it for about twenty minutes. Dissolve the salt in the reserved water, then work it in. You can reserve about 40 g from the specified 275 g for this purpose. It comes from the total water quantity; it is not extra liquid. This small separation makes adding the salt easier without changing the dough calculation or quietly increasing the hydration.
Continue kneading by hand until the dough becomes more even and elastic. It can remain slightly sticky. Constantly dusting it with extra flour loses the planned hydration. A scraper and briefly dampened hands make it easier to handle. After about thirty minutes of rest, give it one round of stretching and folding towards the centre if it still lacks strength. Repeat after another half hour if needed. Stretch only as far as the structure allows. Dough torn apart during every fold does not gain stability more quickly through forceful handling.
Let fermentation become visible before chilling
A dough temperature in the mid-twenties Celsius is a useful starting point for the first rise. Keep the dough in a covered bowl or suitable container and watch it become lighter. With an active culture and a temperature around 24 to 25°C, this stage may take approximately four to six hours. The surface should soften and become slightly rounded, with small bubbles sometimes visible at the sides. The dough does not need to reach its maximum expansion before chilling, but it should show clearly more activity than immediately after mixing.
A straight-sided container with a marked starting level makes progress easier to see. Initially, look for a noticeable volume increase of roughly a third to a half while also checking the structure. That is a working range for this schedule, not a universal proofing threshold. Warm dough continues fermenting as it cools. A large mass also cools more slowly than individual portions. If the dough already spreads very softly and holds little tension, avoid leaving it warm for hours longer simply because the planned time has not yet elapsed.
Divide the dough into three portions and gently round each into a smooth ball. Close the seam underneath without tearing the surface. Put the balls in lightly oiled, covered food containers and refrigerate. For the first batch, plan about twelve to twenty-four hours at around 4 to 5°C. Longer is not automatically better. Continued fermentation can make the dough more acidic and weaker. Begin with one night so you can learn how your particular culture behaves before extending the cold stage. Keep the containers covered throughout to prevent a dry skin.
Build a schedule with some room to adjust
One possible plan for Saturday evening begins with refreshing the starter on Friday morning. When it is ripe, mix the final dough around midday or early afternoon. In the evening, after visible initial fermentation, divide it and refrigerate the balls. On Saturday, initially take them out about three hours before the planned meal. This schedule works only if the starter actually shows the ripeness described. A slower refresh shifts the final dough too. Have a simpler alternative meal in mind if dinner must begin at an absolutely fixed time.
On baking day, assess each ball before opening it. It should have softened and stretch without strong resistance. A cold, firm portion needs longer. Handle a warm ball that is spreading very flat sooner and as gently as possible. Take later portions out of the fridge in stages if you plan a longer pizza evening. This avoids giving every ball the same additional time in a warm room. Refrigeration slows fermentation, but does not stop it instantly as soon as you close the container or put it on the shelf.
Shape and bake without rough handling
Release the dough ball with a scraper and place it on a lightly dusted surface. Press from the centre outwards, leaving a narrow rim. For a portion of about 279 g, a diameter near 30 cm is a useful starting point. Stretch evenly rather than pulling on just one edge. If the centre becomes thin early, keep the pizza smaller. Strong contraction calls for a little more covered rest. Avoid repeatedly lifting and folding a soft sourdough base when a few careful movements will open it to a workable size.
Top the first pizza lightly, for example with 70 g crushed tomatoes and 70 g well-drained mozzarella. That makes the dough easier to assess. In a domestic oven, preheat a suitable baking surface according to its instructions and start around 250°C with conventional top and bottom heat. Approximately eight to twelve minutes is a window to observe, with checks from six minutes. Cook the base through before removing the pizza. In a dedicated pizza oven, follow an appropriate setting for the appliance and expect a much shorter bake instead of transferring the domestic timing directly.
Understand sourness, stickiness and poor rise
If the dough tastes more sour than you want, shorten the extended storage phase next time and use a freshly refreshed, active starter. Adding more starter is not an automatic solution because it also adds more already fermented material to the final dough. If the pizza remains dense, first check whether the culture rose reliably after feeding and whether the dough visibly fermented before chilling. Baking longer cannot supply missing aeration. It may simply make a dense base drier while leaving the underlying fermentation problem unchanged for the next batch.
If a dough that was manageable earlier becomes very sticky, flat and prone to tearing, fermentation may have progressed far enough to weaken its structure. Large additions of flour cannot restore its earlier state. A weak but unspoiled portion is often easier to handle gently in an oiled pan than to launch freely. For the next batch, shorten the fermentation or keep it cooler. Avoid changing flour, starter quantity and hydration at the same time. Otherwise, it becomes difficult to explain which change caused the next pizza to behave differently.
Record the details that help the next bake
Note the refresh ratio, time until clear starter activity, dough temperature after mixing and duration of the warm and cold stages. Add a brief description of the balls before baking. Those observations make the process more repeatable than collecting a succession of new recipes. If your starter consistently ripens later than expected, begin the refresh earlier. If only the final pizza was difficult to shape, try taking the balls from the fridge at staggered times before changing the whole batch. Match the adjustment to the particular problem you observed.
For a larger batch, increase every gram quantity proportionally. Six pizzas of the same size need twice the final dough and 200 g ripe starter. Scale the refresh too, while still keeping some culture for future feeding. Check the space available for the dough containers beforehand. Fermentation time does not automatically double with batch size, although a large warm mass cools more slowly. Retain the method of chilling individual portions when increasing the quantity. That keeps shaping and baking order manageable when you are cooking for more people as well.