What a flour-and-water rest does
A classic autolyse begins by mixing only flour and water, then leaving that rough mixture covered for a short rest. Yeast and salt are added later. The flour can absorb water, and the dough's consistency starts changing without prolonged kneading. For pizza, this is particularly useful when your dough feels very tight during handling or you want to reduce the active kneading. It is an additional step with a specific purpose. Pizza dough can also work well with a suitable direct mixing method that does not include this separate rest.
Autolyse replaces neither the subsequent fermentation nor an appropriate water quantity. Waiting alone will not turn an excessively dry mixture into soft dough, and flour mixed with water is not yet a mature, aerated yeast dough. Larger holes or a particular flavour are not automatically guaranteed either. Judge its value by handling: does the mixture come together and stretch more easily afterwards without losing support? If your existing method already produces manageable dough, you do not need to add the pause simply because it has a technical name. Use it to address a real handling need.
Distinguish it from an ordinary mixing rest
Recipes do not always use the terminology consistently. Some call a rest an autolyse even when yeast or sourdough starter has already been added. For practical planning, what matters is which ingredients are actually in the bowl. Once an active leavening agent is present, fermentation is taking place alongside hydration, and that time belongs to the fermentation schedule. In the classic version described here, yeast and salt stay out during the first short rest. You can therefore distinguish the beginning of yeast fermentation from the earlier hydration of the flour.
Resting after mixing all the ingredients can also make subsequent kneading easier. It is often simpler if you do not want to incorporate ingredients later, and it does not require a special name. Choose a sequence you can reliably follow, without accidentally combining different versions. If a recipe already includes a twenty-minute mixing rest, adding another long autolyse before it is not automatically useful. That changes total time, temperature and later dough strength. First identify which step you intend to replace or supplement, then set the timer for that deliberate change.
Prepare a straightforward batch for three pizzas
For the example below, use 500 g white wheat flour suitable for pizza or yeast dough, 325 g water in total, 12.5 g salt and 2 g instant yeast. These ingredients produce a calculated 839.5 g dough, or three portions of approximately 280 g. Hydration is 65 percent, salt is 2.5 percent and instant yeast is 0.4 percent, all expressed against the flour weight. There is no added oil. This is a straightforward same-day sequence, with the later fermentation taking place at approximately 22 to 24°C rather than in the fridge.
Divide the water before starting: 300 g goes into the initial flour mixture and 25 g remains in a small container. Together they still make the intended 325 g. Weigh the salt and yeast beforehand too, placing them visibly beside the bowl so they are not forgotten in a cupboard. Have a dough scraper, cover and three suitably sized dough containers ready. Allow roughly four to six hours from the first mix to baking as a planning window. The signs of readiness described below determine the actual timing rather than the clock alone.
Mix only until all the flour is damp
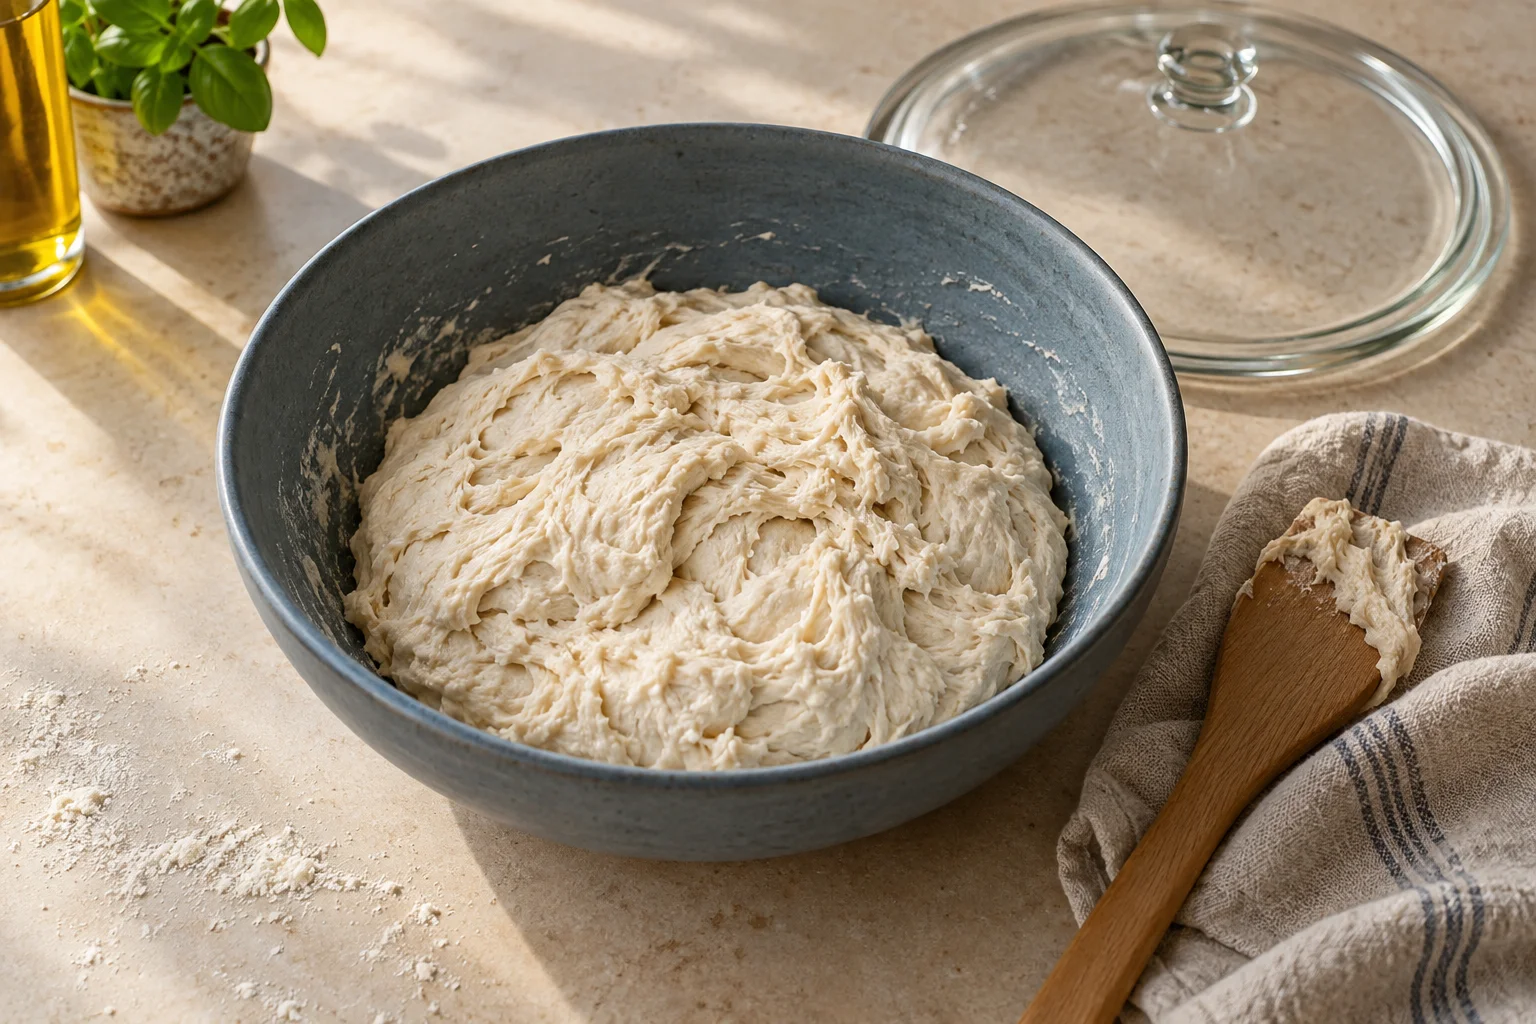
Add the 300 g water to the flour and combine by hand, with a dough scraper or with a suitable spoon. Gather any dry patches from the bottom of the bowl. The mixture may remain rough and uneven; you are not aiming for a fully kneaded smooth ball at this stage. With 60 percent water in the initial mixture, it will feel fairly firm. The remaining five percentage points arrive later. If loose flour remains, first press and fold the damp pieces together thoroughly rather than immediately pouring in extra unmeasured water.
Cover the bowl and leave it for about twenty minutes at ordinary room temperature. Avoid direct sunlight or a particularly warm proving location. This short rest should help handling, rather than encouraging the strongest possible breakdown of the dough structure. Afterwards, the mixture may look more cohesive and stretch more easily. A complete thin windowpane is not yet necessary. A modest visible difference is not a reason to keep extending the rest indefinitely. Continue as planned with the remaining ingredients, observing how the mixture responds during incorporation and kneading.
Incorporate yeast, salt and the reserved water
Immediately before adding it, stir the 2 g instant yeast into the reserved 25 g water, provided that this does not conflict with your product's instructions. Distribute the mixture over the dough and work it in by pressing and folding. Sprinkle the 12.5 g salt evenly over the mixture as well. The salt does not need to be completely dissolved in those 25 g water beforehand. Initially the surface may feel slippery and the dough may separate into pieces. Gather them with the scraper and allow time for the water to be absorbed.
Continue kneading gently until the dough becomes uniform, cohesive and extensible. By hand, alternate short periods of work with brief pauses if helpful. In a mixer, use a low speed permitted for yeast dough and watch its development. Do not automatically add the full kneading time from another method on top of the autolyse. Its potential benefit is precisely that less intensive work may be sufficient. Check the final temperature too. A well-developed dough does not need to keep running just because a timer still has several minutes left on it.
Guide the subsequent rise by the dough
Place the dough in a suitable covered container. For the first rise in this example, watch it over approximately two to three hours at 22 to 24°C. It should visibly increase in volume and become aerated. If it initially lacks support, give it one gentle fold after half an hour. Stretch the sides only as far as they comfortably extend without tearing. This simple batch does not need a regular succession of forceful folds. Including an autolyse does not oblige you to make the later handling more complicated than necessary.
Divide the aerated dough into three roughly equal pieces and gently round them into balls. Place them in closed containers and initially allow another one to two hours at a similar temperature. The portions should relax so they can be opened without strongly springing back. A cooler kitchen may lengthen the process, while a very warm batch may become ready sooner. Do not count the twenty-minute autolyse as equivalent yeast fermentation: in this example, no yeast was present then. The overall plan includes both stages, but treats them as different parts of the preparation.
Shaping and baking still need their own attention
Carefully release a ready dough ball and open it on a lightly floured surface. Start with a diameter around 26 cm. If it remains relaxed and stable, enlarge it to 28 to 30 cm while leaving a narrow rim. Avoid pulling further at thin spots merely to reach a target size. Better extensibility does not mean unlimited strength. Transfer the base to a lightly dusted peel and check that it moves freely before adding toppings. It should remain a coherent sheet of dough when launched, rather than stretching unevenly during the movement.
For a straightforward home-oven version, use approximately 70 g crushed tomatoes and 65 g well-drained mozzarella per pizza. Preheat a suitable stone or steel according to its instructions in an oven around 250°C with conventional top and bottom heat. Begin checking from minute six; roughly eight to twelve minutes is a starting range rather than a fixed guarantee. Inspect the underside, rim and centre. An overloaded damp base will not automatically become crisp because it had an autolyse earlier. Baking surface, base thickness and topping quantity remain important to the result.
Consider flour changes and long rests carefully
Very extensible or delicate doughs do not necessarily benefit from a longer autolyse. With an already soft spelt dough, for example, another prolonged rest is not a universal route to better structure. Freshly milled flour may also behave differently from stored white pizza flour. If a dough becomes increasingly smeary and tears easily after a long warm rest, begin by shortening or omitting that additional rest on the next batch. More time is not always the answer. What matters is whether the dough actually remains easier to handle afterwards.
Wholemeal flour may become more manageable after a suitable hydration stage, but it needs its own water and timing plan. Do not replace all 500 g white flour in this example with wholemeal without acknowledging the change and expect the same consistency. Gluten-free blends have their own specified hydration and binding steps. They do not develop a wheat gluten network and should be handled using an appropriate method. The classic autolyse description is therefore not universal guidance for every flour. When making a substantial flour change, choose a matching complete recipe and assess the rest within that sequence.
Fit the pause into an existing method
If you already have a reliable pizza dough, initially change only its beginning. Keep the same flour and total water weights, reserve a small measured amount of water for later incorporation and give the initial mixture a short covered rest. Keep yeast, salt and the subsequent fermentation deliberately accounted for. Note whether active kneading becomes shorter and how the dough handles when opened. Avoid changing the yeast quantity, flour brand and refrigeration period at the same time. Otherwise it becomes difficult to attribute any improvement or deterioration to the additional pause.
For sourdough recipes, account for the flour and water in the starter. A 100 g starter containing equal flour and water contributes 50 g of each. If it is added later, those quantities are absent from the initial mixture, which may therefore be substantially firmer than the finished dough. Follow the allocation in a suitable sourdough method. The direct yeast example above remains simpler: 500 g flour with 300 g water, twenty minutes of rest, then 25 g water, yeast and salt. This clearly separated step provides a useful basis for an adjustment you can understand and repeat.