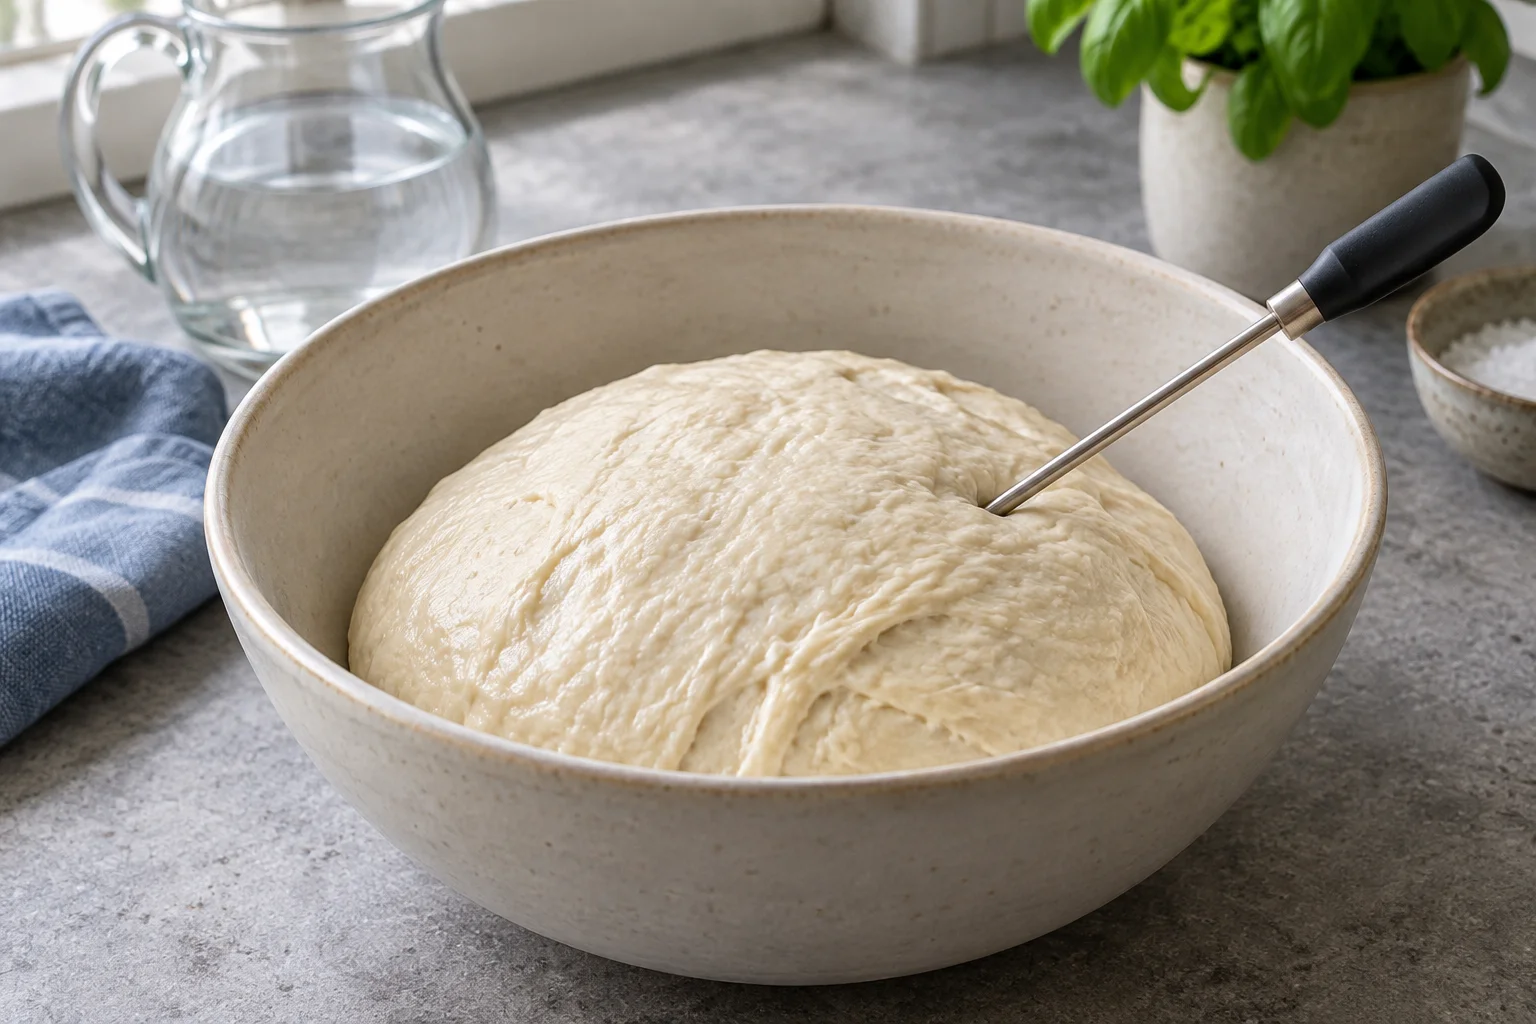
Warm dough and cool dough mature differently
If your pizza dough becomes very soft early in summer but barely rises in winter, you may still have weighed the same recipe correctly. Temperature changes the process. Yeast works faster in a suitably warm environment than in a cool one, while the dough's structure continues developing during fermentation. Check temperature before making fundamental changes to flour, water or yeast. The reading immediately after kneading is particularly useful because it describes the starting condition as your dough enters its first rise. It gives you something concrete to compare between different batches.
For many straightforward wheat pizza doughs, a temperature around 23 to 25°C after mixing is a useful starting point. It is not a compulsory limit for every recipe. A method involving a long cold fermentation may deliberately start with cooler dough, while other methods require different conditions. Begin with the target specified by your chosen recipe. The calculations below use 24°C as an example. They help you make a particular process more repeatable rather than forcing every pizza, regardless of flour, yeast and timing, towards one universal temperature.
Measure inside the dough and record when
A clean probe thermometer measures the temperature within the dough. Insert its tip far enough into the mass without touching the bottom or side of the bowl. Wait for a stable reading. With a larger batch, check a second position to see whether its temperature is reasonably even. Measure only with the mixer switched off and stationary; a thermometer does not belong between a moving dough hook and the dough. Record the reading immediately after kneading, rather than half an hour later on the counter, or you will be comparing different stages.
An infrared thermometer does a different job. It measures surfaces and can be useful for checking a suitable baking stone surface, for example. The outside of a dough ball, however, may already be warmer or colder than its centre. Pointing through a closed plastic container does not simply reveal the temperature inside the dough either. Your hands offer only a rough impression. Dough below body temperature can feel cool even when it is fairly warm for the chosen method. A recorded probe reading is more useful for troubleshooting than a memory of how it felt.
Water is the easiest ingredient to adjust
Several influences determine the final dough temperature. Flour from a warm cupboard, the room, the bowl and the mixing process all contribute. Water is particularly easy to adjust before mixing. If the kitchen is warm and the mixer adds substantial heat, cool water can be appropriate. The blanket instruction to start every yeast dough with lukewarm water therefore does not suit every pizza. Also follow the instructions for your yeast: any explicitly required preparation of that product and the desired final temperature of the entire dough are two different considerations.
After combining warm and cold water, measure it again before adding it to the flour. Do not rely only on the tap position. The intended total weight remains unchanged: colder water does not mean more water. If the formula needs 325 g, all the portions must still add up to 325 g. Adding loose ice cubes by guesswork would change both temperature and hydration once they melted. For ordinary home batches, chilled but fully liquid water is usually easier to measure than an unplanned addition of ice to the bowl.
Use a simple calculation for a direct dough
For a direct dough without a preferment, a common baker's calculation estimates the required water temperature. Multiply the desired final dough temperature by three, then subtract room temperature, flour temperature and a friction factor. The friction factor is an empirical value for your mixing process; the next section explains how to establish it. This is a practical approximation rather than a complete physical heat model. It assumes that formula, quantity, mixer and kneading sequence remain sufficiently similar. For a single small batch without previous readings, begin with a cautious estimate and check the result.
For example, suppose you want the finished dough at 24°C. The room and flour are both at 22°C, and your appropriately determined friction factor is 8. The calculation is 3 × 24 − 22 − 22 − 8 = 20°C for the water. Use Celsius consistently and a factor appropriate to that scale. Do not insert an unchanged factor copied from a Fahrenheit table. If the room and flour later both reach 26°C, the same approximation gives water at only 12°C. This illustrates why cooler water is often useful in summer.
Derive the friction factor from your own process
The friction factor is not simply the difference between the water temperature and the final dough temperature. It is established within the same approximation. For a normal direct batch, record room, flour and water temperatures, knead as intended, then measure the dough. Three times the actual final dough temperature, minus room, flour and water temperatures, gives the calculated factor. Record mixer speed, duration and dough quantity as well. The value belongs to that procedure. If you subsequently knead twice as much dough for longer at a higher speed, it may no longer apply.
Suppose the room and flour are both at 22°C and the water is at 20°C. After your kneading sequence, you measure the dough at 25°C. That gives 3 × 25 − 22 − 22 − 20 = 11 as the factor. For the same procedure with a 24°C target, the next calculation would be 3 × 24 − 22 − 22 − 11 = 17°C water. Check the actual result again nonetheless. The factor also absorbs simplified assumptions about the process. It does not directly establish that the mixer physically heated the dough by eleven degrees.
Treat preferments and different mixing methods separately
A substantial quantity of poolish, biga or sourdough introduces another mass with its own temperature. The simple three-factor calculation does not represent this sufficiently. In the usual extended approximation, multiply the target by four and additionally subtract the preferment temperature. This version also needs a suitably established friction factor. The amount and consistency of the preferment affect the actual result. A cold firm block of biga behaves differently during incorporation from a liquid poolish standing in a warm kitchen. Measure the preferment and, most importantly, check the finished final dough.
The same caution applies when changing the way you mix. Hand kneading with rests, using a small stand mixer and using a spiral mixer involve different processes. A manufacturer's figure for one machine and batch size is not a fixed natural constant. Nor should you deliberately knead longer merely to reach a temperature target. First assess whether the structure is sufficiently developed. If the dough is ready but a little cooler than planned, monitor the subsequent rise accordingly. Extra intensive kneading can weaken the structure and does not sensibly solve every temperature problem.
Protect the first rise from accidental heat
Temperature continues changing after kneading. A warm room, direct sun or proximity to a preheating oven may affect the dough more than the carefully calculated water temperature did initially. Put the covered container in a reasonably steady location. If its development seems unusual, measure both that location and the dough again. A dedicated proving box is not essential for a small home batch. Often it is enough to move the bowl out of sunlight or choose a quiet spot where the temperature changes little during the rise. Keep the surface protected from drying.
Also watch the increase in volume and the tension of the surface. If the dough becomes aerated well before the planned time, the whole process may have been warmer than expected. Adjust the sequence where appropriate, perhaps dividing sooner or moving the container somewhere cooler in line with the recipe. Neither a clock nor a thermometer replaces looking at the dough. A batch starting at exactly 24°C can reach a very different stage with another yeast quantity or warm holding time. Temperature is an important part of planning, but it is not the only variable.
Cooling and warming take time at the centre
When warm dough goes into the fridge, its interior does not immediately match the surrounding temperature. A large undivided mass takes longer to cool than smaller portions with more surface area relative to their volume. Plan suitable containers and sufficient fridge space. The actual temperature at their position is more informative than a numbered appliance setting. Avoid unnecessarily frequent opening and rearranging. The dough can continue maturing while it cools. This transition belongs to the complete fermentation schedule and should be considered when a batch appears to have developed too early.
The process reverses after removal. The surface warms sooner than the centre, so a soft exterior does not necessarily mean that the whole ball is ready to stretch evenly. Keep the portions covered and allow the time specified in the recipe. A very warm spot immediately beside the oven accelerates warming at the edge more than at the centre and can encourage a dry skin. For several baking rounds, bring portions out in stages. The last pizza then avoids spending an unnecessarily long time warm while you are already baking the first ones.
Correct deviations with one deliberate change
If dough repeatedly comes out of the mixer too warm, start the next comparable batch with cooler water. Also check whether the kneading duration suits its actual development. An unplanned extra addition of water to finished warm dough would change its consistency as well. If the dough is too cool, slightly warmer water or a more suitable proving environment may help next time. Strongly heating an already finished dough is not an even correction. Record the deviation and change one clear factor where possible, instead of simultaneously changing yeast, hydration, mixing time and room.
Your notes only need room, flour, water and finished dough temperatures, along with batch size, mixing sequence and later signs of readiness. For cold fermentation, add the fridge position and the times before and after refrigeration. Two well-recorded batches may already show whether water temperature or a changing environment is mainly shifting the schedule. The calculation does not need to be perfect to a tenth of a degree. Its value is recognising a significant deviation early and deliberately reproducing a successful method under different kitchen conditions. Ultimately, the dough should be ready and easy to shape at the planned baking time.