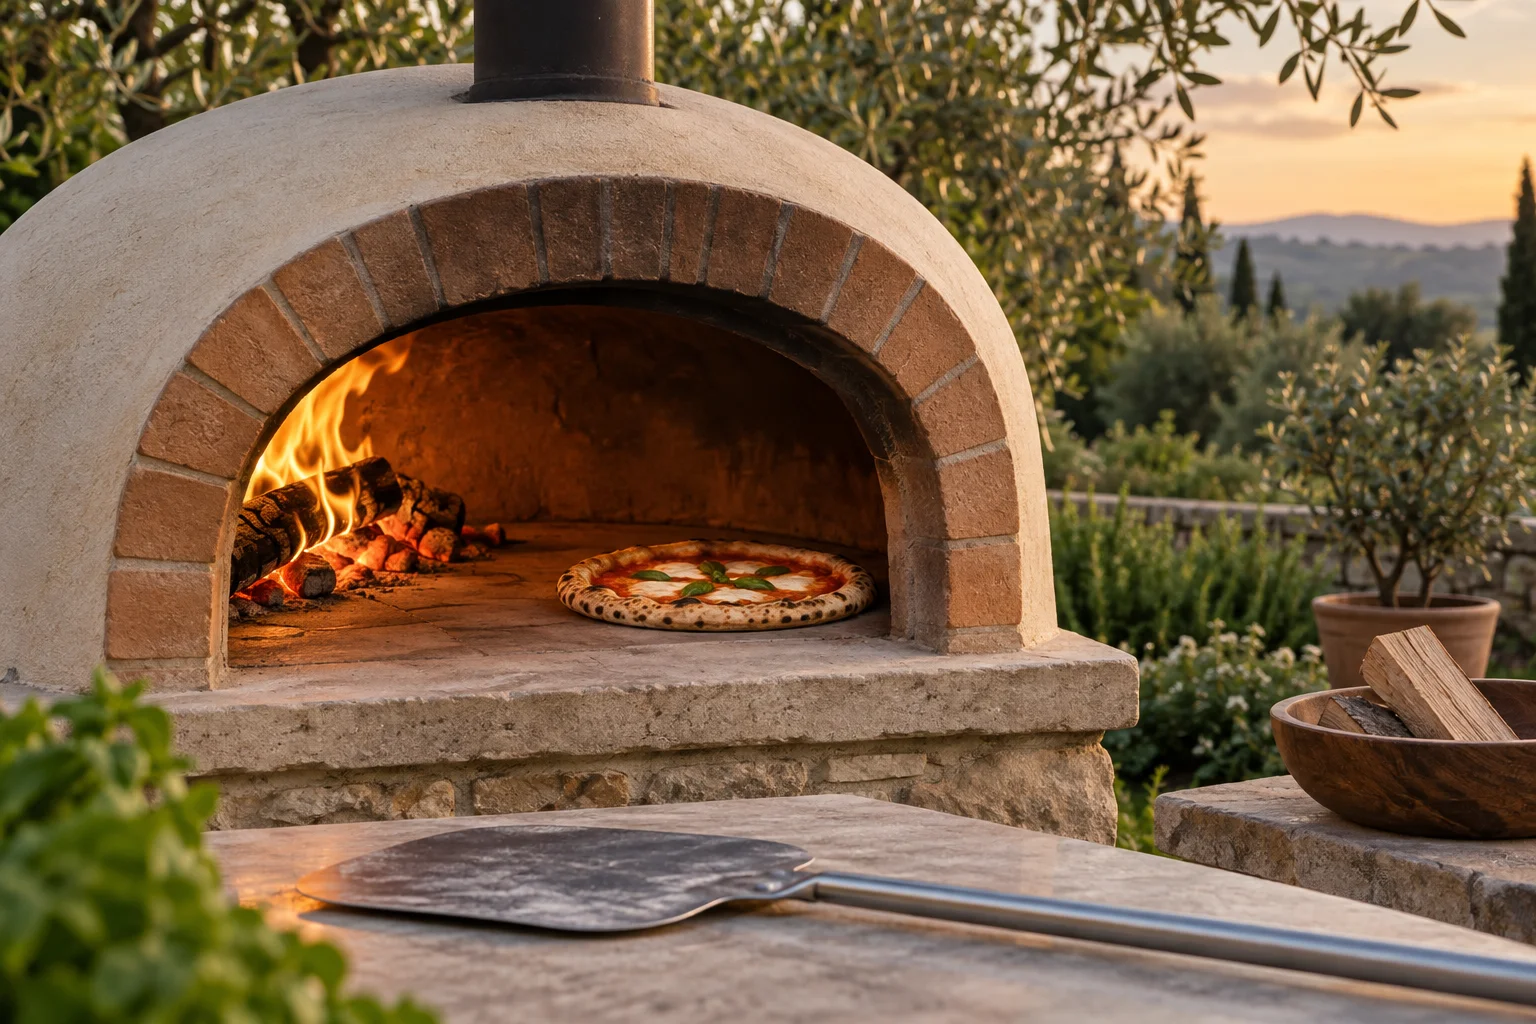
Does a wood oven suit your pizza evenings?
A wood oven can be appealing if you enjoy cooking outdoors and want to spend time managing a fire. You prepare the fuel, build up heat and maintain it while cooking. For some people, that is a pleasant part of the evening. If you mainly want to slide in a quick pizza between other jobs, include the extra work in your decision. Think about how you would actually use the oven: occasional weekends, regular small family meals or longer evenings with friends. A large appliance is not automatically more suitable. It needs space, fuel and a working routine that makes sensible use of its size.
Decide which pizza style you expect to cook most often. A thin base with an airy rim, a flat crisp pizza and a thicker pizza in a pan need different heat patterns. A high maximum temperature does not establish suitability on its own. Check the manufacturer guidance for the dishes and accessories you intend to use. Wood as a fuel does not guarantee a particular flavour either. Dough, toppings, baking temperature and clean combustion all influence the result. Heavy smoke is not a quality indicator for pizza. A more useful buying question is whether you can easily reach the fire, observe the pizza and manage both jobs reliably during cooking.
Separate oven construction from usable cooking space
Wood-fired pizza ovens include several different designs: compact metal appliances with a separate fuel tray, larger ovens with a fire beside the pizza in the cooking chamber, and substantial masonry installations. They differ in weight, heat storage, heating behaviour and portability. A small appliance may be stored after it has cooled completely; a heavy installation needs a permanently suitable location. Decide whether you want an oven that can be moved or a fixed cooking area. For a portable model, weight is only one consideration. Permitted lifting points and removable components also matter. A fixed installation requires appropriate professional planning of the support, placement and any necessary flue arrangements. General buying advice cannot replace that model-specific work.
Then look at the genuinely usable cooking surface. When the fire shares the chamber with the pizza, wood, embers and necessary separation occupy part of the floor. The full internal dimensions cannot then be filled with pizza. Turning also requires free space. A separate fuel tray may divide the space differently, but the opening and tools still need to work together. Compare your usual pizza diameter with the clear cooking area and launching peel width. For pans, include handles and outside dimensions. A nominal description such as “two pizzas” becomes useful only when you also know the assumed pizza diameter and the intended position of the fire.
Set up a suitable outdoor location
The starting point here is an oven approved for outdoor use in an appropriate open area for private pizza evenings. Indoor installation, use beneath a roof and a custom chimney route are separate planning questions. An open window or garage door is not enough. Read the full placement instructions for the specific appliance before buying. Clearances from combustible materials, space around the exhaust route and support requirements differ. Consider where smoke will travel in the usual wind conditions too. Seating, open windows and neighbouring areas should not sit in its path. Uncertain conditions cannot be solved by placing an improvised wind shield immediately around the oven.
The work area needs more than an empty corner for the housing. Allow room for adding fuel, opening a fuel hatch and moving the peel handle. Hot tools need a suitable resting place. Keep ingredients and dough on a clean, separate preparation surface, and store spare wood at the prescribed distance from the appliance. Guests and children should not pass through the operating area. A tabletop oven needs a support with suitable load capacity, stability and heat resistance. Secure wheels as required by their design. Decide how you will handle changing weather before the fire is lit. Moving a hot or burning oven is not a workable bad-weather plan. Leave it unlit when conditions are unsuitable.
Choose dry wood of an appropriate size
Use only fuels expressly permitted for your model. A wood oven is not automatically suitable for pellets, briquettes or any type of charcoal. Even a multi-fuel appliance has specified combinations and operating modes. For its wood ovens, Alfa recommends dry, untreated hardwood such as beech, oak or ash, and specifies moisture below 20 per cent. This is a manufacturer recommendation, not a universal legal limit for every oven. Treated, painted or glued timber and unknown construction or pallet scraps do not belong in a pizza oven. Apparently free wood is useful only when its origin, treatment and suitability are genuinely known.
The pieces must also fit the fuel compartment. Thick fireplace logs may be unsuitable for a small oven even when the wood species is appropriate. Obtain correctly prepared pieces before the cooking day rather than chopping wood beside a hot appliance during use. Small dry pieces help establish the fire; subsequent additions depend on the appliance instructions. Store the supply dry and ventilated, protected from rain. Wood that looks dry outside can still be damp inside. If you use a moisture meter, follow its material setting and measuring instructions. A reading from an arbitrary surface does not reliably describe the whole log. For occasional pizza evenings, appropriately supplied oven wood can simplify preparation.
Build the fire in a controlled way
Read the complete first-use and lighting instructions. Some ovens need a separate initial heating procedure before food is cooked. Before each session, the intended air passages must be clear and previous residues removed as instructed. For an oven with a chimney, its condition matters as well. Start with the prescribed arrangement and suitable solid firelighters. Do not use liquid accelerants. Have appropriate tools ready for adding fuel and do not reach into the fire chamber with your hand. Door position, air controls and fuel tray arrangement are model-specific. A door gap seen in a video of a different oven is not a universal setting for your appliance.
Let the initial small fire burn steadily and add fuel in the specified quantities. A large load at once can obstruct airflow or later produce more heat than intended. The aim is a manageable fire for your recipe, not the highest possible flame. Stay with the appliance and observe its response to each addition. If unusually heavy smoke develops, check the likely causes using the instructions: damp wood, too much fuel or inadequate airflow. A blocked exhaust route or technical fault is not cured by adding more heat. End operation using the prescribed procedure and have the cause resolved. Do not modify parts that are hot or in use.
Check readiness at the relevant cooking position
An impressive fire does not prove that the oven is ready to cook. You need heat in the chamber that suits the recipe and an adequately preheated cooking surface. A built-in thermometer reports conditions at its own measuring point. A suitable infrared thermometer instead measures the surface at which it is aimed. The two readings mean different things. Aim the measuring spot at the actual baking area and follow the instrument's distance and use instructions. A particularly hot point beside the embers does not describe the whole floor. A stated preheating time cannot establish identical conditions across all weather, fuel quantities and oven designs either. Use the manual, recipe and condition of the relevant surface together.
Keep the intended cooking position clear of embers and obstructive residues with tools suitable for the appliance. Move the fire only as the design permits. In an oven with a fixed fuel tray, it should not be transferred onto the pizza stone. The appliance's maximum temperature and the temperature limits of accessories still apply. A recipe is not a reason to exceed them. Give the first pizza manageable toppings and an evenly stretched base. You can then assess browning without simultaneously having to accommodate an especially thick dough and several wet ingredients. Your observations do not replace the instructions, but they help you adjust the workflow within the permitted operating conditions.
Coordinate the fire with the pizza
During baking, the pizza receives heat from several directions: the hot floor beneath it and the flame and chamber around its top and rim. The side nearest the fire may darken earlier. Turn the pizza with a suitable tool once the base has set enough to move. Forceful pulling can damage dough that is still soft and stuck. Assess the underside, rim and toppings separately. If the top is already dark while the underside has little colour, the next bake needs a better balance between the cooking surface, dough thickness and fire. Simply adding more wood may intensify the unwanted browning on top.
Maintain the required fire during a series of pizzas through the small fuel additions allowed by the instructions. Arrange refuelling so you can give it proper attention while continuing to watch the pizza. In an oven with a side fire, fuel must not roll into the occupied cooking area. If the tasks cannot be separated clearly, remove the finished pizza first and prepare for the next bake. A pause is better than hurried handling between flames and dough. The cooking surface may also need to regain heat after several pizzas. The desired pace comes from a dependable routine, not from filling every available moment with another pizza.
Plan preparation, guests and fuel supply
Prepare the dough portions, sauce and toppings before the main cooking sequence begins. Keep perishable ingredients appropriately chilled and set out only manageable working quantities. Shape and top a pizza when you will be able to bake it promptly. A long wait on the peel encourages sticking. One person can manage the oven while another prepares and hands over pizzas at a separate table. Agree who will add wood. If guests want to choose their own toppings, small prepared ingredient portions and a clear handover point are helpful. They do not need to stand at the hot appliance to do this. Cutting and serving also belong outside the operating area.
Have enough suitable wood for the full session without stacking the reserve next to the oven. Consumption depends on construction, the heating phase, weather, duration and fuel quality, among other factors. A universal number of kilograms per pizza would therefore say little. To compare your own sessions, weigh the wood set aside and the unused remainder under the same conditions. The difference describes the fuel used during that session; it cannot automatically be transferred to another oven. Include the support, tools, storage and care in your buying calculation as well. If you cook infrequently, easy preparation and sensible storage may matter more than a theoretically high hourly capacity.
Cool and clean the oven after cooking
End the fire according to your oven's instructions and allow the appliance to cool completely. The correct door and airflow settings depend on its construction. Do not pour water onto a hot stone to speed up clearing away. Equally, do not tip embers onto the ground, into a flower bed or into a plastic container. Ash can retain hot spots below its surface for a long time. Collect it with suitable tools into an appropriate metal container with a lid, on a non-combustible surface and away from combustible materials. Dispose of it only when completely cold, following local disposal guidance. An apparently cool surface or the end of the pizza evening is not sufficient evidence that it is safe to discard.
Clean the cold oven according to its materials. The stone, metal housing and exhaust route can require different care. Use the prescribed brush and cleaning method; do not transfer damp stone cleaning or cleaning products from another brand without checking. Inspect tools for loose or damaged parts. The exhaust route needs the checks and maintenance specified in the manual, particularly after a long period without use. Resolve a blockage before the next lighting. Cover or store the oven only when it is fully cold. Including this final stage when choosing the location makes the wood oven manageable after the enjoyable part of the evening too, and leaves it ready for its next session.