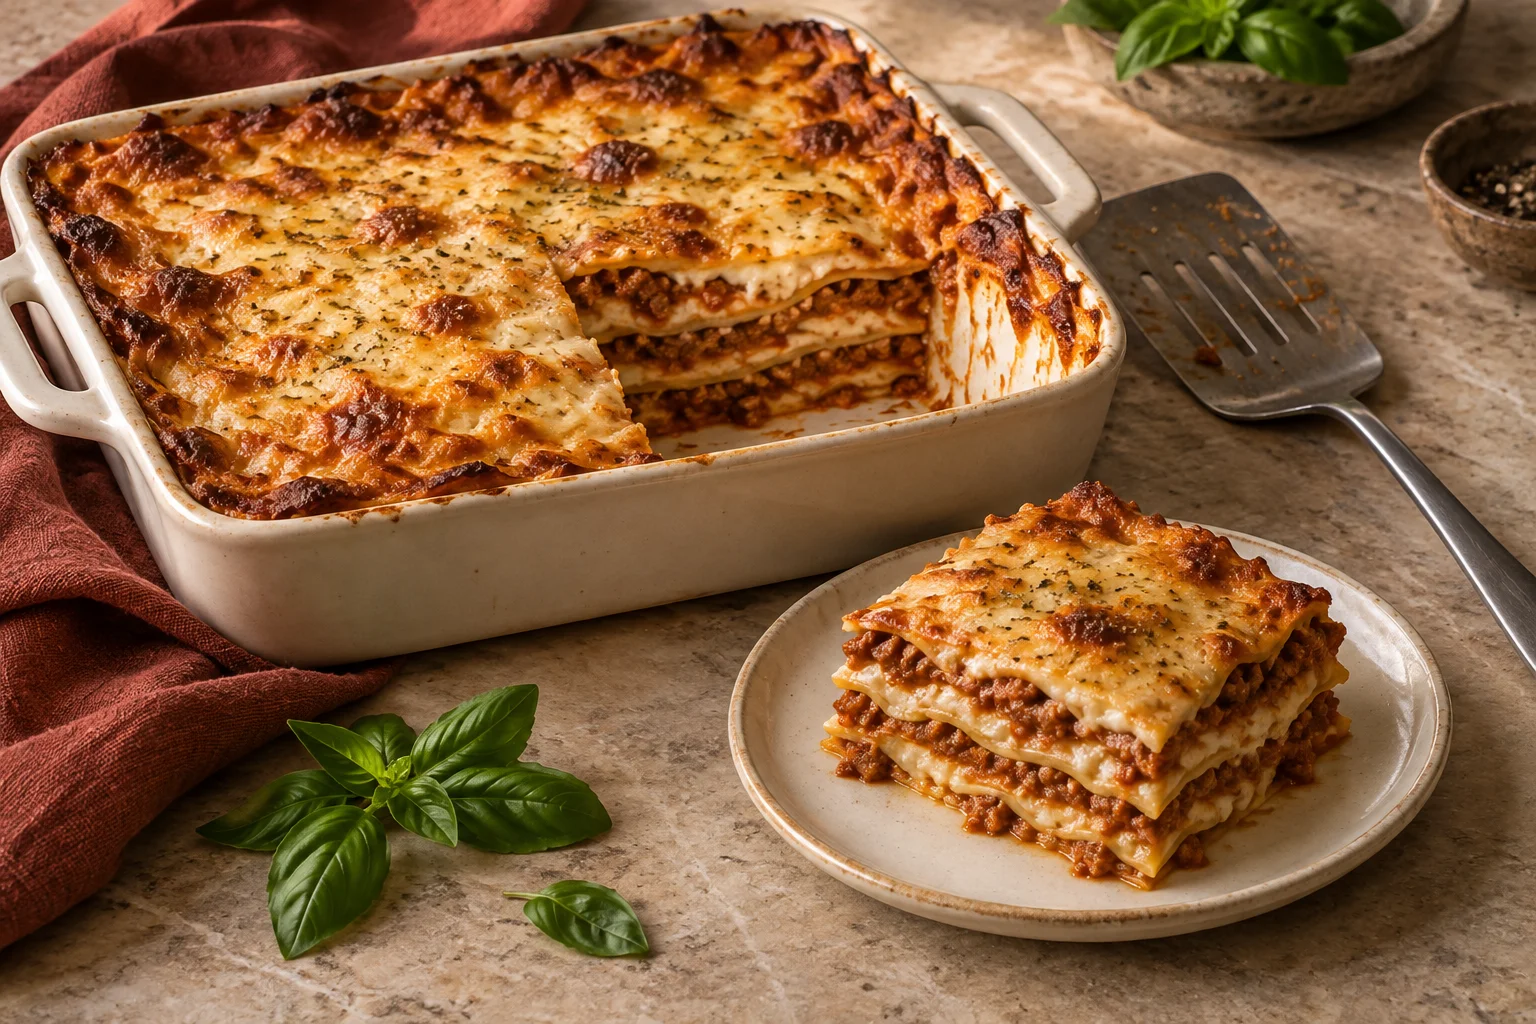
First establish which sheets you are using
Read the packaging of your lasagne sheets before you start cooking. Dried no-boil sheets absorb the moisture they need from the sauces in the baking dish. Other products are cooked in water first, according to their instructions. Fresh shop-bought or home-rolled sheets are another category: their thickness and water content differ considerably from dried pasta. Instructions for thin, briefly blanched egg pasta cannot therefore be transferred unchanged to thick dried sheets. Choose your pasta before reducing the sauce to a particular amount.
Select a complete lasagne recipe that matches the type of sheets and the size of dish you intend to use. This guide helps with assembly and adjustments, while your overall quantities come from that recipe. If you simply want to know what goes into the dish first, the answer is sauce, followed by the first pasta layer. A dry sheet placed directly on a greased base does not have a continuous moist layer underneath it. Oil can make serving easier, but it does not replace sauce. The same applies to cheese later: it cannot replace the liquid that uncooked sheets need to soften and cook.
The dish determines area and depth
Measure the usable inside of your dish, rather than the outside edge including the handles. With strongly sloping sides, the base is smaller than the opening at the top. Before adding any filling, arrange one layer of dry sheets in the empty dish to plan the fit. They should cover most of the area without forming thick overlaps. Small, suitably shaped broken pieces can fill gaps. Do not stuff every narrow space with several fragments, however. Pasta also needs room as it expands. Follow any spacing advice given by the particular manufacturer.
To maintain the same depth, you can scale quantities using the base area. A dish measuring 20 by 30 centimetres has an area of 600 square centimetres. One measuring 25 by 35 centimetres has 875, giving a factor of approximately 1.46. A recipe for the smaller dish therefore needs about 46 per cent more ingredients in the larger one if the depth is to remain unchanged. You do not simply multiply the baking time by 1.46. Using the same amount in the larger dish instead produces a shallower lasagne. Leave space below the upper rim too, so that bubbling sauce does not immediately spill over.
Check both sauces before assembling
A ragù or vegetable sauce should spread easily. Very large lumps of meat or hard vegetable cubes prop up the next pasta sheet in isolated places. Break up such pieces during cooking and stir the sauce before dividing it. For dry sheets, it should not have reduced to an almost dry mass. Equally, you do not want a thin watery layer sitting underneath solid pieces. You should be able to spread the sauce across a sheet with the back of a spoon instead of depositing isolated mounds. Adjust its seasoning before assembly, once any raw ingredients in it have cooked through.
Béchamel connects the layers and supplies moisture too. It usually spreads more easily warm than straight from the fridge. If it has become very firm, warm it while stirring and add a little milk as needed until it falls from the spoon in a thick ribbon again. Do not automatically pour in a large amount. A sauce that is already thin will not improve with further dilution. Prepare meat and vegetable components as your chosen recipe requires; the baking time of the assembled lasagne is not a reliable substitute for a preparation step you have skipped. Keep chilled ingredients refrigerated until you need them.
Reserve sauce for the base and the top
Before spreading the first ladleful, decide how many complete pasta layers you want. Four pasta layers do not automatically mean four identical portions of every ingredient: you also need sauce below the first layer and sufficient moist coverage above the last. Deliberately set some aside for the top. Otherwise the lower layers tend to be generous, leaving only cheese at the end. The uppermost pasta then dries easily. For a first lasagne, a few evenly built layers are more useful than as many thin levels as possible with incomplete coverage towards the top.
A division example makes the approach clear. Suppose your suitable recipe provides 800 g finished red sauce and 600 g finished béchamel for four pasta layers. Reserve 80 g red sauce for the base. Divide the remaining 720 g into four portions of 180 g, one above each pasta layer. Allocate the béchamel as three portions of 140 g for the inner layers and 180 g for the top; together they total 600 g. This arithmetic does not establish a universally sufficient quantity of sauce for every dish or pasta brand. It shows how to divide the amount in your recipe instead of using most of it in the first two layers.
The order from the base to the final layer
Lightly grease a suitable oven dish as directed by your recipe and spread the reserved base sauce right into the corners. Place the first layer of pasta on it. Follow with red sauce, béchamel and, if included, some of the allocated finely grated cheese. Add another pasta layer and repeat with the planned amounts. You can also reverse the order of béchamel and red sauce on a pasta sheet; complete coverage and even distribution matter more than that detail. Press the next sheet down gently, rather than squeezing the sauce underneath out towards the sides.
Check the height in several places as you work. If a mound develops in the middle, start the next portion of sauce around the edge. Do not correct every small dip with an extra piece of pasta, because that creates thick bundles of noodles. Pay particular attention to joints when using broken sheets: several corners on top of each other cook more slowly than a single layer. Finish with the final complete pasta layer and its allocated sauce covering. Moisten the sheets all the way to their edges. A tidy, lower lasagne is easier to portion than an overfilled dish.
Vegetables and cheese change the moisture balance
In a vegetable lasagne, tomato sauce is not the only source of liquid. Courgettes, mushrooms and leafy greens can release water. Prepare them as the recipe specifies instead of spontaneously adding a large quantity of raw vegetables between the layers. Finely diced vegetables distribute evenly through a sauce. Cooked spinach should be thoroughly drained or squeezed when the recipe calls for it. Roast or fry vegetables in batches if a crowded pan would leave everything sitting in released juices. Then assess the consistency of the complete filling again before you assemble it.
Mozzarella packed in liquid needs time to drain as well. Large wet pieces can release extra liquid in particular spots and form long strands when served. Cut it to suit the recipe and distribute it evenly. More cheese between every layer does not automatically provide greater stability: a very thick layer of melted cheese can make sliding easier. Finely grated hard cheese adds plenty of flavour in small amounts, so consider its saltiness when seasoning the sauces. For a vegetarian lasagne, choose cheese explicitly suitable for vegetarians. A meat-free ingredient list alone does not establish that for every hard cheese.
Cover the surface with sauce and brown it deliberately
Carefully spread the reserved sauce over the final pasta layer. Check the corners and the areas next to the sides of the dish, where dry tips are easily left exposed. Only then add the cheese intended for the top. Sauce supplies the pasta with moisture; cheese creates the crust you want. If your recipe includes a covered baking stage, use a suitable ovenproof lid or a covering designed for that purpose, following its manufacturer's instructions. Leave enough clearance above the cheese so that removing the covering does not pull off the entire crust.
Covered baking retains moisture in the dish; removing the covering later allows browning. Whether this is needed, and for how long, depends on the recipe and sheets. Do not place the dish directly under the grill from the start simply because you want a darker crust. The surface can look finished while the middle has not cooked through. If the cheese darkens early, protect the top and continue cooking at the intended baking temperature. Additional colour at the end only requires a brief, closely watched browning stage after the pasta itself is cooked.
Check cooking by the actual condition
Preheat the oven according to your chosen recipe and distinguish conventional heat from fan settings. As a general range, lasagne recipes often use 180 to 200°C conventional heat and approximately 30 to 45 minutes. This is not a replacement set of instructions for your particular dish. Thin precooked sheets, dry pasta, shallow warm filling and a tall fridge-cold assembly need different conditions. Begin checking at the stated time. Pass a thin knife or skewer down through the pasta layers in several places, particularly the middle and an area near overlapping corners.
Hard resistance can indicate an uncooked sheet. The filling must also be thoroughly hot at the centre. For thorough heating, every part should reach at least 70°C for two minutes; use a suitable food thermometer if you are unsure. Sauce bubbling around the outer edge does not establish the temperature in the middle. If the pasta remains hard but there is enough sauce, it usually needs more cooking under a suitable covering. A little hot, appropriate sauce may help visibly dry areas. Do not randomly pour water over the entire crust afterwards. Check again instead of treating a fixed additional time as a guarantee.
Rest briefly and cut clean portions
Let the fully cooked lasagne rest for approximately ten to fifteen minutes before cutting. During this time it becomes a little less fluid and easier to lift from the dish. This short pause is part of serving, not an instruction to cool the whole lasagne to room temperature. First cut the portions all the way to the base with a suitable knife. Gently loosen the edges from the dish where necessary. Slide a sufficiently wide serving spatula underneath a piece so that you lift the whole portion rather than only its upper layers.
If the first serving falls apart, the entire lasagne has not necessarily failed. The piece may lack support at one side, or the sauce may still be very fluid immediately after baking. Lift the next serving with broader support and consider whether it has rested long enough. If plenty of thin liquid remains in the dish, examine vegetable preparation, cheese and sauce consistency next time. Adding extra dry sheets afterwards is not a useful repair. They alter the arrangement and need time and moisture of their own to cook. Note the cause you could actually observe rather than changing every ingredient at once.
Preparing ahead, cooling leftovers and improving the next batch
When preparing lasagne ahead, cool cooked sauces promptly in shallower containers and refrigerate the components until assembly. A cold assembled dish often needs longer in the oven than one made with warm ingredients. Also check whether your baking dish can safely move directly from the fridge into a hot oven. Glass or ceramic is not automatically resistant to large temperature changes. Do not leave a large filled dish out for hours to compensate for an unknown material limitation. Choose suitable cookware and follow the handling method intended for it.
Divide cooked leftovers into smaller, shallower portions so that they cool quickly, and refrigerate them promptly. The fridge should be no warmer than 7°C and preferably below 5°C; stricter instructions for particular ingredients still apply. Reheat subsequent portions thoroughly to at least 70°C for two minutes throughout. Useful notes for your next lasagne are the dish's internal dimensions, sheet type, number of pasta layers, sauce and observed cooking condition. Then make a targeted change: better coverage for dry corners, more evenly distributed ingredients for mounds, or improved moisture control for a watery filling. This keeps the relationship between your adjustment and its result clear.