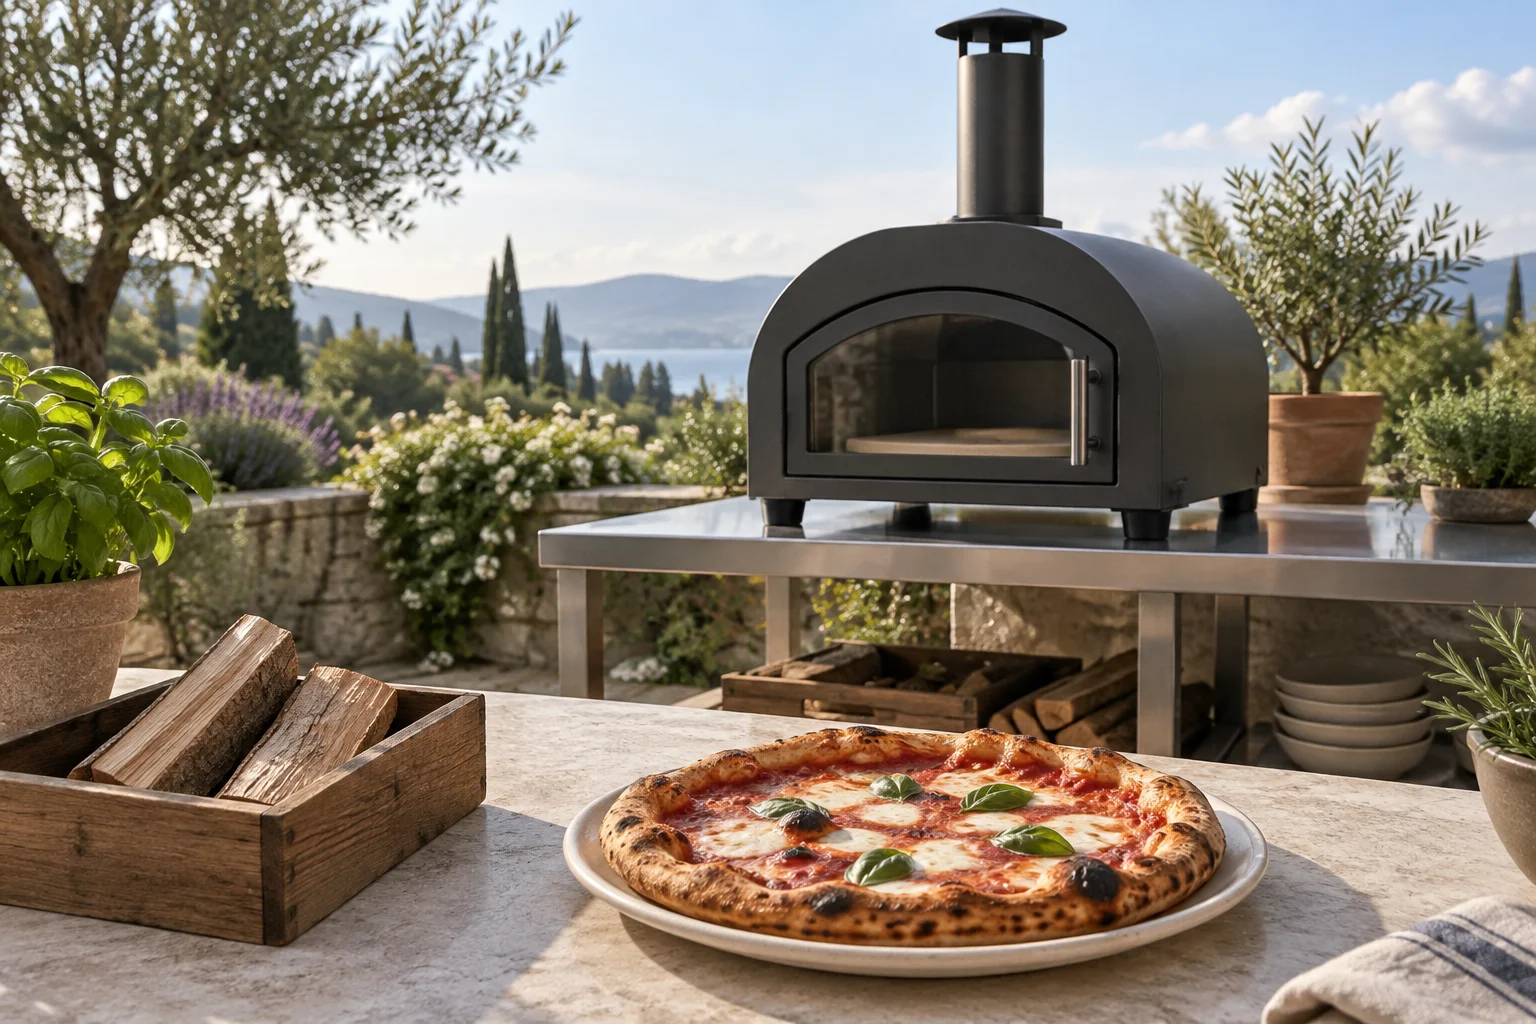
What multi-fuel means for a pizza oven
Multi-fuel initially means that an oven can operate with several specified fuels. The instructions for the particular model identify which ones. For the Ooni Karu 2 Pro, for example, the manufacturer lists wood and charcoal, with gas available through a suitable additional burner. The term does not mean that all fuels go into the same container or that any burner can be attached. Pellets are not automatically approved by the description either. Assess the particular combination of oven, fuel and accessories. A general product label cannot replace that compatibility check, even when two appliances look very similar from the outside.
Also distinguish alternative operating modes from an expressly permitted combination. Ooni's getting-started instructions for the Karu 2 prohibit using gas and solid fuels simultaneously. This provides a specific example of why you should not simply put wood into a running gas oven. Another model may use a different conversion arrangement. A supplied wood tray and an available gas burner are initially two configurations to check separately. Before purchasing, read which parts must be installed or removed for each mode and which burner instructions apply in addition to the oven manual. The availability of an accessory does not explain its operating procedure on its own.
Let your most frequent use guide the choice
Picture an ordinary pizza evening before considering rare special occasions. How many pizzas will you make, who will top them and who will manage the oven? If you usually cook two or three pizzas alone after work, a straightforward, repeatable routine matters particularly strongly. If you enjoy tending a fire at the weekend and sharing pizzas with guests in succession, working with wood may itself be part of the attraction. A multi-fuel appliance can serve both situations, provided the relevant operating modes suit your location. Its additional value arises when you actually want to use those options, rather than simply own them.
Write down two or three concrete situations instead of listing every conceivable dish. These might be a short evening for two and a longer Saturday with several guests. Assign a preferred operating mode to each. If the same one appears every time, an oven designed for that single fuel is a sensible comparison too. You do not have to pay for a second system just to retain a theoretical possibility. Conversely, a burner that can be added later may be useful if its exact compatibility and availability are established. A vague intention to fit some sort of burner eventually is not enough to support the purchase decision.
Compare complete equipment packages
Check what each offer actually includes. A product photograph may show several accessories without all of them being supplied. Some offers contain only the oven configured for solid fuel; others add a gas burner. Compare the burner's exact model name and generation with the oven's approved compatibility. “For Ooni” or “universal fit” tells you less than an explicitly named, compatible combination. Depending on the version, you also need the connections appropriate to the country and gas type. A burner package from a different market is not suitable merely because its mounting holes line up with the appliance or its hose can be attached.
Add up the intended purchases before comparing package prices. As a freely chosen arithmetic example, an oven costs 500 euros, a compatible additional burner 100 euros and still-needed accessories 80 euros. The planned equipment therefore totals 680 euros. These are not current product prices. They simply show why a low base price says little on its own. Remove suitable tools you already own from the shopping list and avoid duplicate peels or covers without a purpose. Check separately whether a cylinder, regulator and hose are included or are required in that particular form. The specific offer governs this, rather than a similarly named bundle.
Find a location for every intended operating mode
The portable gas and wood ovens discussed here are outdoor appliances. Changing fuel does not turn one into an indoor oven. The Karu 2 Pro manual explicitly requires outdoor use and a level, stable, non-combustible support. The gas configuration adds the requirements of its compatible burner. Assess the site for every operating mode you want to use. This includes space around the oven, access to the fuel opening, chimney and air passages, and, where relevant, the cylinder position and hose route. A tabletop that just fits the oven body does not describe an adequate workspace for a whole pizza evening.
Plan the route between dough preparation, oven and serving board too. With a wood fire, you need access for refuelling without reaching past other people or combustible supplies. In gas mode, the hose must not lie in a walkway or rub against hot parts. Obtain the actual clearances and connection requirements from the relevant instructions; the term multi-fuel provides no universal measurement. Consider wind, smoke and the conditions on your property. If the site sensibly accommodates only one of the desired modes, that is a clear limit on the decision. A larger accessory package cannot correct an unsuitable location or an awkward working route.
Treat changing fuel as a separate task
Choose the operating mode before lighting. Make the change according to both oven and burner instructions, with the appliance completely cold and all fire and embers extinguished. Do not plan it as an impromptu intervention between two pizzas. Advertising about quick burner attachment does not describe the time a used oven needs to cool safely. First establish which components must be removed, inserted or secured. Door, chimney and airflow settings may also be part of the selected configuration. Do not copy the arrangement of another model from a similar-looking photograph. The conversion procedure belongs to the exact appliance and approved accessory.
For gas operation, the burner, gas type, regulator and hose must match in the specified versions. Carry out the required checks and leak tests; a flame is not a leak-testing tool. If compatibility is uncertain or parts are damaged, do not improvise with adapters or personal modifications. Clarify the connection with the manufacturer or a qualified professional. Store all removed, cold components together in a fixed place. If useful, label their container with the relevant operating mode so a screw or cover is not missing next time. This keeps the flexibility practical instead of turning every change into a search for small parts.
Wood, charcoal and gas need different routines
With wood and charcoal, fuel quantity, airflow and refuelling are part of operating the oven. Use only approved fuel qualities and formats. The manufacturer describes the Karu 2 Pro for dry, untreated hardwood and suitable lump charcoal. This does not provide blanket approval for briquettes, treated scrap timber or pellets. Follow the quantity and size requirements in your instructions rather than packing the fuel tray as tightly as possible. Extra material can alter the air path and is not a reliable way to make every cooking surface ready sooner. Lighting and the first firing follow the specified procedure with suitable firelighters.
Gas operation removes the need to add solid fuel. Instead, correct connection, ignition, flame adjustment and shutdown form part of the sequence. A control knob replaces neither supervision nor observation of the bake. If ignition fails or gas is smelled, follow the safety procedure for that particular appliance instead of repeatedly allowing more gas to enter. Keep the two routines distinct: during a gas session, do not place wood beside the opening as a supposed boost; during a wood session, do not use an attached, unapproved burner as a lighting aid. Clear preparation is especially useful when several people bring habits from other ovens.
Assess the bake independently of the fuel
Pizza depends on factors including heat stored in the floor, radiation from above, dough thickness and toppings. A hot flame alone does not establish that the stone is ready. Check the stone surface with an appropriate measuring method and use the temperature range specified by your recipe and oven for that pizza style. The Karu 2 Pro, for example, distinguishes its chamber-temperature display from a food probe. Neither automatically replaces measuring the intended cooking position on the stone. Do not take an infrared stone reading through a closed glass door, and respect your thermometer's material setting and measuring spot size.
After each pizza, assess the base, rim and toppings separately. If the top darkens while the base stays pale, consider stone heat, position, dough thickness and flame strength. Where practical, change one relevant factor for the next suitable bake so you can identify its effect. A different fuel is not automatically the answer to excessive wet toppings or a pizza left waiting too long on its peel. Allow the floor sufficient recovery between pizzas, guided by the instructions and appropriate measurement. For guests, a steady sequence of well-baked pizzas is usually more useful than the shortest possible but inconsistent interval between servings.
Cleaning and storage are part of the flexibility
After solid-fuel cooking, ash and possibly soot remain. Let the oven cool completely using the specified procedure and remove residues only then. An outer shell that feels cool does not prove that everything inside is cold; the Karu manual makes this point too. Collect ash in a suitable lidded metal container on a non-combustible support, away from combustible items. Dispose of it according to local requirements only when fully cold. Include this step before the next conversion instead of hurriedly tipping ash from a still-warm tray while fitting a gas burner. Cooling time remains part of the overall process.
Care for the stone, body, glass and burner according to their respective instructions. Different materials do not necessarily need the same cleaner. A clean window does not prove that burner openings are clear, and a darkened stone does not have to be soaked until pale again. Store detachable parts dry and protected. Before an extended break, check which components should be removed and how the gas cylinder may be stored. Taking the cold oven indoors does not automatically make indoor cylinder storage appropriate. Check the correct assembly again before the next start. For damage or uncertain operation, seek specific manufacturer guidance rather than modifying the appliance yourself.
Make the decision around your own evenings
Finally, compare the complete equipment with your most common use. Switching between two solid fuels in a tray designed for them may be straightforward; adding gas introduces more components and its own procedure. That is worthwhile when both cooking methods offer something you want. If the additional burner is likely to remain in a cupboard, its theoretical benefit is small. Conversely, you do not need to cook regularly with wood to make good use of an existing multi-fuel oven in its approved gas configuration. The objective is a suitable way to cook, rather than exercising every option the product offers.
Keep only decision-changing information in your offer comparison: approved fuels, complete contents, usable cooking area, space requirements, conversion sequence and total cost. Assess fuel costs across whole sessions, including preheating and pauses, rather than a single pizza. A kilogram of wood and a kilogram of gas are not equivalent units for comparing an evening's cooking. When the location, desired routine and complete equipment fit together, the extra choice is a practical advantage. If one of those elements is missing, a simpler oven for the way you actually want to cook is an equally sound decision.