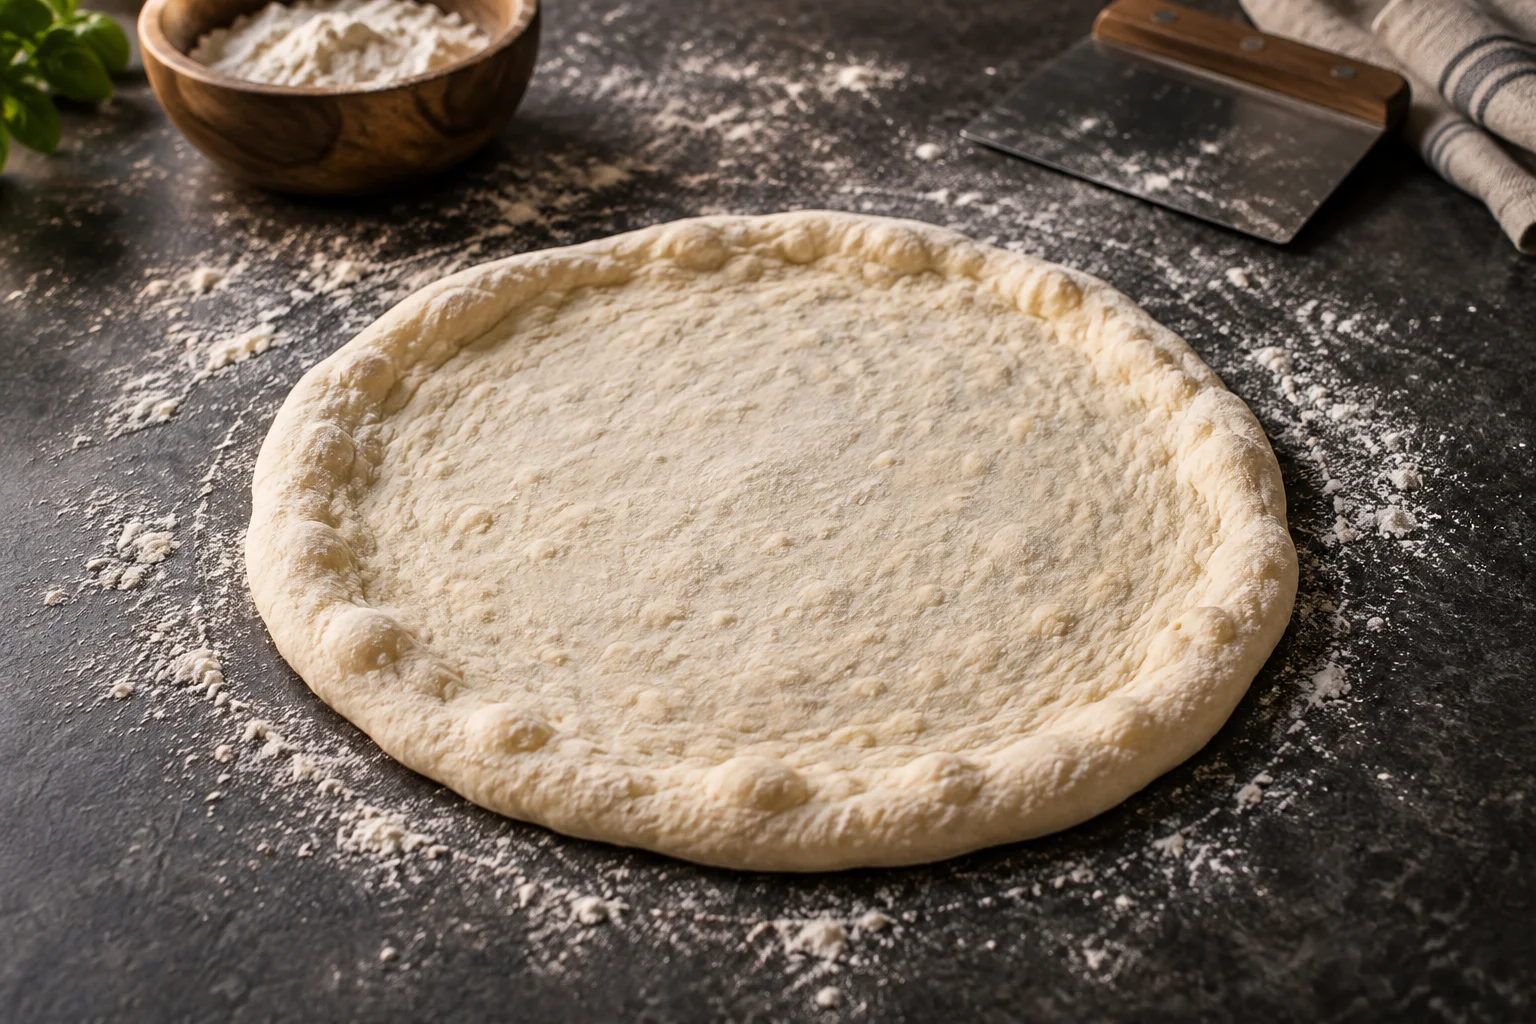
Check that the dough is ready to open
A round pizza starts with a proofed, relaxed dough ball. Technique alone cannot compensate for dough that is too tight or badly weakened. Look at the portion before taking it out of its box. It should be visibly aerated, have a cohesive surface and yield a little when touched gently. A recently re-balled portion usually needs another rest. Dough taken straight from the fridge may also remain too firm to spread comfortably. The time it needs depends on the recipe and its actual temperature.
For a first attempt, a portion around 250 g and a planned diameter of approximately 28 to 30 cm are manageable. This is guidance rather than a compulsory size. If the dough feels even and stable at 26 cm, that pizza is often easier to handle than a larger disc forced into shape with a translucent centre. Prepare only the first portion initially and keep the others covered. This gives you time for controlled movements while the remaining balls retain their protected surface.
Prepare the counter, hands and peel
Work on a clean, dry surface. Remove sticky sauce splashes and old dough scraps before placing dough on it. Take off rings and a watch if they could come into contact with the dough, and keep fingernails clean with no sharp edges. You need space to rotate the base and a prepared pizza peel or suitable tray beside it. The oven should be ready before topping begins. An opened base left waiting on the counter for too long may stick underneath or develop a dry surface.
Dust the work area lightly and spread the flour evenly. Fine semolina is another option, although it changes the feel of the underside. Use enough to release the dough and remove excess piles. A thick layer beneath the pizza can brown heavily and taste bitter in the oven. Lightly dust the dry peel shortly before placing the base on it. A damp or already warm peel makes handling harder. Keep it clean between pizzas and avoid leaving it unnecessarily inside the hot oven.
Lift the dough ball without losing its shape
Lightly dust the top of the chosen portion and carefully release its edges with a dough scraper. If neighbouring balls have grown together, separate the contact point deliberately rather than pulling one ball away from the other. Slide the scraper as flat as possible beneath the dough and support it during transfer. Pulling upwards from one corner quickly makes that section long and thin. The base then begins with a weak patch that further stretching can unintentionally enlarge. Place the dough on the prepared counter, preserving its roughly round shape.
Dust a sticky side with a little flour if needed. Avoid repeatedly picking the portion up to inspect it from every angle. One careful turn may help make both contact surfaces manageable. If a small scrap remains stuck to the box, do not attach it later to the thin centre. Gently close minor damaged areas before opening. A smaller pizza is the easier choice for a badly misshapen or torn portion. Tight re-balling immediately before baking would require additional time for relaxation.
Open the middle using your finger pads
Place both hands over the centre with your fingers slightly spread. Press with the soft pads rather than your nails. Work from the middle outwards, leaving approximately one to two centimetres around the edge unpressed if you want a puffier rim. The pressure should widen the centre without immediately creating an extremely thin hole. You do not have to reach the outermost edge on every movement. Several short passes distribute the work more evenly than one forceful push in a single direction.
After several presses, rotate the dough approximately a quarter turn and repeat. The ball gradually becomes a flatter disc. Check occasionally that it still moves freely on the counter. If one side sticks, release it with the scraper and put a little flour beneath that particular area. Do not continue pulling the opposite side away while part of the dough remains attached to the worktop. That places extra strain on the thinnest section. Finish this first stage when the middle is evenly opened but still thick enough to handle further.
Rotate on the counter and widen specific areas
You can open the entire base on the counter without lifting it into the air. Rest one hand loosely at a side for guidance and use the other to ease the opposite half slightly outwards. Rotate the disc and repeat elsewhere. Your hands move a broad area of dough rather than individual fingers pulling narrow points from the rim. Avoid keeping the centre fixed in exactly the same place so it has to absorb every movement. Regular rotation distributes the stretching around the base.
An oval intermediate shape is not a problem. Concentrate on the shorter sides and leave the longer axis alone for a while. If an area is already noticeably thinner, avoid working it again. Direct your movements towards thicker sections instead. Occasionally look down at the whole disc rather than following only the edge beside your leading hand. Even thickness is more useful in baking than a perfectly circular outline. Small irregularities can still be gently adjusted when placing the base on the peel.
Stretch gently over the backs of your hands
Once the base forms a stable disc, you can carefully place it over the backs of your hands or the broad knuckle areas. Keep fingers loosely curled so no fingertip pokes through. Support a broad section underneath. Move your hands only slightly apart while rotating the dough in stages. Its own weight helps it stretch. There is no need to throw it or spin it quickly. For a beginner, either movement increases the chance that a thin patch stretches further without being noticed.
Keep the dough close above the counter so you can set it down immediately if necessary. Avoid gripping one narrow section of the rim and letting the whole pizza hang from it. Soft dough in particular may develop a long, thin tongue. After a few movements, inspect the centre against the light. Slight translucency may suit the style, but it should not become one isolated, almost paper-like patch. If lifting feels uncomfortable, continue working on the counter. Using your knuckles is one possible technique, not a required demonstration of quality.
Address spring-back, sticking and small tears
If the base immediately contracts, pause. Cover it and rest for approximately ten to fifteen minutes, longer if needed. This allows tense dough to relax, but it does not replace missing fermentation. If the whole portion remains dense, cold and barely aerated, assess its proof as well. Extra flour does not solve spring-back. Nor does repeatedly folding the dough back into a tight ball before each attempt. That rebuilds the very tension you are currently trying to reduce.
Release a sticky patch locally and dust it sparingly. Before topping, a small tear can be closed by slightly overlapping its edges and gently pressing them together. Avoid trapping a layer of flour in the repair, which prevents it sticking properly. Do not stretch that area further afterwards. If several holes appear or the entire centre has become very thin, aim for a smaller base. An oiled tray can make further handling easier with very soft dough. Repeated corrections do not turn badly weakened dough back into a stable large pizza base.
Check the base on the peel before topping
Transfer the opened base with broad support onto a dry, lightly dusted peel. Straighten small folds immediately, before adding sauce. Check the front section too: it should not hang beyond the peel's edge. Gently move the peel forwards and backwards. The whole base should slide a little. If one area catches, carefully lift that specific section and add a small amount of flour underneath. Only begin topping when this check works. A heavy, fully topped centre is much harder to repair.
Distribute sauce and cheese promptly in a thin layer. Drain wet ingredients beforehand and avoid tall piles of topping that complicate launch. Check the sliding movement once more with a small motion. The aim is to notice a stuck area in time, not to shake the pizza vigorously. If using baking paper in a domestic oven, observe its temperature rating and the instructions for the baking surface. Ordinary baking paper is not a suitable transfer aid for a very hot pizza oven. Choose the appropriate method for your appliance before opening the dough.
Identify the cause after baking
When eating, observe whether the centre baked evenly or some areas became noticeably thinner and drier. A small burnt patch may come from excessive dusting flour, whereas a broad pale underside is more likely to point towards the baking conditions. A rim that is thick on one side may have been left uneven during opening. These observations help you change the relevant movement on the next base. Record the dough-ball weight, approximate diameter and the point at which shaping became difficult. This keeps the adjustment specific.
Initially keep the formula the same. If you change flour, water content, fermentation time and technique together, it becomes difficult to understand why the next pizza behaves differently. An extra covered rest or a slightly smaller target diameter is often enough to make handling calmer. A rolling pin can also be useful for a very thin, uniformly flat pizza; a puffy hand-shaped rim aims for a different result. Choose the method according to the base you want. The goal is a pizza you can open, top and launch with control.