Equal portions make baking easier to plan
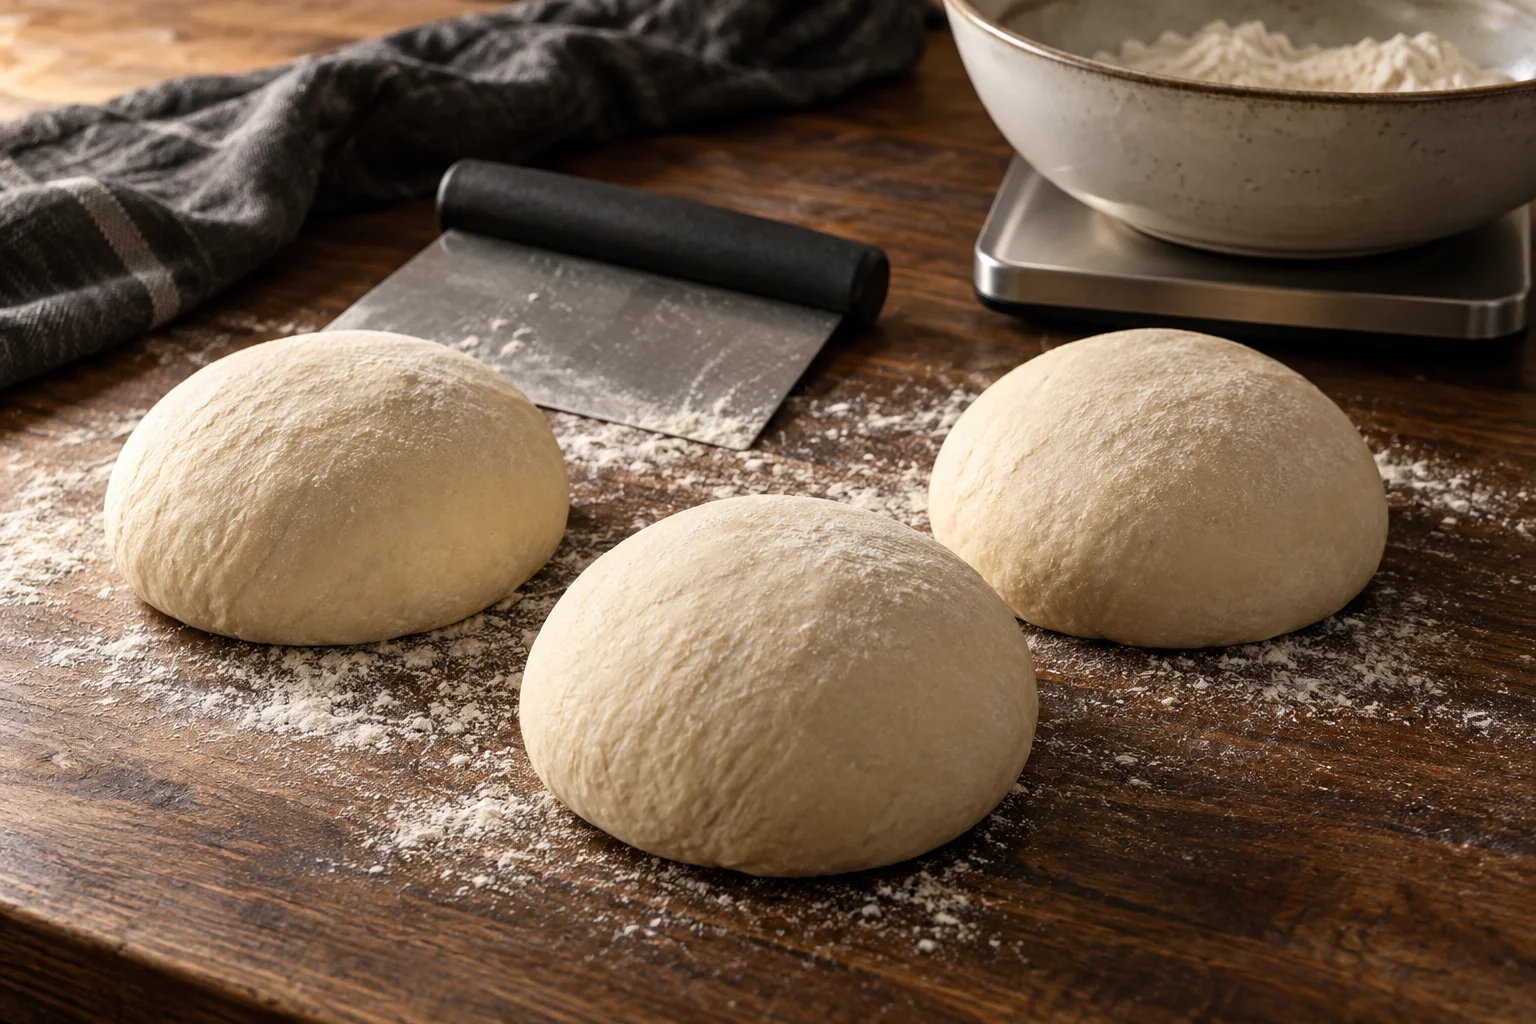
A dough ball is the separate portion used for one pizza. Balling gives it a smooth upper surface and a closed seam underneath. This preparation helps you open an even base later, but it does not yet determine the finished diameter. That emerges during stretching and also depends on weight, desired thickness and the dough itself. The portion does not need to look perfectly spherical immediately. An intact surface and a quantity suited to your baking area matter more than a mathematically precise shape.
Consistent weights simplify the sequence: portions can be opened to similar sizes, fit the same peel and behave more comparably in the oven. When making several pizzas, an accidentally oversized ball is particularly inconvenient. Around 250 g is a useful starting point for a thinner round pizza approximately 28 to 30 cm across. This is not a mandatory rule for any particular style. A thicker base or different rim may require more dough. Choose one size initially and keep it reasonably consistent throughout the batch.
Divide the complete dough weight correctly
For planning, add together every dough ingredient. A batch containing 500 g flour, 325 g water, 12.5 g salt and 2 g instant yeast theoretically weighs 839.5 g. It makes three portions of just under 280 g or four of just under 210 g. It does not make four 250 g balls. Oil and any included preferment ingredients also contribute to the total. If a recipe lists a preferment separately, count its components exactly once; do not add them again on top of the main dough total.
When portioning, weigh the actual finished batch where possible. Small amounts left on the hook, bowl and hands may slightly reduce the available dough. Divide the available weight by the intended number of pizzas and round practically instead of insisting on tenths of a gram. With 836 g and three portions, for example, you can cut two weighing 279 g and one weighing 278 g. That difference is insignificant when shaping. If you specifically need 250 g portions, plan a large enough batch from the outset. The dough calculator helps scale ingredients; fermentation time does not automatically multiply with them.
Diameter and weight do not increase in a straight line
A larger round pizza needs extra dough in proportion to its area if thickness stays the same. Diameter alone is not enough for proportional scaling. Increasing from 25 to 30 cm means a 20 percent increase in diameter but a 44 percent increase in circular area. If a 25 cm pizza made with 200 g has exactly the thickness you want, the same area-based calculation gives approximately 288 g for 30 cm. In practice, this remains an approximation because you may shape the rim differently and no hand-opened base is a perfect circle.
Check the usable width of the oven, stone and peel first. A theoretically suitable weight is of little help if the opened pizza catches a side wall during launch. Allow some handling space. For a smaller baking area, it is usually easier to form more small portions than to squash a large ball into a thick disc later. Once you find a suitable combination, record the weight and approximate diameter together. This lets you repeat the same base deliberately instead of judging the quantity only from the appearance of the ball.
Prepare the work surface and containers first
Set out the scale, dough scraper and proofing containers before turning the dough onto the counter. Choose a clean, smooth surface and remove dried scraps that could catch and damage the dough. A light dusting of flour can help, but a thick layer makes closing the seam harder. The dough needs a little grip during balling so you can create tension. If everything slides freely over a flour-covered counter, you may simply move the portion around without actually shaping it.
Place a small bowl on the scale and tare it before adding the first portion. Remove any dough sticking to it after weighing. Otherwise, several grams can gradually collect and be included in the weight of later portions. Check the zero point occasionally, especially after moving the scale or its supporting surface.
Prepare the containers as directed by your recipe, for example with a thin film of oil rather than a puddle. Individual containers make removal and staggered baking easier; a shared box needs space between balls. Expect them to spread and gain volume. The lid should protect the surface from drying while leaving enough headroom. A dry towel loosely draped over the dough may provide insufficient protection in a warm, draughty place. For longer rests, use a suitable cover that does not touch the dough itself.
Cut portions rather than tearing off long strands
Use a scraper to release the dough gently from its bowl. Let it slide onto the counter without flattening it unnecessarily. Divide approximately by eye first, then check each portion on the scale. A decisive scraper cut separates the dough more cleanly than repeated pulling. Rough handling expels considerable gas from a batch that has already become aerated. There is no need to knead the whole mass into a long, tight rope simply to make it possible to cut pieces off.
If a portion needs a few extra grams, add a small piece to what will become its underside. If it is too heavy, cut some away there. Make these corrections before the final balling so the surface stays closed afterwards. One small addition is easier to incorporate than numerous flour-coated scraps. Keep weighed portions loosely covered while dividing the remainder. Work steadily without rushing. With sticky dough, a clean scraper edge often helps more than repeated handfuls of flour that become unintentionally incorporated into the portions.
Use a simple folding method to form the ball
Place one portion in front of you with a reasonably smooth side facing down. Lift an edge, stretch it only as far as it yields without tearing and fold it towards the centre. Repeat around the portion until the outer surface smooths and the gathered edges form a seam. Gently pinch that seam closed. Turn the portion over so the seam faces down and the smooth surface is on top. Small weight corrections become enclosed inside or beneath the seam during this process.
You can then guide the ball briefly across the lightly floured counter using loosely cupped hands. Your hands contain the sides while the underside grips the work surface slightly. A few small movements are generally sufficient. Avoid pressing hard down through the centre or continually tightening the skin. Stop when the surface looks cohesive and the seam stays closed. The dough should be organised rather than stretched to breaking point. Place it seam-side down in the prepared container and cover it again immediately.
Handle sticky, firm and delicate dough differently
A soft dough remains somewhat sticky even when handled appropriately. Keep the scraper clean, use brief contacts and dust your hands lightly. If you choose minimally damp hands instead of flour, avoid leaving wet patches on the counter. This is a handling aid, not a later increase in the recipe's water content. A very soft dough may spread more after balling and still be usable. What matters is whether it retains a cohesive surface and can later be removed from the box in a controlled way.
A firm or still-cold dough can be reluctant to fold. Do not force it to stretch a long way. A short covered pause may make handling easier; include that time in the remaining schedule. Wholemeal flour and other flour choices change the surface, so a perfectly silky appearance is not a universal quality requirement. Gluten-free blends follow different shaping principles and are not automatically covered by this wheat-dough method. If the surface tears even under gentle movement, assess the formula, fermentation and earlier handling instead of simply applying more force.
Let the shaped ball rest again
Balling tightens the dough. The final proof that follows gives it an opportunity to rise further and relax. The time required depends on the recipe, temperature and fermentation already completed. A freshly shaped ball often resists opening into a large base. Repeated re-balling immediately before baking prolongs that difficulty. Once the ball sits with a closed seam in its box, inspect it visually first. There is no need to touch or roll it again every time you check its progress.
The ball can become somewhat flatter during the rest. That does not automatically mean you failed to create enough tension. Arrange portions so they do not stick together and check early enough whether they have sufficient room. For extended refrigerated fermentation, a recipe may call for chilling already-portioned balls or for dividing later. In the latter case, relaxation after balling still needs to be allowed for. Cold hours before dividing do not guarantee that a newly tightened ball will be immediately extensible.
Remove the proofed portion gently
Prepare the floured area for opening before taking the dough out. In a shared box, carefully separate any contact points between neighbouring balls rather than tearing one away. Slide the scraper flat underneath the desired portion and support it with your other hand. Avoid pulling upwards from just one corner, which can quickly create a thin, damaged patch. From an individual lightly oiled container, the dough can often be tipped onto the work surface after gently releasing it. Preserve as much of its organised shape as possible.
Next, gently press the middle wider with your fingertips while leaving the rim you want. If the base springs back strongly, cover it again and allow roughly ten to fifteen minutes to relax, longer if needed. Pulling harder does not address the cause. A small tear can be carefully closed before topping; a badly damaged portion is easier to handle as a smaller pizza. After baking, note whether weight, resting time and diameter worked together. These observations give you specific starting points for the next batch.