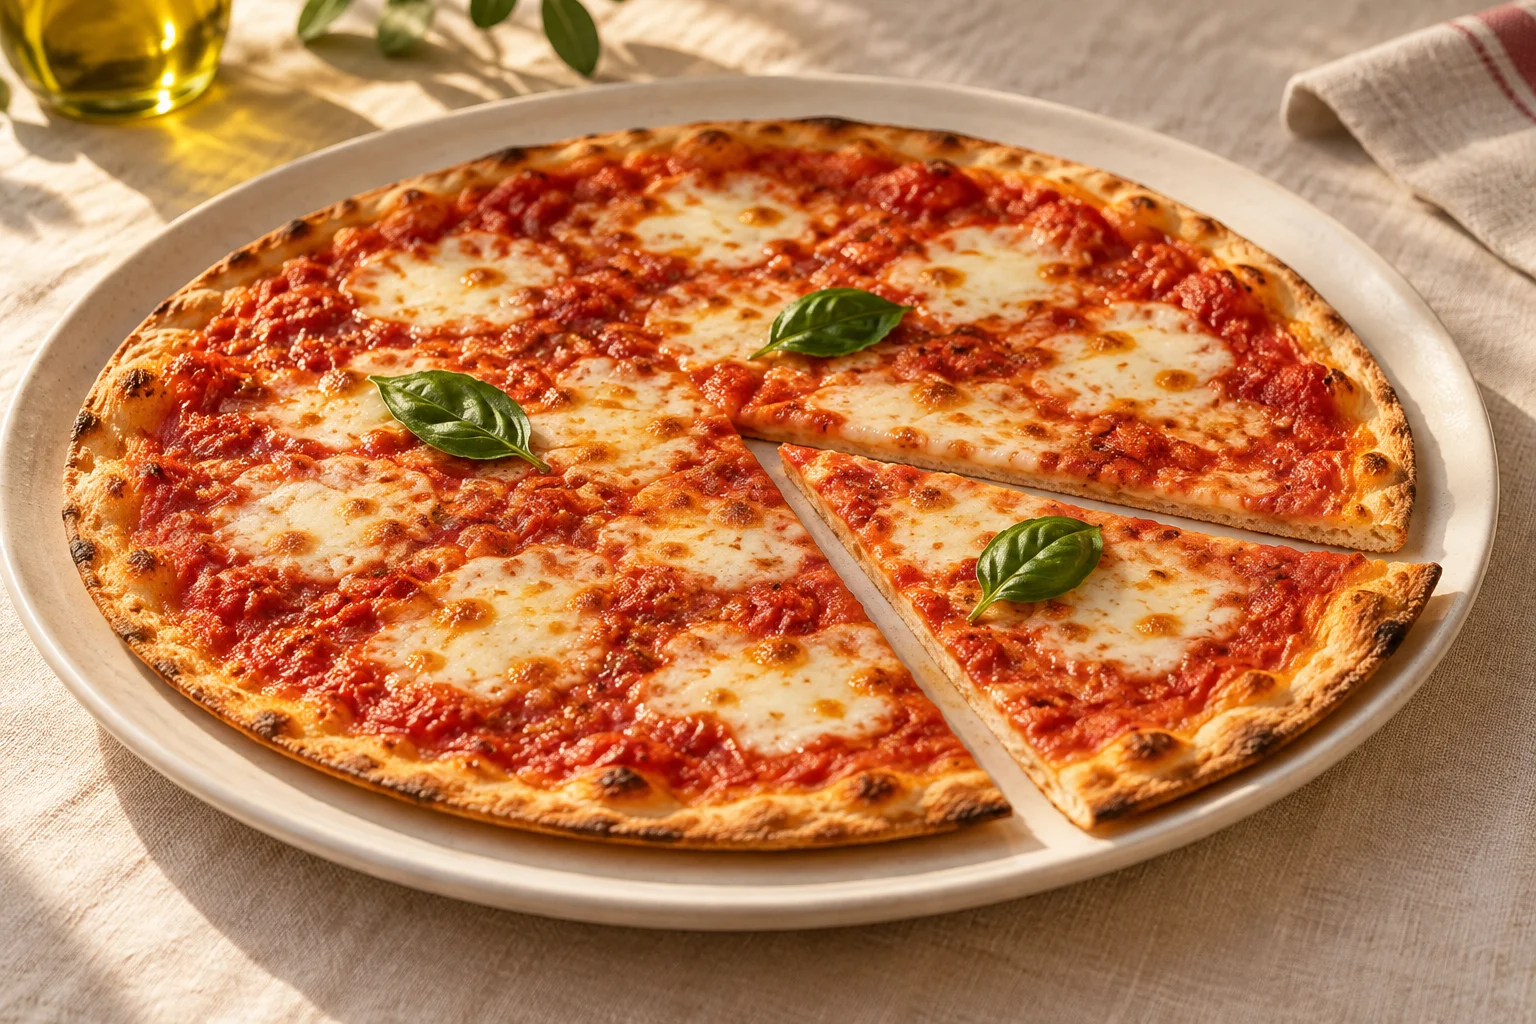
An even centre matters more than maximum size
For thin pizza, the most useful starting point is an even distribution of dough. An exceptionally thin patch beneath a wet topping remains fragile, while a thick patch beside it needs longer in the oven. The aim is therefore not to stretch each portion into the largest possible circle. Choose a diameter that your dough can support and that you can transfer comfortably onto your baking surface. A narrow rim and a flat centre suit this style. A tall, inflated edge is a different choice and cannot be preserved while rolling firmly across the entire base.
Thin describes the shape before baking; crisp describes part of the finished texture. A thin pizza can still turn soft if it carries too much moisture, bakes on a cool surface or sits on a closed board afterwards. A slightly thicker base may have a crisp exterior while remaining pleasantly flexible inside. Decide whether you want a light, foldable slice or a firmer bite. A simple tomato and mozzarella topping is useful for your first batch because it lets you see how the dough thickness and the oven behave together.
Plan dough weight and diameter together
For four thin pizzas measuring roughly 28 to 30 cm, start with 500 g white wheat flour, 300 g water, 10 g salt, 15 g olive oil and 2 g instant yeast. Choose a flour suitable for pizza dough; a workable German Type 550 white wheat flour is another option. The recipe has 60 percent hydration when water is calculated against flour weight. Oil is counted separately and does not turn that into 63 percent hydration. Keeping those figures separate makes later comparisons and changes in a dough calculator easier to understand.
The ingredients add up to 827 g of dough, giving four portions of just under 207 g each. Weigh the actual dough after mixing and divide that weight by four, since small amounts can remain on the bowl and your hands. Start by opening a portion to about 28 cm. At 30 cm, the same dough covers a larger area and becomes noticeably thinner. If reaching that size creates a weak, translucent centre, keep the pizza smaller. Using a little more dough next time is more useful than forcing a hole into this base.
Mix and knead until the dough holds together
Combine the flour and instant yeast if the yeast packet allows it to be added directly. Add the water and salt, then mix until no loose flour remains and the dough forms one mass. The water does not need to be hot; in a normally heated kitchen, choose water that will not make the finished dough unnecessarily warm. Knead for a few minutes before working in the oil. The dough may feel slippery at first, then become more cohesive as the oil is incorporated. Do not immediately add extra flour in response to that temporary change.
Around eight to twelve minutes of hand kneading is a useful starting estimate. Look for a smoother, elastic dough that does not immediately break into rough pieces when gently stretched. If using a mixer, follow its instructions for speed, load and working time. A short covered rest can help if the dough becomes very tight during kneading. This formula is not intended to produce an exceptionally wet, sticky dough. If your flour absorbs the water differently, give it a rest before changing the proportions. Record any small adjustments so that you can repeat them.
Allow fermentation and portioning their own time
Place the dough in a covered bowl with enough room for expansion. At roughly 22 to 24°C, allow about two to three hours for the initial rise as a guide. The dough should become visibly larger and lighter; elapsed time alone does not decide readiness. Divide it into four weighed portions and gently shape each into a ball. Put them in covered containers with space between them. Allow roughly another one to two hours for the portions to relax and become easy to open. Including preparation and baking, plan on around four to six hours overall.
That schedule belongs to the stated yeast quantity and a moderately warm kitchen. In a cooler room, fermentation may take longer; noticeably warmer conditions can shorten the time. A tight ball rolled immediately after shaping often springs back. Treat the final rest as a real stage of the process. If you want to keep dough in the refrigerator overnight, use a formula designed for that schedule, with a suitable yeast quantity and time to relax before shaping. The warm method here should not simply be extended by an arbitrary additional night.
Roll gradually and turn the dough frequently
A rolling pin is a useful tool for a consistently flat base. Lightly flour a clean work surface and press one mature dough ball into a disc with your fingers. Roll from the centre outwards without repeatedly working the same strip. Turn the dough by roughly a quarter turn and check that it still releases from the counter. This helps you notice a sticking patch or an increasingly oval shape before it becomes a problem. Several light passes give you more control than one forceful movement across the whole piece.
If the disc keeps shrinking, cover it and leave it for around ten minutes, or longer if necessary, before continuing. Rolling pushes out some of the gas already held in the dough, which suits a flatter result. To keep a slightly airier narrow rim, stop the rolling pin short of the outer edge and open that area gently by hand. Avoid turning the rolled disc back into a tight ball merely because the outline is imperfect. That creates fresh tension and adds another wait before the dough will stretch comfortably again.
Find weak spots before adding the topping
Lift the base carefully and inspect its centre. It should remain continuous, without a single patch that has become almost paper thin. Pay particular attention to any area that stuck to the counter, since releasing it can stretch it more than expected. Repair a small tear before adding sauce: slightly overlap the edges and press them together without trapping a layer of flour inside the join. Do not stretch the repaired patch again. If several holes have formed, a smaller pizza or a lightly oiled supporting pan is a more manageable choice.
Avoid leaving a very thin base hanging for a long time over the edge of one hand. Support it broadly or keep working on the counter until the transfer. The planned diameter is a target rather than a requirement. If the middle is already weak while a thick band remains around it, the stretching has been uneven. On the next portion, work on those thicker areas earlier and turn the dough more frequently. A ruler nearby can help you judge the size; you do not need a precise circular template or a geometrically perfect outline.
Keep the topping light and control moisture
For a base of this size, around 50 to 60 g thick tomato sauce and 50 to 60 g well-drained mozzarella provide a manageable starting topping. These quantities are deliberately modest so that the thin centre does not have to carry a large amount of liquid. Spread the sauce close to the narrow rim without leaving puddles. Tear the cheese into small pieces and distribute them with gaps. Drain very wet mozzarella before using it. Squeezing brine out over the pizza puts extra moisture exactly where it is least helpful.
Add other ingredients in a light layer. Mushrooms, courgettes and generous vegetable toppings can release water during baking. Where appropriate, cook watery ingredients beforehand, then let them cool and drain before assembling the pizza. Raw meat toppings need a suitable cooking method; a general short baking time for thin pizza is not enough to establish that they are cooked safely. Add basil or other delicate leaves after baking. For your first batch in a particular oven, keep the topping simple and change only one major variable on the next attempt.
Prepare the baking surface before assembly
A pizza stone or baking steel can provide strong heat beneath the thin base. Preheat a suitable surface in your home oven according to its manufacturer's instructions. At 250°C conventional top and bottom heat, roughly 45 to 60 minutes including thorough heating is a common planning range, although the material, thickness and oven all affect the time needed. The oven's ready signal relates to its temperature control and does not confirm that a heavy slab is fully heated through. Avoid putting a cold stone straight into a hot oven without checking its instructions, and keep liquid away from a hot stone.
If you do not have a stone or steel, use a suitable metal baking tray. A cold tray behaves differently from a preheated surface and may require a longer bake. Decide on the transfer method first. On a dry, lightly dusted peel, the dough should slide both before and after topping. Baking parchment is an option only when its temperature and usage rating cover the method you have chosen. Ordinary paper with a lower rating is not automatically suitable at 250°C. A supporting pan can help if transferring a free-standing base is still difficult.
Check the underside and let steam escape
At 250°C on a thoroughly preheated surface, a lightly topped thin pizza may take around six to ten minutes. Begin checking after about five minutes and respond to your own oven. The rim should take on colour, the cheese should melt, and the underside should look baked across the centre. Lift an edge with an appropriate utensil to inspect it. If the bottom remains pale and soft while the topping is already darkening, the next pizza may need stronger heat from below or a different rack position, rather than simply more heat from above.
Rest the finished pizza on a wire rack for about a minute so that less steam collects beneath it. Slice and serve it promptly afterwards. A thin pizza loses its dry underside more quickly on a closed board or inside a box. If the rim turns hard while the centre stays wet, first consider topping quantity and heat transfer. If the entire base becomes dry and brittle, shorten the bake next time or use slightly more dough for the same diameter. These observations let you adjust the texture towards the bite you actually want.