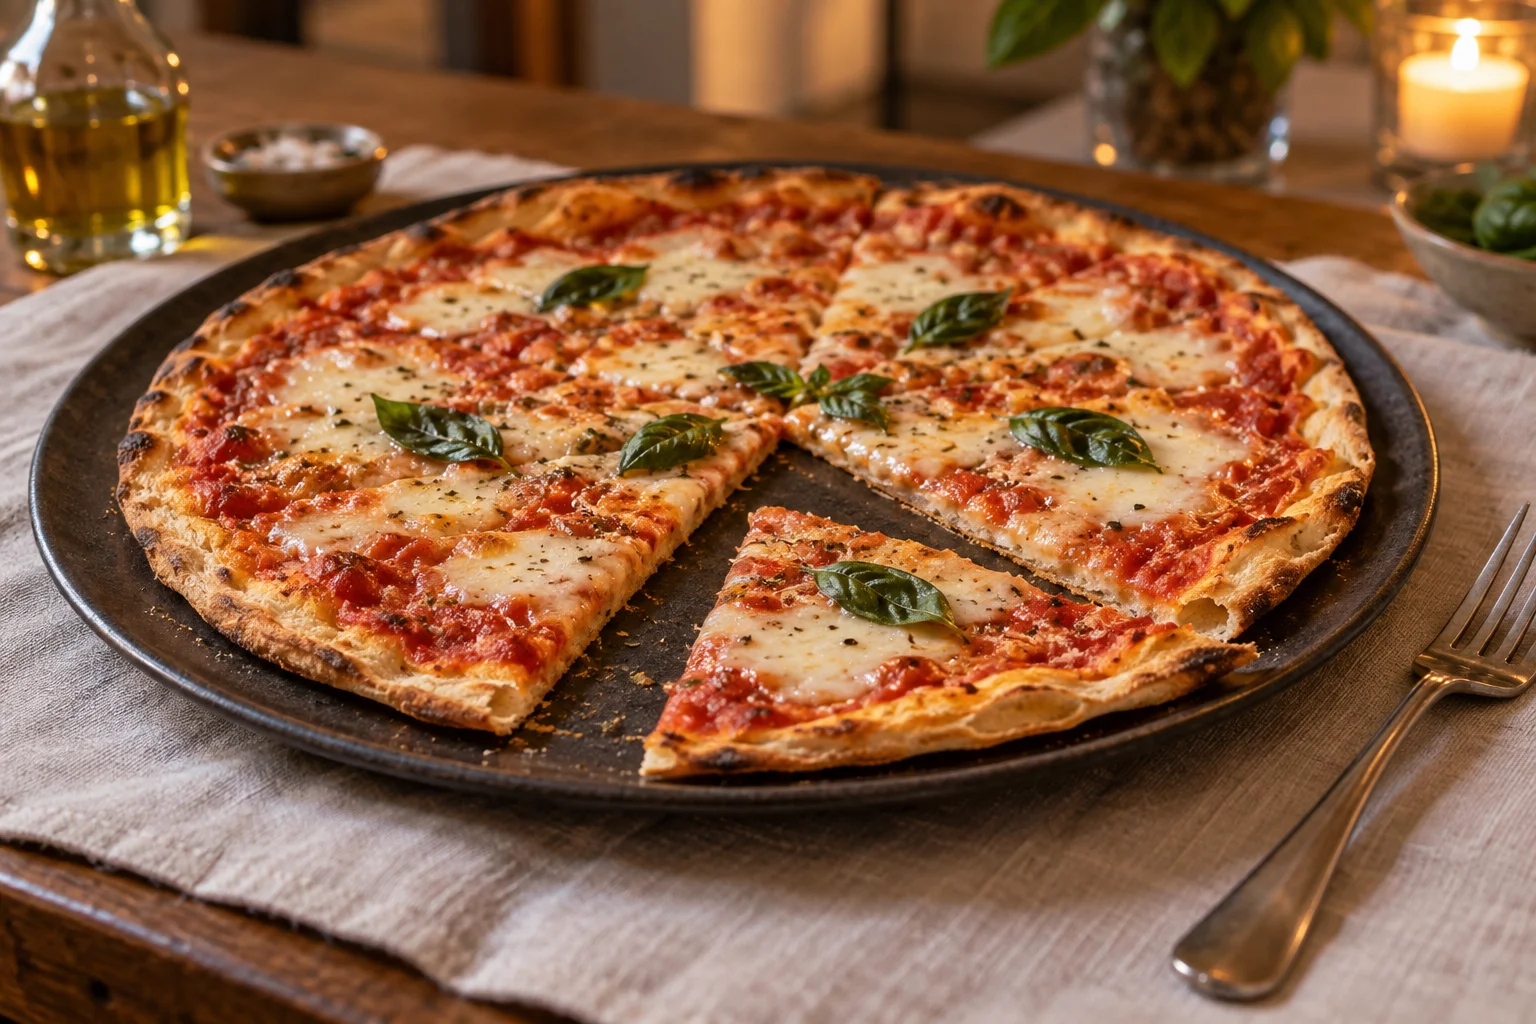
The Roman pizza this guide is about
A thin Roman pizza has a crisp base and a relatively flat edge. This guide focuses on that round style, pizza tonda. Rome also has tray pizzas sold in pieces, which can have a much thicker, airier base. That is why recipes described as Roman pizza can look so different. Decide which result you want before buying ingredients. For the method below, you will make four small dough balls and need enough baking space for a round pizza measuring about 28 to 30 cm across. Check your peel as well as your oven.
This is a version designed for a home kitchen. It combines a fairly firm dough, an overnight rise and thin rolling. A rolling pin is a useful tool here because it helps produce an even sheet, right out to the edge. A large, soft, inflated rim is not the aim of this particular style. The crisp texture still depends on baking, however. Even very thin dough will stay soft beneath a thick layer of wet tomatoes and cheese if the baking surface cannot supply enough heat from below.
A manageable batch for four pizzas
For a first batch, use 500 g wheat flour, 280 g water, 12 g salt, 10 g olive oil and 1 g instant yeast. This gives 803 g of dough, or four portions of roughly 201 g each. Water amounts to 56 percent of the flour weight, salt to 2.4 percent and oil to 2 percent. These percentages make the batch straightforward to scale. For eight pizzas of the same size, double every ingredient. Adding more yeast alone does not create more dough or replace the time needed for fermentation.
Choose a wheat flour suitable for pizza and an overnight rise. With this relatively low water content, the dough is generally easier to roll and move than a very soft mixture. It must still contain no pockets of dry flour after mixing. If your flour needs more water, add small, weighed amounts of about 5 g at a time and record the final quantity. An unmeasured splash can change the dough more than switching between two otherwise suitable pizza flours. A precision scale also makes the small yeast quantity easier to measure consistently.
Mix and knead until the dough becomes smooth
Combine the flour and instant yeast in a bowl. Dissolve the salt in the water, then add the liquid to the flour. Use a dough scraper or your hands to bring everything together until no loose, dry patches remain. Cover the mixture and leave it for about ten minutes. Continue kneading, working in the olive oil. The initially firm dough should become more even. Eventually it should hold together and stretch a little without splitting at every fold. You should need very little extra flour on the work surface for this mixture.
Do not knead by the clock alone. A small batch worked by hand behaves differently from the same dough in a powerful stand mixer. Follow the machine's limits for dough quantity and speed. If the dough becomes noticeably hot or starts smearing, give it a break. When working by hand, flatten it, fold it over and turn it before repeating. Alternating brief kneading with covered rests is more comfortable than fighting a resistant dough while adding more flour, which can make the mixture firmer and harder to manage with each addition.
Fit the overnight rise around your meal
For pizza on Saturday evening, you can mix the dough on Friday evening. After kneading, let it rest, covered, for about 45 minutes at an ordinary kitchen temperature. Divide it into four portions and round them into smooth balls. Place each ball in a covered food container with room for expansion. Refrigerate overnight, at around 4 to 5°C for this schedule. A light coating of oil on the container can make the dough easier to release later. The dough does not need to sit in a puddle of oil.
Allow roughly 18 to 24 hours between mixing and baking as a starting schedule. Temperature and yeast activity affect how quickly the dough develops. Remove the portions from the fridge about two hours before baking and watch their progress. A cold, tight ball needs longer, while dough that is already relaxed in a warm kitchen may be ready sooner. You want a supple portion that can be rolled thinly. Visible gas formation helps you judge its condition, but the dough does not have to reach an exact doubling in volume before you can use it.
Roll evenly without tearing the centre
Release one portion with a dough scraper and lightly flour both sides. Press it into a flat disc, then roll from the centre outwards. Rotate the disc a little between passes. This distributes the pressure and helps you notice if one section is becoming thinner than the rest. Lift the dough occasionally so it cannot stick to the work surface unnoticed. A thin film of flour is usually enough. A thick layer underneath will travel into the oven with the pizza, where it can burn on the hot surface and taste bitter.
Aim for a diameter of about 28 to 30 cm while keeping the dough intact and strong enough to move. The edge can be thin too. If the disc immediately contracts, cover it and leave it for fifteen minutes. Rolling harder against that resistance makes the job more difficult and can cause tears. If you find a small hole, gently press its edges together and avoid rolling over that patch with full pressure. A slightly smaller base of even thickness is easier to bake well than a large one with a paper-thin centre.
Match the toppings to the thin base
For a first tomato pizza, allow about 50 to 65 g of fairly thick tomato sauce and 50 to 70 g of well-drained mozzarella per base. Spread the sauce almost to the edge, leaving a narrow border. The dough should still be easy to move. Cut or tear the cheese into small, fairly even pieces. Large lumps melt more slowly and release moisture into isolated areas. Prepare fresh mozzarella ahead and let it drain in a sieve in the fridge. Take out only the amount you need for the next pizza.
Mushrooms and courgettes work well, but they benefit from preparation on a base this thin. Cook mushrooms in a pan until much of the liquid they release has evaporated. Slice courgettes very thinly or briefly cook them first as well. Let prepared toppings cool a little before adding them to the dough. Scatter small amounts with visible spaces between them. If you want several vegetables, distribute them across different pizzas. Each base stays easier to handle, and everyone can share different slices at the table without overloading a single pizza.
Prepare a stone, steel or baking tray
Heat a stone or steel that is suitable for your oven along with the oven itself. A useful starting setting is 250°C with conventional top and bottom heat, allowing the preheating time specified for your baking surface. A substantial stone or steel often needs considerably longer than the oven's indicator light suggests. Choose the shelf position before heating. A middle or lower position can make sense for the first pizza if your oven browns food rapidly on top. Then observe whether the top and bottom finish at roughly the same time.
Without a stone or steel, use a suitable metal tray. Expect a different baking pattern: a thin, cold tin holding the dough supplies less direct heat at the start than a preheated, substantial baking surface. The cooking time will therefore differ. A preheated flat tray can be loaded with a suitable peel, treating it with the same care as any very hot baking surface. Use baking paper only within its stated temperature limit. Keep it away from heating elements and flames, and do not assume it is an appropriate launching aid in a dedicated pizza oven.
Launch the pizza and judge the browning
Place the rolled dough on a lightly floured peel and give it a small shake to check that it moves. Add the toppings promptly, then slide the pizza straight into the oven. Thin dough can become sticky beneath moist toppings if it waits too long. If one small patch sticks, lift that particular area and put a little flour underneath. Avoid pulling firmly on the opposite edge. That tends to stretch the rest of the base while the stuck section remains in place, eventually causing the dough to tear.
At 250°C, allow approximately six to ten minutes for the first pizza and start checking after five. This is a window for observation, not a promise for every oven. Once the edge is firm enough, lift it with the peel and inspect the underside. It should show browning, with the centre cooked through. Large black patches taste bitter and do not indicate better pizza. Turn the pizza if the heat is uneven. For a dedicated pizza oven, use settings appropriate to thin bases; the timing for a domestic oven will not transfer directly.
Deal with three common problems
If the edge is dark while the base remains soft, check the toppings and baking surface first. Too much sauce or poorly drained cheese leaves a wet centre. A surface that has not heated long enough provides insufficient energy from below. Change one thing on the next pizza: reduce the toppings, allow the stone more time to recover or adjust the shelf position. Simply baking for longer can dry out the edge while the centre catches up. Record whether the problem occurs on the first pizza or only during later rounds.
If the entire pizza turns hard and dry, it may have baked too long or been rolled too thin in places. Make the next base slightly smaller and inspect it earlier. If large bubbles develop beneath the toppings, lightly prick the relevant areas of the next base with a fork before topping it. Aggressively perforating the entire sheet is unnecessary and can let sauce leak through. Tears during rolling call for a different check: give the dough sufficient rest and keep its thickness even. More oven heat cannot repair a base that is already torn.
Serve while crisp and plan the next batch
Place the finished pizza on a rack briefly before cutting it on a board. This lets steam escape from the underside. A deep plate or closed box holds moisture close to the crust instead. Slice promptly and serve while the pieces are hot and crisp. When cooking for several people, sharing each pizza as it emerges is often easier than trying to finish every pizza at the same moment. It also gives the freshly baked base the best chance of reaching the table with the texture you worked to create.
After the meal, note the dough weight, diameter, topping quantity and baking time. Those few details make differences easier to understand: a 201 g portion rolled to 28 cm stays a little thicker than the same portion rolled to 30 cm. If you like the result, keep that ratio and use the dough calculator for larger batches. For an airy Roman tray pizza, choose a dough and method intended for that style. Pressing this relatively firm dough into a thicker layer on a tray creates a different result and needs a separate baking plan.