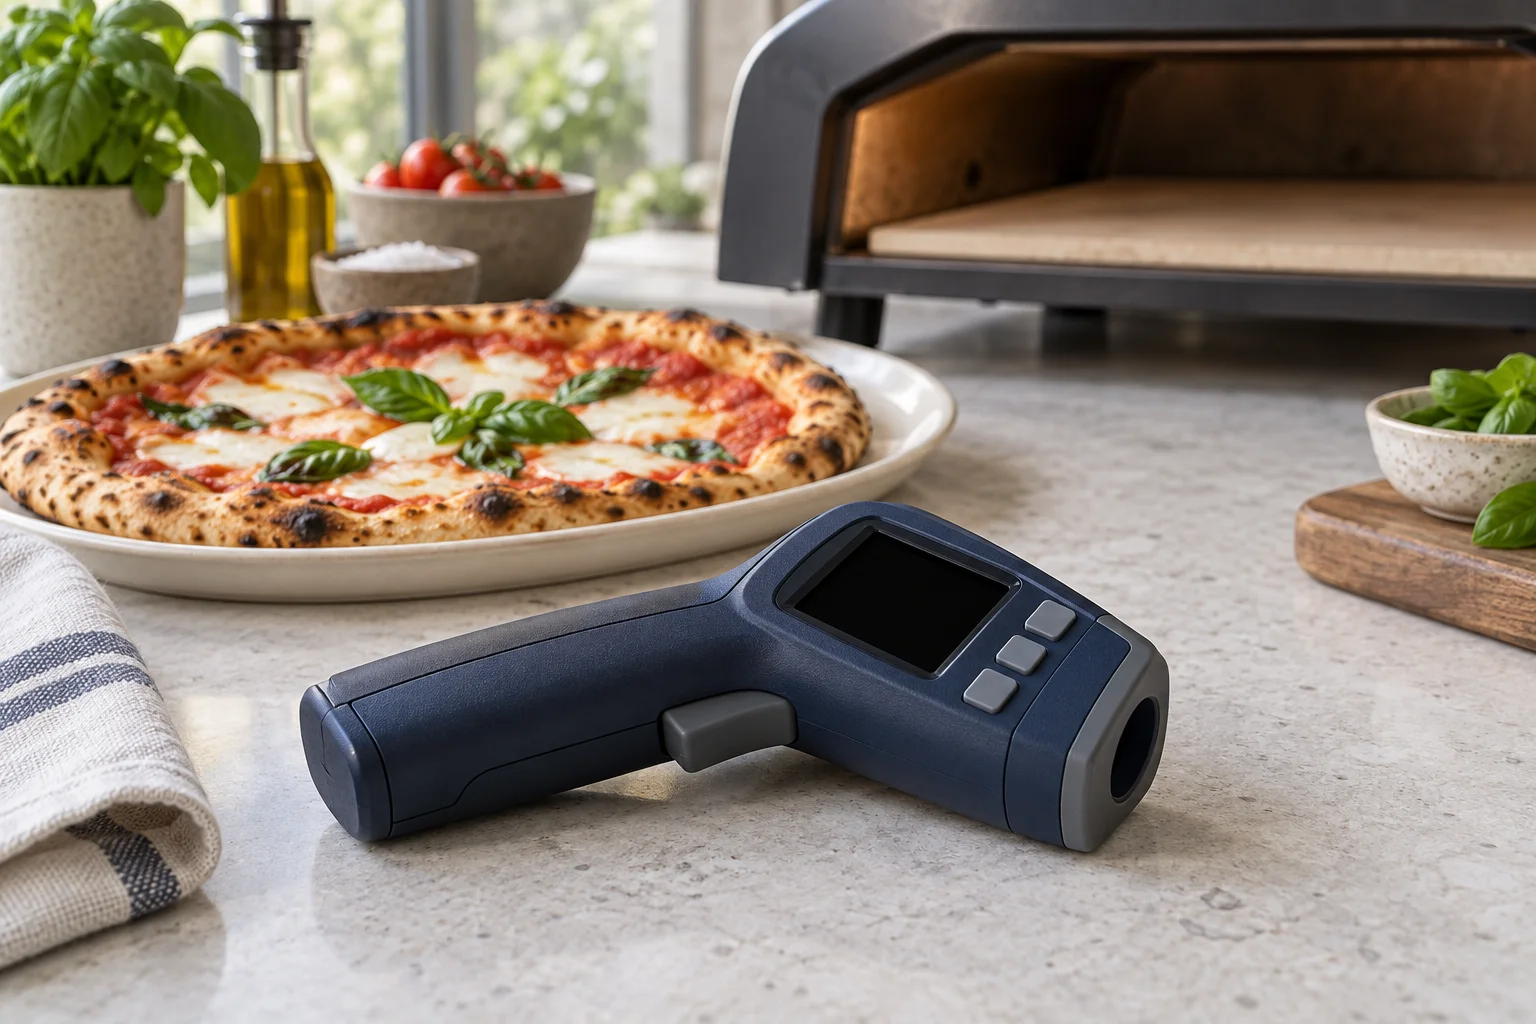
Define the measurement you need first
When baking pizza, you often want to know the temperature where the dough will sit next. A suitable infrared thermometer can measure that surface without touching it. It measures neither the air throughout the oven nor automatically the heat inside a thick stone. It also does not show the internal temperature of a pizza or its ingredients. The display describes the area the instrument actually detects. A well-chosen target is therefore more useful than the highest number you can find somewhere in the oven. Before measuring, decide whether you are assessing one cooking position, several zones or recovery after a pizza.
An existing chamber thermometer and an infrared instrument can complement each other because they detect different things. Different readings are not automatically a fault. First compare the measuring location and method. A chamber sensor, a contact probe on metal and a contactless reading on stone do not necessarily produce the same value. To check whether food has been adequately heated inside, an appropriate internal-temperature measurement may be required. The pizza's surface cannot replace that. Choose the tool for the task before comparing display resolution, additional features or an exceptionally high upper temperature limit. Otherwise, an impressive specification may answer the wrong question.
Read measuring range and accuracy separately
The measuring range must cover the temperatures you actually need to assess on the intended cooking surface. An instrument with too low an upper limit is unsuitable for a hotter pizza oven, even if it works well for other kitchen tasks. Also check the thermometer's permitted operating temperature. Being able to measure a very hot surface does not mean the instrument itself can sit in that heat. The two limits serve different purposes. Check whether accuracy remains the same across the measuring range or changes with temperature bands and ambient conditions. A large range specification alone is not enough to choose a suitable instrument.
Distinguish accuracy from the number of displayed digits. A reading to a tenth of a degree does not promise that the actual surface temperature is known to that precision. A hypothetical specification might say “±2 percent of the reading or ±2 degrees, whichever is greater”. At 450 degrees, two percent is already nine degrees. This illustrates the calculation; it is not a guaranteed characteristic of every pizza thermometer. If two correctly taken readings differ by only a few degrees, that difference may fall within the instrument's limits. It does not automatically justify a substantial change to the oven setting or recipe.
Distance and measuring spot belong together
Many instruments specify a distance-to-spot ratio, often written D:S. With a simplified ratio of 10:1, a distance of 30 centimetres corresponds to a measuring spot approximately three centimetres across. At 60 centimetres, it would be approximately six centimetres. However, the manual defines the actual optics, minimum spot size and valid distance range; simple division does not replace those details. The further away you stand, the more likely the instrument is to include surrounding areas outside your intended target. This matters particularly near the stone edge or rear wall when their temperatures differ significantly from the cooking surface you want to assess.
Keep the whole measuring spot inside a suitable area. If only a narrow strip beside a pizza is visible, pointing the laser at it does not establish that the instrument detects only that strip. On instruments that have one, the laser is an aiming aid rather than automatically the boundary of the measured area. Never direct it towards eyes or people. Choose a safe working distance that gives a suitable target and clear view without putting your hand or the instrument into the chamber. The practical buying question is therefore not only how far it can measure, but how large an area it detects at your oven.
Match the setting to the surface
An infrared thermometer calculates temperature from received thermal radiation. It needs an assumption about the surface, expressed through emissivity. Some instruments use a fixed value; others allow adjustment. Ooni, for example, describes its digital thermometer as preset for its own cordierite stones and adjustable for other surfaces. This is a statement about that particular version, not a general property of every available instrument. Check the intended setting for your target. Stone, bare shiny steel and a coated pan are not interchangeable surfaces. Even the condition of the same metal surface can differ through oxidation or coating, affecting how it should be measured.
Shiny metal can reflect radiation from its surroundings and produce a misleading value. The reading need not simply be a little too low; hot nearby components can influence it too. Do not keep adjusting emissivity until the expected number appears. Without a suitable reference, that is not a justified correction. Use manufacturer information or establish an appropriate measuring method. Industrial suggestions involving adhesive tape or paint should not be transferred to hot food-contact surfaces. Difficult surfaces may require a suitable contact measurement, with a probe capable of handling the material, temperature and task. The separate emissivity guide explains these issues in more detail.
Measure with a clear view and clean optics
There must be a suitable unobstructed view between the thermometer and cooking surface. A typical infrared thermometer cannot reliably measure the stone behind a closed glass door. Dense smoke, steam or a dirty lens can also interfere. Open any door only as instructed and take a brief measurement from a safe position. Measuring is not a reason to modify the oven or operate its door differently on a permanent basis. If the view is obstructed, wait for suitable conditions and address unusual smoke at the oven rather than turning a poorly captured reading into a recommendation about the required cooking temperature.
Consider changes in the thermometer's own temperature too. An instrument brought from cold storage into a warmer environment may need time to adjust. Its instructions specify the relevant conditions. Leave it somewhere dry and protected while it adjusts, not on the oven shell. Keep the optics free of flour, grease and condensation, and clean them only with approved materials. A rough kitchen cloth or aggressive cleaner is not automatically suitable. If readings jump unexpectedly, first check the view, lens, settings and battery indication. That is often a more useful initial check than immediately making a large change to flame strength or heating power.
Use a simple sequence before launching
Preheat the oven using its complete prescribed procedure. Then check the empty position the next pizza will actually occupy. Confirm the unit, settings and measuring distance, aim at the appropriate surface and allow the response described by the manufacturer. Do not mistake a stored old reading for a new measurement. Instruments with a hold function retain the display after the trigger is released. This is useful, but requires attention the next time you pick it up. If comparing several points, use the same technique and note their positions in plain language when necessary. Marks on the hot stone are not needed.
Compare the result with an appropriate recipe and your oven's instructions. A general colour ring on a display knows neither your dough thickness nor the moisture of the toppings. A high reading also does not replace sufficient preheating of a thick cooking surface where that is required. If the selected position is not ready, allow more time using the oven's intended procedure and check again. Do not increase temperature beyond permitted limits out of impatience. Prepare the next pizza meanwhile, but avoid leaving it fully topped on the peel for a long time. Measuring, shaping and launching should form a calm, connected sequence.
Assess recovery after each pizza
A pizza draws heat from the cooking surface. Before another is baked in the same place, the floor may need a recovery interval. Measure a comparable area again once it is clear, while respecting the oven's intended operation. A hot point beside the previous pizza tells you little about the centre that was just occupied. Searching only for the highest value may overlook the area where the next base would remain pale. Measurement helps you choose an appropriate pause. A fixed number of minutes borrowed from another appliance cannot reliably describe the current condition of your stone and sequence of pizzas.
Watch the results as well. If bases become paler during the evening despite apparently identical readings, check whether position, distance and surface condition really stayed consistent. Consider preheating duration, dough weight and toppings too. An appropriate surface reading is helpful, but does not fully describe stored heat and every baking condition. Avoid changing several factors at once. A controlled recovery interval with an otherwise similar pizza is an understandable adjustment. The thermometer supports observation of base and rim; it does not make that observation unnecessary or establish one cooking time for every pizza. Use the value together with what the finished food shows.
Choose extra features for a purpose
A scan function may summarise successive readings as minimum, maximum or average values. Check how the particular instrument performs this function. An average over a manually swept path is not automatically an area-weighted average of the entire stone. Spending longer at some positions or detecting different-sized spots affects what the result means. Before launching, a repeatable single point can be more useful than a number from an unclear sweep. Use scanning mainly to look deliberately for differences, then check unusual areas individually under comparable conditions. The instrument's ability to calculate a mean does not correct an unsuitable measuring route or surface setting.
An illuminated screen, accessible buttons and a clearly visible unit can make everyday use easier. More memory slots or additional colours are useful only when you actually use them. Check that Celsius and Fahrenheit are easy to distinguish and that an accidental unit change will be noticed. A short response time also helps only when the target is correct. Compare operation, suitable range, accuracy specifications, optics and surface adjustment together. The most expensive instrument is not automatically the most useful addition for a single baking stone. Equally, a low purchase price cannot compensate for an unsuitable measuring range or unclear operating instructions.
Connect the readings with the finished pizza
A short note is often enough: recipe, measuring position, comparably obtained value and the condition of base and top. If the base is right but the rim burns, the stone measurement does not necessarily need correcting. Consider position, turning and upper heat too. A wet centre adds dough thickness and toppings to the possible causes. This makes the thermometer part of a specific decision. Without that connection, you may collect numbers while learning little about your oven. Use the heat-distribution guide to distinguish the different problems more closely. The useful question is which part of the pizza needs a different treatment.
After cooking, put the instrument somewhere dry and protected and maintain it as instructed. Keep it away from hot surfaces, washing water and heavy objects. If readings remain implausible, ask the manufacturer about operation and appropriate checking; an estimated kitchen value is not calibration. For your pizza evening, the instrument does not need to produce impressive record numbers. It needs to measure sufficiently reliably at a suitable position under comparable conditions so you can preheat, wait or launch. Keeping the task, distance and surface in mind makes the process manageable and gives the displayed number a concrete purpose in the cooking routine.