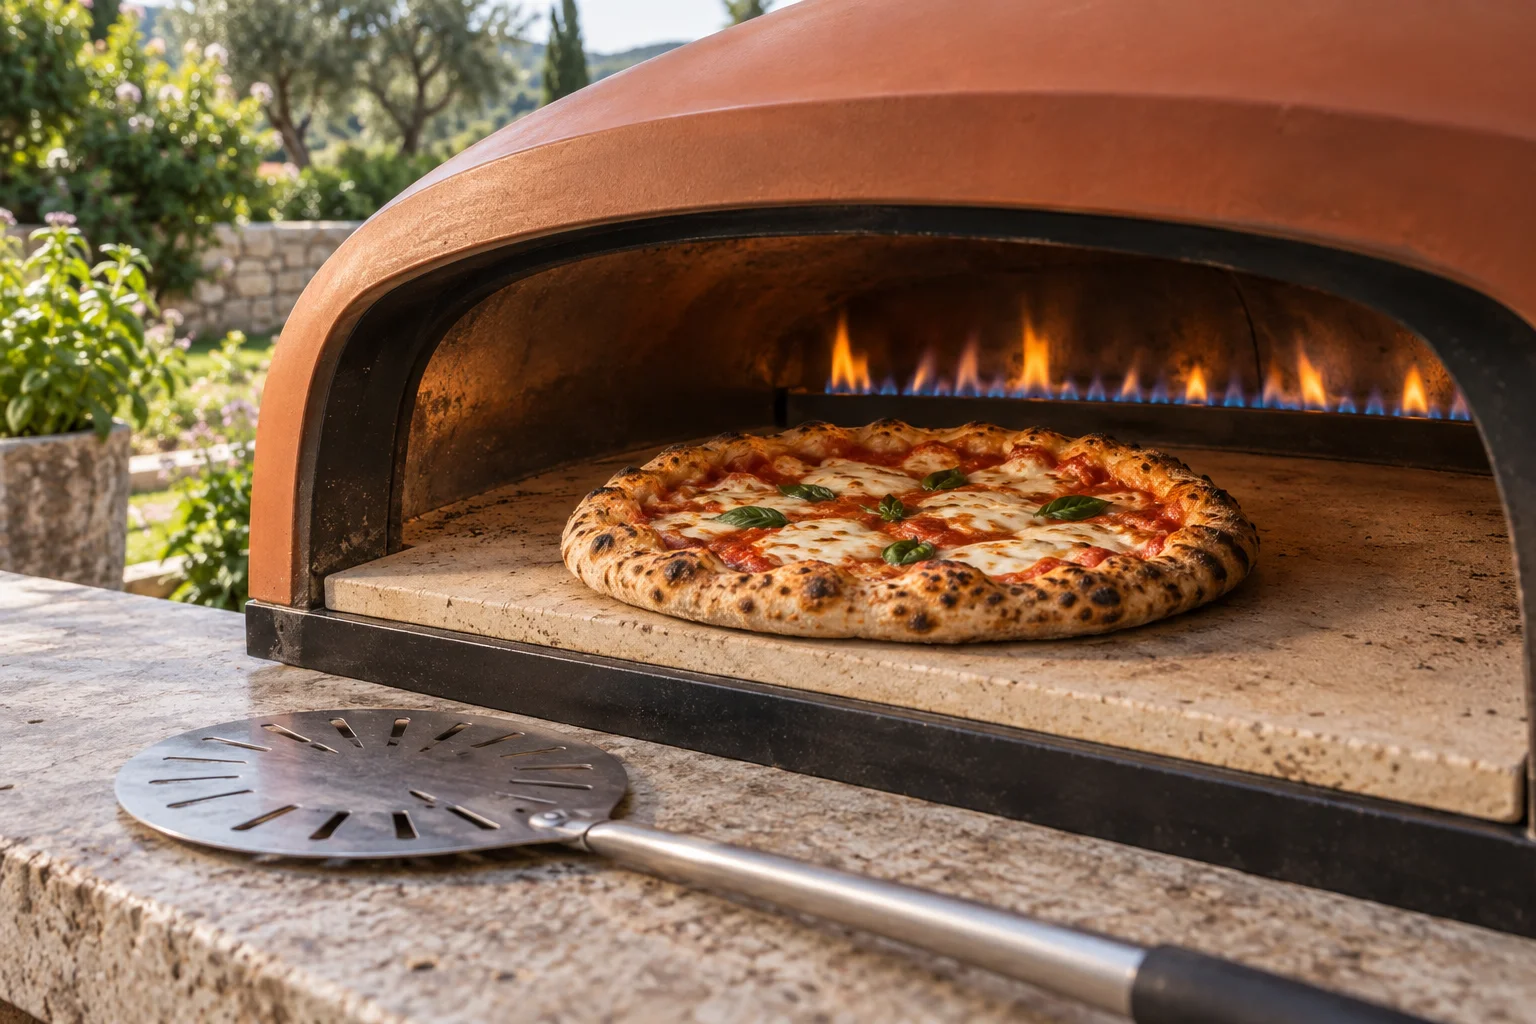
Three routes bring heat to the pizza
The base receives heat through direct contact with the cooking surface. The technical term is conduction. The rim and toppings receive heat partly through radiation from hot oven components, heating elements or flames. Moving hot air in the chamber contributes too. These routes operate together, but not with equal strength everywhere. A powerful burner can brown the top quickly while an insufficiently preheated stone delivers little heat to the base. Conversely, a very hot surface can darken the underside before thick dough or substantial toppings are ready. More total power therefore does not automatically establish the balance your pizza needs.
Think of the pizza as several connected areas. Its thin base, airy raised rim and moist centre do not require exactly the same progression. The aim is for them to be ready together when you remove it. A recipe with thin dough and restrained toppings is designed differently from a deep pan pizza. Substantial changes to thickness or toppings change the oven's task too. The temperature specified for a different pizza style is not a reliable replacement for a suitable method. Begin with a recipe appropriate to the oven design, then assess which area is actually cooking too quickly or too slowly.
Distinguish air temperature from the cooking surface
An oven display may show the reading from a sensor in the chamber. An infrared thermometer measures the surface within its targeted spot instead. These readings can differ without either instrument necessarily being faulty. What matters is the question you are trying to answer. The surface is relevant to the direct contact under the pizza. Conversely, a stone reading alone cannot fully describe heat arriving from above. Check the manual to find out what an existing display measures and where its sensor sits. A large screen does not automatically provide a more complete description than a small one when both report the same single point.
A single surface reading also describes only one position at one time. It does not prove that a thick stone has reached the same temperature throughout or that it can immediately supply sufficient heat after the next pizza. Follow the prescribed preheating phase and check the relevant location again when planning another bake. Do not compare a peak beside the flame with an earlier reading near the opening. Useful observations require a consistent position and a suitable measurement method. This distinction prevents you from correcting an apparent temperature drop when you have simply aimed at a different part of the oven.
Identify hotter and cooler areas
Choose a few consistent observation points inside the genuinely usable cooking area, such as the front, middle and further back. These are mentally identified positions, not marks made with paint or adhesive tape on the stone. Measure them with the cooking surface empty, from a safe working distance and with suitable instrument settings. The measuring spot must fit on the intended surface. If it includes stone, rear wall and flame together, the displayed number provides little help with positioning. Open any door only as its instructions permit for measuring, and avoid exposing your hand or thermometer unnecessarily to the hot chamber.
The purpose is mainly to understand where you can place and turn the pizza effectively. A hotter rear area may brown the facing rim faster. A cooler front zone may behave differently but does not necessarily provide enough floor heat for every pizza. Do not automatically seek the highest number. Check whether the whole pizza fits on a suitable area with room left for turning. Repeat comparable observations between ordinary cooking rounds when useful. An identified zone is not an unchanging property. Preheating time, operating mode, wind and the pizza just removed can influence the current distribution of heat across the floor.
Include preheating and recovery in the bake
Start with the full preheating procedure for your oven and an appropriate recipe. A surface is not ready merely because the burner is lit or an air-temperature display has reached a number. A substantial cooking surface first needs to absorb heat. Its material and thickness influence how it subsequently transfers that heat to the dough. Steel can bake differently from stone at the same measured surface temperature because heat transfer differs. Do not change the material or thickness without approval and a suitable recipe method. More mass is not automatically an improvement for an appliance that was not designed to accommodate it.
After a pizza, the occupied area needs time to absorb heat again. If the first pizza works well but later bases become progressively paler, check that recovery interval. Do not immediately conclude that the burner lacks power. Observe the cooking position before the next launch and keep the remaining conditions reasonably similar. Use the pause for cutting, serving and preparing the next pizza. A fixed number of minutes cannot simply be transferred from another oven. What matters is whether your appliance, used as instructed, has restored a suitable cooking surface, rather than whether the timer from somebody else's recipe video has finished.
Diagnose a dark top and pale base
If the rim or cheese is already browning heavily while the base stays soft and pale, the top is receiving relatively too much effective heat or the base too little. First check preheating at the actual occupied position. Then consider whether the dough became appreciably thicker in the centre or the toppings are particularly wet. A long stay directly beside a strong flame can worsen the imbalance. In an appropriately adjustable oven, heat from above can be reduced within its intended operating method while the base needs a properly prepared contact area. The precise setting still depends on the appliance and pizza style.
For the next bake, change something you can clearly identify. If the stone remains too cool, first extend the prescribed preheating or recovery. If it is suitably prepared, consider position, upper heat and how closely shaping and topping followed the recipe. Do not simultaneously reduce temperature, dough weight, hydration and cheese if you want to understand the cause. Cut into the finished pizza and examine its centre rather than photographing only the rim. A risen edge does not prove that the whole base is sufficiently baked. Heavily burnt surfaces are not a necessary sign of quality from a hot pizza oven either.
Separate a dark base from an unfinished top
A base that is too dark can result from excessive surface temperature, too much contact time or abundant loose dusting flour. Distinguish individual burnt flour particles from an underside that is overbaked across a broad area. Flour on the peel should enable launching; thick cushions of it do not need to bake underneath the pizza. Use only enough for free movement and remove loose residue from the empty oven using its prescribed cleaning procedure. Water on a hot stone is not a shortcut for lowering temperature or removing burnt particles. It introduces a different and unwanted interference with the material and working method.
If the base darkens too quickly without much dusting flour, consider a more suitable cooking position or a lower starting temperature for the next pizza, according to the recipe and instructions. Do not work outside the usable area at the edge of the stone. If upper heat is also lacking, cooler preheating alone may still not be the complete solution. Appliances with separately adjustable heating zones may allow the intended balance to be changed. Other ovens benefit from a suitable pizza style and position. Thick dough, large amounts of cheese or cold heavy toppings need an appropriate method; more floor heat may simply darken the underside further.
Turn the pizza to bake the sides more evenly
In an oven with a side or rear heat source, one side of the pizza often receives more intense heat. Turn it with control once the base has enough structure and watch browning around the rim. The correct moment depends on dough and temperature. A universally fixed interval is less useful than knowing whether the pizza can be moved without tearing. Use a suitable turning peel and allow enough room within the approved cooking area. An oversized pizza that barely fits through the opening does not suddenly become easy to rotate just because the tool beneath it is smaller.
Keep the pizza together as you turn it and move it only as far as is useful for the next part of the bake. Do not pull it halfway out of the oven at every turn unless the intended method calls for that. If one area sticks, avoid tugging hard at the still-soft base. Assess its condition and use the appropriate tool. A finished section should not deliberately remain facing the strongest heat simply to follow a rigid schedule for another part. Stay with the pizza. Small changes can become visible quickly in the hot chamber, especially when the dough is thin.
Use doors, airflow and accessories as intended
Door position, ventilation and fuel delivery belong to the oven's design. A closed door may be part of correct cooking in a model intended for it; an improvised door may be unacceptable on another appliance. Do not adopt general advice to narrow openings with sheet metal or block air passages. Adding a stone above the pizza can also change the intended configuration and clearances. Use the prescribed controls and approved inserts. If you need more heat from above, an unapproved modification is not a useful alternative to appropriate appliance settings or a recipe that suits the oven you actually have.
In a household oven, rack height may be adjustable when the manual permits the arrangement. Moving closer to the upper element can expose the top more strongly, but adequate room must remain for safe launching and for the dough itself. Use a grill or broiler function only with suitable surfaces and cookware, under observation. Do not transfer exact distances or temperatures from someone else's kitchen without checking. A dedicated pizza oven often has differently prescribed clearances. Compare the effect of permitted settings instead of stacking stones, steels and trays arbitrarily. That keeps the relationship between cause and result understandable for the next evening too.
A small observation can guide the next step
If useful, note only a few details after a pizza: recipe and dough weight, position, comparably measured stone temperature, setting, and the condition of base, rim and toppings. This does not need to become an elaborate record. “First pizza good, second paler underneath, no recovery pause” may already be useful. The next change is then an appropriate interval while dough and toppings remain the same. If you simultaneously try a different pizza shape and fuel mode, the results are harder to interpret. Compare similar bakes and retain only information that actually helps you decide what to do before the next launch.
Finally, assess the whole pizza as you normally serve it. A photograph of the top or one record-high thermometer reading tells you little about the base and centre. If a problem persists despite an appropriate recipe and correct assembly, check the measurement method, accessory approval and appliance operation specifically. Address an identifiable fault according to the manufacturer rather than masking it with persistent overheating. A useful cooking routine does not require identical temperature everywhere. It needs distribution suited to your pizza, sufficient floor heat and controlled movement between the available zones. Those observations are generally more useful than simply asking for still more heat.