Choose the pizza that suits the pan
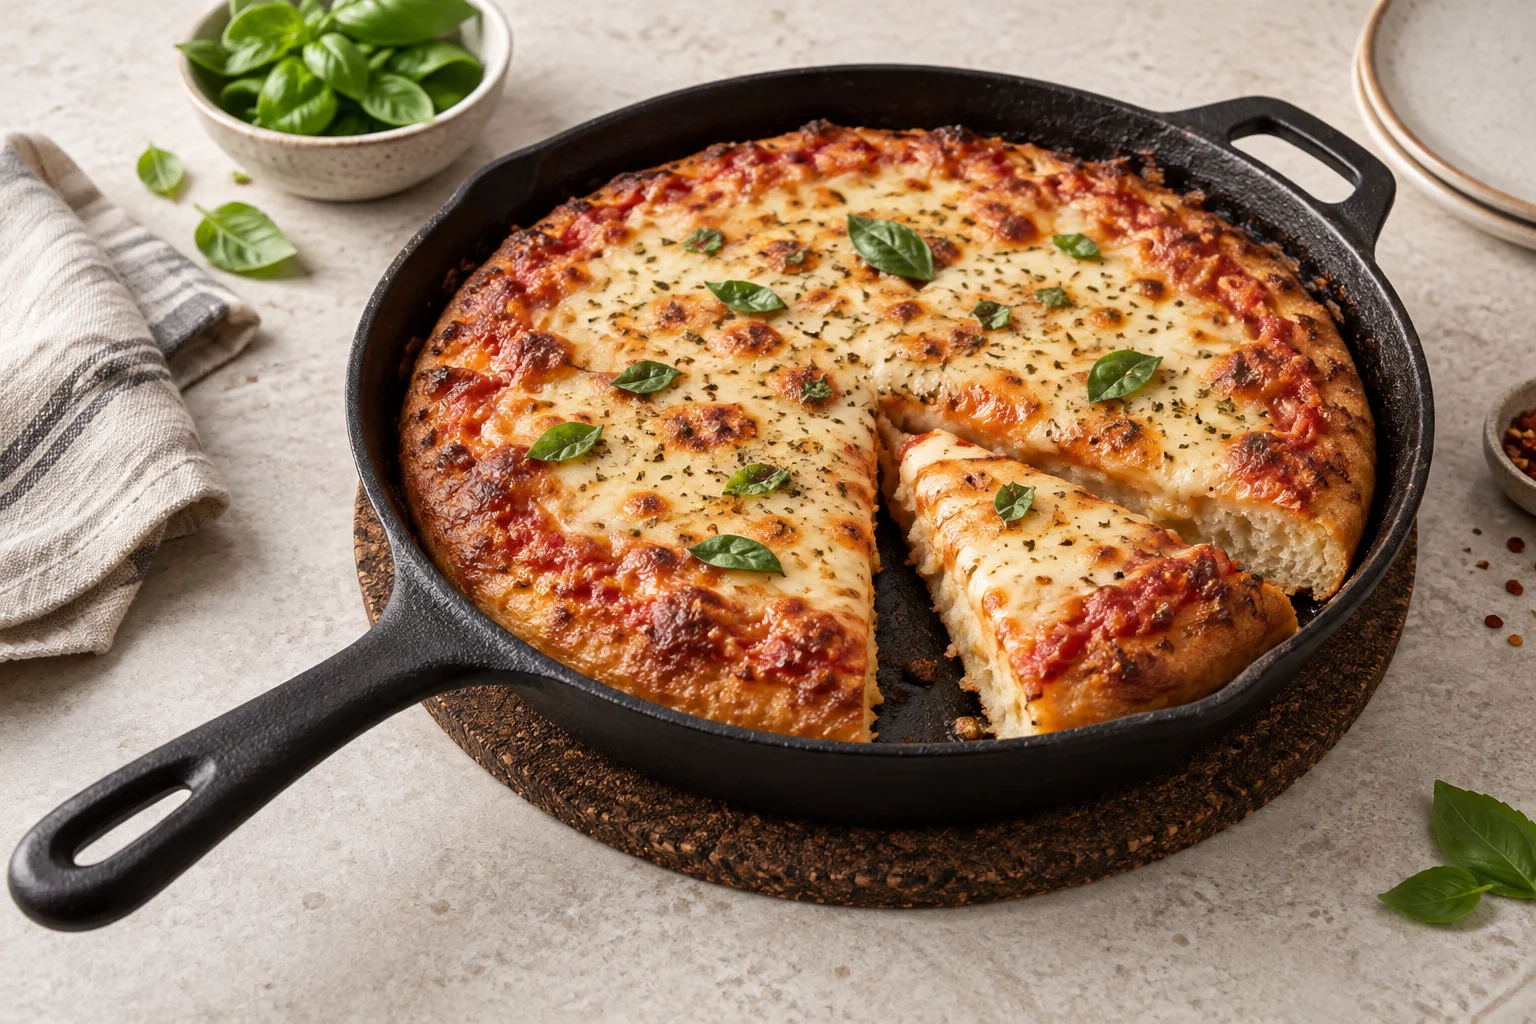
A skillet with sides is useful for a thicker pan pizza. It supports soft dough, holds oil between the base and the metal, and lets cheese form a browned crust around the edge. You do not have to move a topped pizza freely onto a peel. That helps when the dough is soft or several people are choosing toppings together. This pizza has a different structure from a thin base baked briefly on a hot stone. Dough thickness and baking time change together, so the two methods need different planning.
Choose a complete skillet or pan-pizza recipe, such as the dough approach in our Detroit pizza guide. Consider its proofing, pan area, toppings and baking method as well as its dough quantity. A round skillet will not produce a traditional rectangular Detroit pizza, but it can use a related construction with a thicker base. A flat cast iron pizza plate without high sides works more like a baking surface. It does not contain soft dough or escaped toppings in the same way. Decide which of those two approaches you want before preparing the ingredients.
Check the surface and oven approval
Not every black pan has a bare iron surface. Traditional cast iron often has a baked-on oil seasoning, while other pans are enamelled, sometimes with black interiors. Enamel does not need that seasoning and has different care requirements. Check the product description before treating a new pan. For pizza, establish whether the entire product is suitable for the oven. Handles, removable fittings, lids and coatings can have separate limits. A temperature rating for the pan body does not approve every accessory currently attached to it.
Silicone handle sleeves are particularly easy to misunderstand. Some are only for carrying hot cookware and must not stay on in the oven. Other accessories have their own lower oven rating but still do not adequately protect your hands from heat. Use the information for the exact item you own. Remove anything not approved for baking and have suitable dry oven gloves ready. The short helper handle gets hot too. A small specialist pizza oven also needs to permit your chosen skillet. Fitting through its opening is not enough to establish compatibility.
Measure the usable bottom area
Pan sizes often refer to the top rim. Dough thickness depends on the inside area at the bottom, which sloping sides can make considerably smaller. Measure the cold pan's inner base and compare it with the pan in the recipe. For circular bases, the ratio is the square of their diameters. As an original calculation example, a 28 cm base has about 36 percent more area than a 24 cm base. For a similar thickness, multiply every dough ingredient by approximately 1.36.
A hypothetical 360 g of dough for the smaller area would therefore become about 490 g for the larger one. These numbers explain resizing, not a complete recipe or a fixed serving size. Scale the toppings appropriately too, while remembering that baking time does not automatically increase by 36 percent. Check the side height, total weight and oven rack's load capacity. The long handle needs room behind the closed door without touching heating elements. Position the rack while the oven is cold, so you do not have to rearrange a heavy hot skillet later.
Prepare the pan and add the dough
A preseasoned skillet does not need a fresh seasoning cycle before every pizza. Clean and prepare it according to its manufacturer's instructions first. For a method in which the dough proofs in a cold pan, spread the recipe's oil over the bottom and accessible sides. That recipe quantity is different from the very thin protective film applied after cleaning. Use the amount appropriate to your pan area. Dry patches near the edge can encourage cheese to stick, but a large puddle of oil does not replace a properly maintained surface.
Place the proofed dough gently into the prepared cold skillet and spread it evenly with lightly oiled fingertips. If it pulls back, give it the rest specified in the recipe and continue afterwards. Do not stretch so hard that the centre tears while a thick ridge remains around the edge. After spreading, follow the recipe's further proofing stage and keep the dough appropriately covered. The oven can preheat at the same time. For this method, the pan containing the dough remains outside the oven until it goes in to bake.
Keep a cold-pan method separate from a stovetop start
Some recipes heat a cast iron skillet on the hob and begin cooking the pizza base there before transferring the pan to the oven. That is a different method. It needs a suitable hob and pan, along with prompt, safe handling around hot cookware. An instruction to spread dough with your fingers in a cold pan must never be transferred to this hot start. Choose one complete method when planning the meal and follow it, rather than combining the apparently quickest steps from several different recipes.
The surface matters here too. Advice to preheat an empty traditional iron skillet does not automatically apply to enamel. Lodge expressly distinguishes between stovetop and oven preheating for its enamelled cookware. It advises against heating it empty on the hob. Follow the specific instructions for your own pan. Heavy cookware needs time to absorb heat, and a high burner setting can brown one area before the whole bottom is evenly warm. If your chosen method does not include a stovetop start, do not add one spontaneously while a topped pizza is already sitting in the pan.
Manage toppings and the cheese edge
Prepare watery ingredients as the recipe requires before adding them. Well-drained mozzarella and cooked vegetables without their released liquid place less moisture on the base than wet ingredients from several bowls. Raw meat is not an interchangeable quick topping for this approach. If the recipe includes meat, use ingredients that have been cooked through beforehand. When preparing them ahead, cool them promptly and keep them refrigerated. High pan walls invite generous filling, but a very thick topping makes it harder to balance a browned underside with a cooked centre.
For a cheese edge, extend the cheese to the sides if the recipe calls for it. It browns against the pan and needs loosening at the right moment later. Some pan-pizza recipes deliberately place cheese beneath the sauce; this is not a universal layering order for all pizzas. Distribute toppings without creating a tall, wet centre. Keep back fresh herbs or rocket intended for after baking. When children help with toppings, a small premeasured amount is more useful than a large, completely full bowl of cheese that encourages them to keep adding more.
Judge the base and top separately
Use the temperature and oven position in your chosen recipe within all appliance and accessory limits. A thicker skillet pizza does not automatically call for the highest possible heat. Its underside needs to bake while heat travels through the dough towards the toppings. At the recipe's first checking point, assess the edge's colour and firmness, and inspect the underside with a suitable spatula. Browned cheese alone does not prove that the base is ready. A dark outer edge also says little about an unusually thick patch in the centre.
If the underside is already very dark while the top needs more heat, simply leaving it in the same position unchecked is unlikely to help. Change shelf position only as the oven, pan and recipe safely allow. A grill or broiler setting requires compatibility and close attention; it is not a universal rescue step. For the next pizza, change one cause deliberately, such as shelf height, dough thickness or topping moisture. Record the actual bottom area too. Otherwise, you may compare a small, deep pizza with a larger, thinner one and attribute the difference entirely to the cookware.
Remove, release and cut the pizza
Before taking out the skillet, prepare a sufficiently strong heatproof resting place and a clear cutting area. Use suitable dry gloves at both intended grip points when the pan's weight requires it. The handle stays hot outside the oven and should not project into a route where people walk. Tell anyone helping where you have put the hot cookware. A decorative napkin is not an adequate support for heavy hot iron. Position the pan so you then have both hands available to release the pizza carefully.
Loosen the edge with a tool suited to the surface before the cheese crust sticks firmly. Avoid scratching enamel with metal edges. Once the base can support itself, carefully lift or slide the pizza onto a board or briefly onto a suitable rack. Leaving it in the skillet for a long time can soften the base through trapped moisture. Cut outside the pan where possible, so forceful cutting does not damage its surface. Allow the hot topping some time before eating. A crisp crust does not mean that the cheese is already comfortable to bite into.
Clean it according to the surface
Before washing, allow the pan to cool as its instructions require, and avoid a rush of cold water onto hot iron. For traditional seasoned Lodge cast iron, hand washing with water and a little washing-up liquid is allowed. A blanket ban on soap is incorrect for that product. Long soaking and a dishwasher do not fit this care routine. Remove residue with a suitable brush or scraper and dry the whole skillet promptly and thoroughly, including its underside and handle joints. Check other products' own instructions rather than extending one manufacturer's rule to every pan.
Bare iron receives the specified thin oil film as needed and is stored dry, without trapped moisture. A thick, sticky layer is not particularly good rust protection. Enamel is not reseasoned like bare iron; a black enamel surface is still enamel. Chips and genuine cracks differ from ordinary discolouration and need resolving before further use. Store the heavy skillet securely so it cannot tip. For your next pizza night, the useful things to keep are the measured base size, a suitable recipe and its established sequence, rather than an ever-growing list of additional accessories.