First establish when the base becomes soft
Look at the pizza as it comes out of the oven, then again shortly after cutting it. If the underside is already pale and soft in the oven, the combination of heat transfer and baking time is usually worth checking first. If it comes out dry and browned but turns floppy on the board, trapped steam plays a larger role. A wet centre beneath the topping calls for a closer look at sauce, cheese and vegetables. Making this distinction helps you avoid changing the dough when the main problem lies elsewhere.
Lift an edge with a suitable peel or spatula and inspect more than one area. A few black specks of flour do not prove that the base is properly baked; the dough between them may still be very pale. After baking, cut through the middle as well. A continuous, sticky-looking layer immediately beneath the sauce is different from a soft but fully baked base. Record whether the centre, the entire underside or only the pizza after cooling is affected. That observation points towards the most useful first adjustment.
A pale underside needs effective heat from below
A hot oven cavity and a hot baking surface are not the same thing. A stone or steel absorbs heat during preheating and transfers it to the dough on contact. If you load the pizza too early, its topping can cook strongly while the base lags behind. Heat the baking surface thoroughly according to its manufacturer's instructions. A thick slab takes longer to heat through than the air around it. The oven's temperature signal alone does not tell you how much heat the material has stored.
Many home-oven methods allow roughly 45 to 60 minutes for the full preheat, sometimes longer. This is guidance for suitable stones or steels rather than a universal appliance setting. Consider the material, thickness, rack position and permitted temperature. An infrared thermometer can compare surfaces, but its settings must suit the surface's measurement properties; shiny metal can give misleading readings when measured incorrectly. Also observe the first pizza. If its underside bakes well but later pizzas become paler, recovery between batches deserves attention before you change the initial preheat.
Reduce topping moisture at its source
A thin centre can carry only a limited quantity of sauce and moist cheese. Spread the tomato base without leaving puddles. If you repeatedly find a wet layer beneath the cheese, weigh the sauce next time and reduce it slightly while keeping the diameter the same. For a thinner pizza around 28 to 30 cm, using 60 g instead of a previous 90 g can provide a clear comparison. This is an adjustment to your existing method, not a universal topping limit for every style of pizza.
Drain mozzarella packed in brine thoroughly and cut it early enough for more liquid to escape. Mushrooms, courgettes, spinach and other watery ingredients release additional moisture as they cook. Larger quantities can be cooked appropriately beforehand, then cooled and drained. Small, thin amounts behave differently from a thick, continuous vegetable layer. Start with the ingredient that appears wettest. If you halve the sauce, cheese and every other topping at once, it becomes harder to identify which change helped the centre of the pizza.
Account for trays, pans and intervening layers
A thin metal tray behaves differently from a substantial steel or stone. Good pizza is still possible, but the baking time, dough thickness and rack position need to suit that setup. A tray pizza may need longer than a very thin base placed directly on a strongly preheated surface. When using a pan, inspect the underside and the middle as well as the edges. Dark borders alone do not establish that the centre is baked. Only lift the pizza out for inspection once the base is stable enough to support itself.
Every additional layer between dough and baking surface changes their contact. Use parchment within its temperature rating and according to the instructions for your baking surface. Do not stack several sheets as an assumed protective measure. A silicone mat is also not an interchangeable substitute when a method calls for baking directly on hot steel. If a permitted paper transfer aid can be removed once the base has set, use appropriate tools and avoid touching the hot slab. The handling method must suit your particular equipment and arrangement.
Allow recovery time between pizzas
Each pizza takes heat from the surface beneath it. During a series, the first may bake well while the third remains noticeably paler underneath, even though the temperature setting has not changed. Give the surface time to regain heat between pizzas. A few minutes can make a difference, although the right interval depends on the oven and the heat stored in the material. Use that time to prepare the next portion. Keep the oven door closed where possible instead of leaving it open while you add toppings.
Avoid topping every raw base far in advance on separate peels. Sauce can soak into the dough while it waits, and the base becomes more likely to stick. Prepare the ingredients and dough portions, then open and top each pizza for the next available baking slot. At a pizza evening, a steady sequence is more useful than maximum speed. Note which pizza in the series became soft. If the problem appears only after several rounds, there is no automatic reason to add more flour to the whole next batch of dough.
Match dough thickness and proof to the style
A thick base needs enough time for its centre to bake. With strong heat from above, the topping may darken first. Consider dough-ball weight and diameter together. If a portion normally opened to 30 cm reaches only 24 cm, substantially more dough sits in each unit of area. That base is not inherently wrong, but it requires different baking conditions. At the other extreme, a very thin, fragile middle can become wet beneath a moist topping while the rim is already well baked.
A calculation makes the difference clearer: 250 g of dough spread over 24 cm gives roughly 56 percent more dough per unit of area than the same weight spread over 30 cm. For a similar average thickness at 24 cm, the calculated weight would be only 160 g, since 250 × 24² ÷ 30² equals 160. The rim and hand shaping make this an approximation. It still explains why reducing the diameter without changing the weight should not imply an unchanged baking time.
Dense dough that has barely fermented can also give a more compact result. Assess its increase in volume and relaxation before blaming the water quantity alone. Water contributes to dough structure and does not become unnecessary because you want a crisp base. A large, arbitrary reduction can make shaping difficult and produce a dry, hard rim. If your recipe generally works, first adjust the baking surface, topping or portioning according to the visible problem. A different formula becomes useful when you actually want a different pizza style.
Balance heat above and below the pizza
If the cheese darkens before the base is baked, simply increasing the heat from above is unlikely to help. Consider a lower rack position, more thorough preheating or a stone or steel suitable for your oven. A grill or broiler can colour the surface very quickly, but it does not replace adequate heat underneath. Use it according to the appliance instructions, with suitable clearance and close observation. Paper, pans and other accessories must also suit that mode; a rating for ordinary baking does not automatically cover every grill or broiler application.
If the underside is already very dark while the centre remains wet, more contact heat alone has limited value. An overly thick middle, excessive topping moisture or an unsuitable temperature pattern may be responsible. In a dedicated pizza oven, flame level, stone temperature and turning intervals depend on the appliance and style. Do not transfer a baking time measured in seconds to a domestic oven. Equally, a soft, foldable pizza baked very briefly at high heat does not need the same dry bite as a thin pizza baked for longer.
Let steam escape after baking
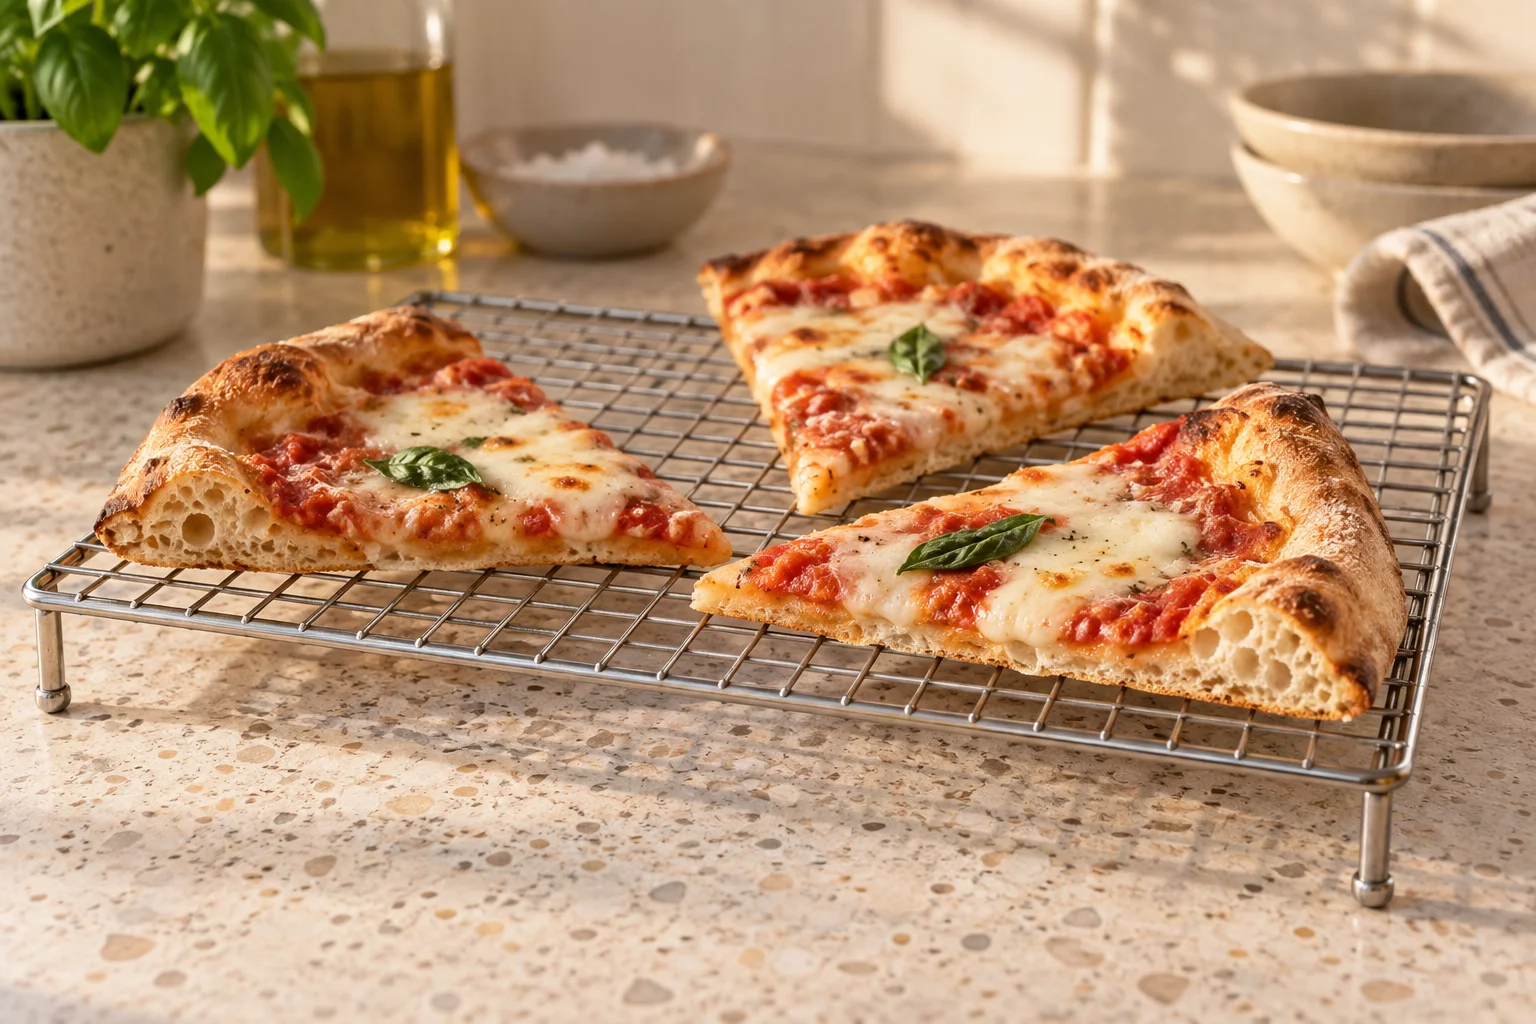
Place the finished pizza briefly on a suitable wire rack so air can reach its underside. Around a minute can help before you transfer it to a board, cut and serve it. Steam collects more readily beneath a hot base on a closed surface. For a tray pizza, lifting it out of its pan promptly can therefore be useful once it is firm enough. Take care around hot metal edges and use appropriate utensils. The rack should stand securely and provide adequate support for the pizza.
A closed delivery box retains warmth but also collects moisture. Not every pizza will remain as crisp during a longer journey as it was beside the oven. Judge a delivered pizza with that difference in mind. At home, an appropriate reheating method can make individual slices a little drier again. For the first serving, the short route from oven to table is especially useful. Avoid stacking hot pizzas on top of each other if you want to keep their undersides as dry as possible.
Improve the next pizza with one targeted change
If the current base remains pale and insufficiently baked, give it more suitable oven time while watching the topping. An already heavily browned surface limits how much correction is still possible. Do not try to dry a wet centre by adding large amounts of fresh flour to the finished pizza. If it is fully baked and only softens while waiting, use a rack and serve sooner. The immediate decision depends on whether the dough still needs cooking or whether a dry surface is simply being lost afterwards.
For the next round, a few notes are enough: dough-ball weight, diameter, sauce and cheese weights, preheat duration, baking surface, baking time and position within the batch. Add when the base became soft. Choose one major adjustment, such as less liquid in the sauce or more recovery time for the slab, and compare under otherwise similar conditions. This builds a method suited to your oven without recalculating every ingredient on each occasion. Crispness depends on those steps working together and cannot be assigned to a single ingredient.