Separate slow development from a failed dough
When pizza dough has barely risen, start with its history. Cold dough can develop slowly even while the yeast remains active. A formula containing very little yeast is designed to take longer than a quick same-evening dough. Limited visible expansion therefore does not immediately mean something has failed. Read the complete formula and compare its yeast quantity, temperature and proofing schedule with what actually happened. A time figure on its own is not enough to assess readiness without those surrounding conditions.
Next, look for small changes. Are fine bubbles visible along the container wall? Has the surface become slightly domed? Does the dough feel lighter than it did immediately after kneading? These signs suggest development even before a large increase in size. If it remains entirely unchanged beyond the expected window under suitable conditions, examine the ingredients and yeast addition more closely. Observation and known preparation history belong together. There is no need to immediately re-knead every slow portion or add extra yeast to it.
Assess volume in a suitable container
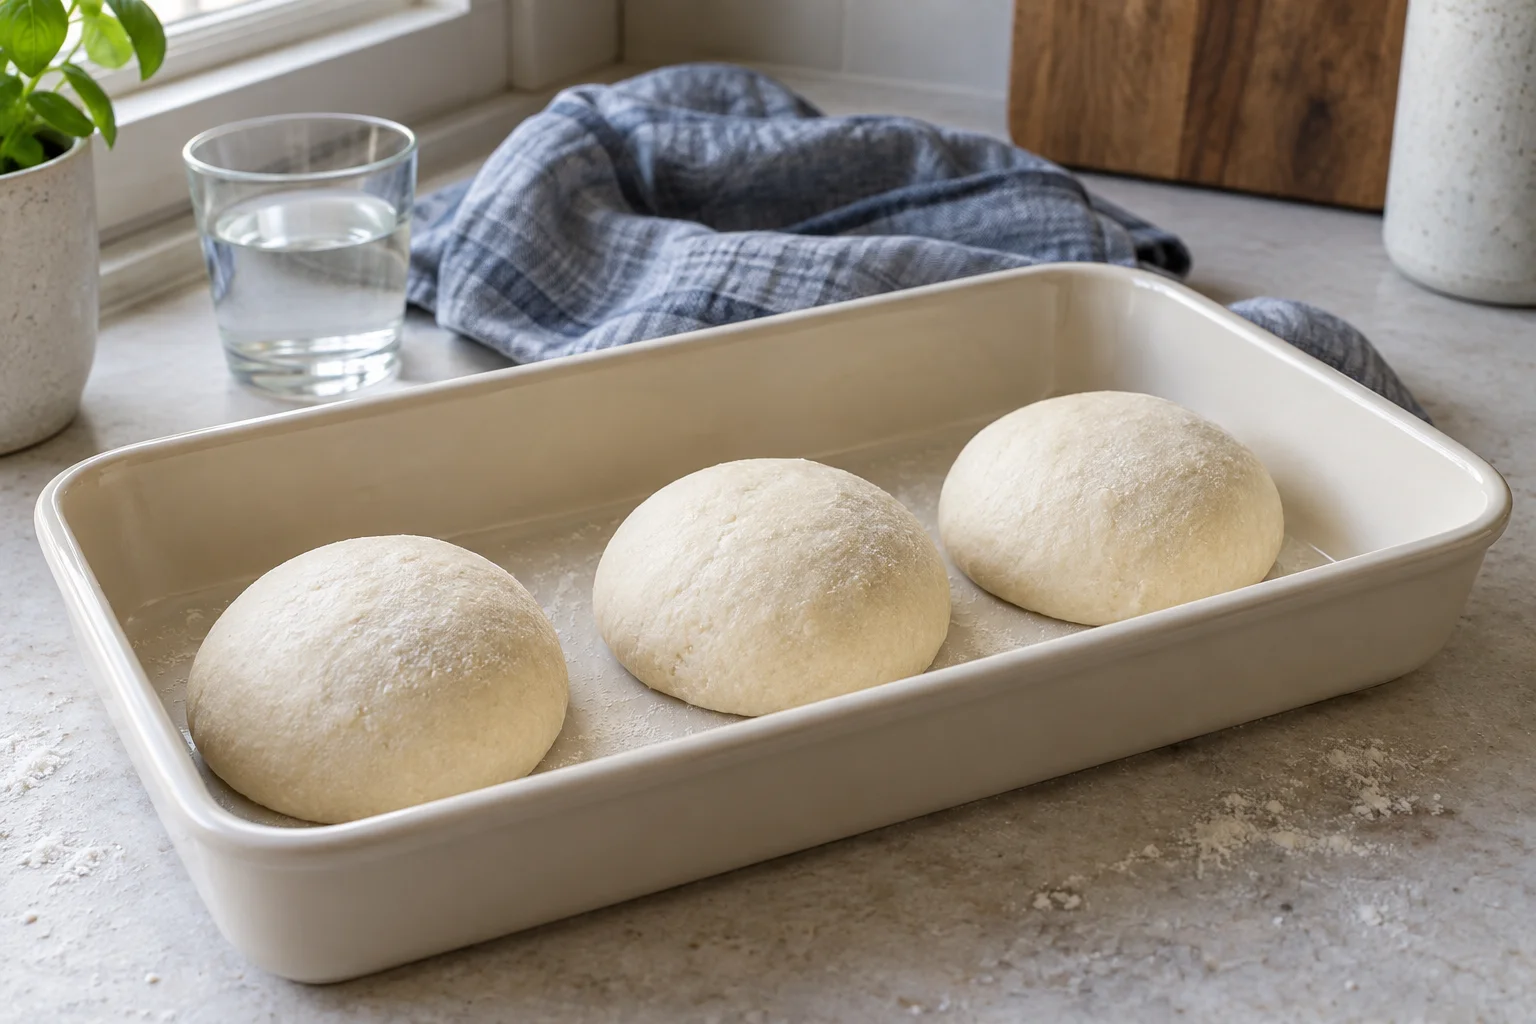
Dough spreads sideways in a wide, shallow bowl, making growth less obvious than in a narrower, straight-sided container. Mark the starting height outside the container next time or take a photograph. Leave enough space for expansion and keep the dough covered. The mark is a comparison point rather than a requirement to double. Some pizza methods aim for a different increase or divide early into balls that mainly spread outwards during their final proof.
A small dough sample in a glass can provide clues, but it does not always follow the same temperature pattern as the large mass beside it. It cools and warms more quickly, especially when the main dough is refrigerated. Treat its height as additional information. Folding or portioning also changes the visible shape: a freshly rounded ball initially looks more compact although fermentation continues. Do not directly compare the height of a flat mass before dividing with that of a tightened ball afterwards.
Measure temperature before adding more warmth
Dough mixed from cold water, cool flour and a cold bowl starts differently from the same ingredients at warmer temperatures. If uncertain, use a suitable clean probe thermometer inside the dough. The surface can feel warm while the centre of a larger mass remains cool. Record the room temperature too. A cold dough will not warm quickly in an equally cold room. The warm proof in the recipe is effectively taking place under different conditions if your batch remains significantly cooler.
Move a simple yeasted pizza dough to a moderately warm, draught-free place that suits the recipe. A kitchen around 22 to 24°C can work for many such schedules, but it is not a compulsory temperature for every formula. A hot radiator, very warm water bath or uncontrolled oven light can overheat particular areas. If using a proofing mode, check its actual temperature and the appliance instructions. Extra warmth is not endlessly beneficial and cannot replace missing yeast or correct a fundamentally mistaken ingredient mixture.
Give extra time a useful observation window
If the dough shows activity and is simply cooler than planned, extra time may be the appropriate adjustment. Keep it covered in a suitable place and check at manageable intervals. For an originally short warm rise, looking again after thirty minutes can be useful. This is a checkpoint rather than a promise that the dough will be ready by then. Reassess volume, small bubbles and aeration. A very low-yeast dough or a large mass that is still cold may need considerably longer.
Leave the dough reasonably undisturbed meanwhile. Repeated kneading, dividing and re-balling expel gas and change the comparison. If you form a new ball every twenty minutes, judging expansion becomes difficult. Adjust the meal schedule as well: more fermentation may mean the first pizza reaches the table later. An already topped base or a dough containing ingredients with particular storage requirements cannot simply be given the same extra warm period as a plain mixture of flour, water, salt and yeast.
Check yeast type, packaging and the actual amount used
Confirm that the yeast matches the recipe. Fresh yeast, instant yeast and active dry yeast require different quantities or preparation depending on the product. Two grams of fresh yeast does not mean the same thing as two grams of instant yeast. Likewise, the words dry yeast do not automatically mean every product must first be dissolved in water. Read the packet alongside the specific recipe instructions. For very small quantities, consider whether your scales can measure reliably within the required range.
Take account of yeast storage and how long an opened packet has been kept. A date alone proves neither activity nor failure. To check yeast before a new batch, follow the manufacturer's instructions for that particular product. A foam test for active dry yeast is not automatically the correct treatment for every instant yeast. If the tested mixture will enter the dough, its liquid counts towards the total water quantity. A successful test with a different fresh packet does not retrospectively establish the condition of the original batch.
Trace overheated water and quantity errors
Think back to mixing. Pouring very hot water directly over yeast may have damaged it. The appropriate liquid temperature depends on whether yeast meets the water directly or is first mixed into dry flour. Manufacturer instructions for one mixing method cannot be transferred indiscriminately to another. Use a thermometer when the temperature is uncertain. People interpret lukewarm differently, so a measured value provides a more useful basis for repeatable preparation than relying only on how the water feels to a hand.
Next, check whether every prepared ingredient actually reached the bowl. A small dish of measured yeast can remain on the counter. Salt can also be overmeasured through an unnoticed change of scale units or a misplaced decimal point. For example, 12 g salt against 500 g flour equals 2.4 percent. Using 120 g instead gives 24 percent and a fundamentally different, heavily oversalted mixture. Waiting longer is not a sensible correction for that situation. Calculate a suspected quantity error before adding yet more ingredients.
Tight dough does not always need more fermentation
A ball may spring back strongly during opening even though it has already produced enough gas. Fresh tension is particularly common just after rounding. Cover a visibly aerated but tight ball and let it relax for roughly ten to fifteen minutes, then reassess; it may need longer. That short rest addresses handling. It does not automatically bring a dense, barely developed dough to full maturity. Distinguish a lack of aeration from the resistance of a portion that has just been shaped again.
Too much flour worked in during handling can also make the dough feel firm. A dry skin or thick flour coating is not a helpful substitute for rest. Dust only enough to release the dough and keep the remaining portions covered. A cold ball may combine low temperature with shaping tension. Allow time for both conditions to change rather than trying to force it into a thin base through strong pulling. An existing tear will not disappear because you stretch the rest of the dough harder.
Consider gas production and structural strength separately
If many small bubbles are present but the dough spreads flat and tears easily, a lack of yeast activity may not be the issue. Its structure could be underdeveloped or already weakened, while flour choice and hydration also affect behaviour. More warm hours are not automatically the right response. Consider the changes since mixing and compare them with the consistency expected from the recipe. A visible gain in height requires the dough to hold enough of its gas and the container to make that gain apparent.
Start by examining one portion. A young, insufficiently developed dough needs a different response from a long-fermented batch that expanded significantly before collapsing. Vigorous late kneading can reduce the aeration already achieved and change the remaining schedule. If you are unsure of the condition, a smaller, supported tray pizza may be easier to handle than a large thin base forced into shape. It does not guarantee an airy result. When the structure has clearly weakened, also consult the guidance on overproofed pizza dough.
Choose a clear response when development remains absent
If yeast was evidently forgotten or is known to be unsuitable, manufacturers describe specific methods for incorporating a fresh yeast mixture afterwards. Those methods also change the water quantity, sometimes the flour quantity, and the whole proofing schedule. Do not treat an arbitrary extra packet as a universal addition to an unknown dough. For a small household batch, starting with a newly calculated formula may be simpler. Decide using the quantity available and a complete appropriate method instead of stacking several improvised corrections. Replan the baking time afterwards.
If you bake the existing plain dough without further aeration, expect a denser, flatter result and choose a suitably thin shape. Bake it fully through. The oven can expand existing gases and set the dough, but it cannot replace an unlimited amount of missing fermentation. Do not taste raw dough to judge suitability. Unknown storage history, mould or other clear spoilage signs make a technical rescue inappropriate. Those situations belong in a different category from fermentation that is merely progressing slowly.
Plan the next batch with a few useful details
A helpful note needs only the flour and water quantities, yeast type and amount, salt and temperature after kneading. Add the times for starting the rise, dividing and baking. Record whether refrigeration happened in one mass or after balling. This lets you recognise similar conditions in the next batch. The instruction to rest for two hours means considerably less without that context than a short but complete schedule connected to the visible condition of the dough.
For a fixed mealtime, choose a recipe with a suitable window and begin checking early enough. Prepare the oven and toppings while the portions approach their final proof. If a dough consistently develops slowly, adjust temperature, yeast quantity or starting time according to the known problem. Several simultaneous changes make comparison harder. This approach turns the question of why the dough still looks small into a practical decision: continue observing, allow a warmer and longer proof, let shaping tension relax or plan a mistaken batch again.