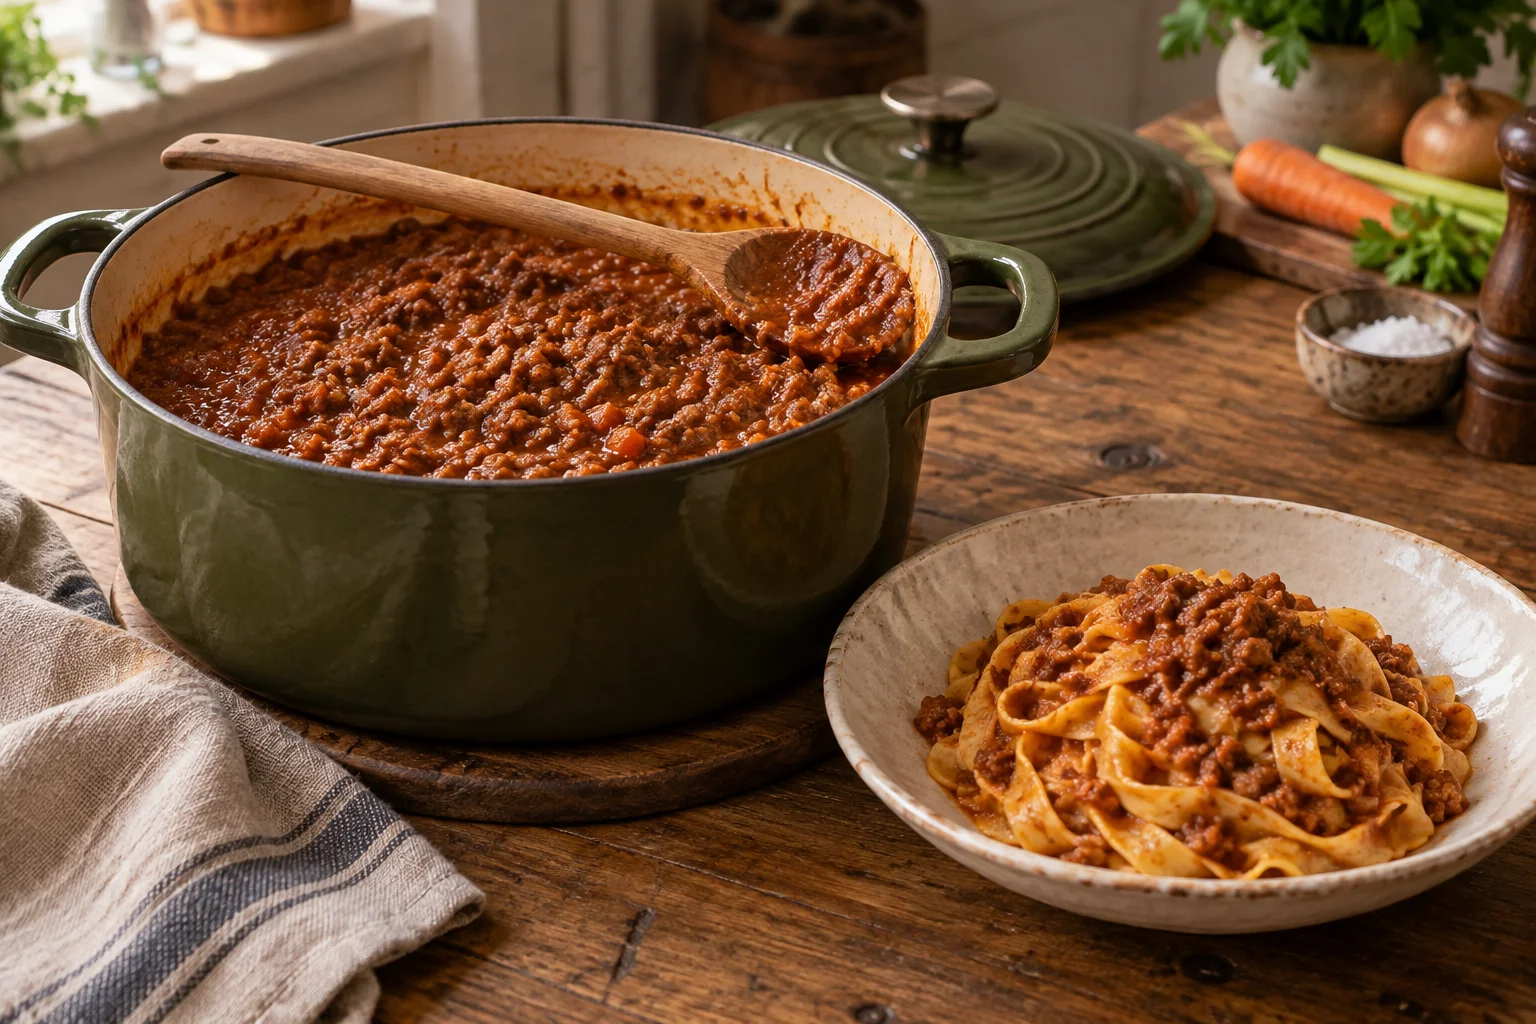
What gives ragù Bolognese its character
Meat is the main ingredient in ragù Bolognese. Onion, carrot and celery provide the vegetable base, while pancetta contributes fat and seasoning. Tomato brings the mixture together without necessarily turning it into a large volume of red tomato sauce. The finished texture should be juicy and cohesive. When you draw a spoon through the pot, meat and sauce should move together, rather than leaving dry crumbs behind as watery liquid runs away. Appropriate heat, enough time and small corrections to the liquid during cooking help you reach that point.
A revised reference recipe was deposited in Bologna in 2023. It provides a guide to the regional style, while also acknowledging different family versions. The batch below uses its own quantities and is not an exact reproduction of that deposited recipe. You do not need to add every herb in the cupboard or keep increasing the tomato to develop flavour. Start with a manageable selection of ingredients and learn how the mixture behaves. Wide egg pasta such as tagliatelle works particularly well for serving. Ragù can also go into lasagne, where you need to coordinate its moisture with the béchamel and the type of pasta sheets.
Ingredients for a manageable batch
For around four generous pasta portions, prepare 400 g coarsely minced beef, 100 g unsmoked pancetta, 60 g each of peeled or trimmed onion, carrot and celery, 300 g passata and 15 g tomato purée. You also need 125 ml dry red or white wine, 250 ml hot mild stock for the start of simmering, one tablespoon of olive oil, salt and pepper. Keep another 150 ml hot stock in reserve. Depending on the pot and evaporation, you may use a little, all of it or need some more. An optional 100 ml whole milk can be added later.
The reserve is not an instruction to pour all the liquid into the pot immediately. The mixture needs to stay moist through a long cooking period without boiling like soup. Pancetta and stock may already contain salt, so leave the final seasoning until the end. For a version without wine, replace those 125 ml with mild stock and expect a different flavour. Allow roughly three hours overall, or longer if you extend the simmer. Much of that time involves gentle cooking, but the pot still needs regular attention and should not be left unattended.
Prepare the vegetables and working area
Cut the onion, carrot and celery into small, fairly even pieces. Fine dice will distribute between the meat and soften during simmering. Large chunks of carrot are more likely to remain noticeable as separate firm pieces. Finely chop the pancetta too, removing any tough rind before weighing it. Have the passata, tomato purée and measured wine ready. A heavy pot around 24 to 26 centimetres across, with a suitable lid, is manageable for this batch. It needs enough base area for browning and enough depth to stir the sauce later.
Keep raw mince refrigerated until shortly before browning. Follow its stated storage temperature and use-by date; packaged mince may require a temperature no higher than 2°C. An ordinary refrigerator set warmer than that does not automatically meet the requirement. If you cannot maintain those storage conditions, plan to cook it on the day of purchase. Keep tools and surfaces used for raw meat separate from finished food and clean them thoroughly afterwards. There is no need to wash minced meat. Preparing all the vegetables first also prevents interruptions once the cooking begins.
Render the pancetta and soften the vegetables
Warm the olive oil in the pot over medium heat and add the pancetta. Separate the pieces as you stir and let the fat render gradually. After a few minutes, the fat will look more translucent and the pieces will begin to colour lightly. You are not trying to make hard, deeply browned bacon bits. Add the finely cut vegetables and reduce the heat if they sizzle fiercely. Cook for around eight to ten minutes, stirring regularly, until softened. The onion should become translucent without burning dark. The precise timing depends on the size of the pieces and your hob.
Transfer the cooked pancetta and vegetables temporarily to a clean bowl. Leave the rendered fat in the pot as far as you can separate it during the transfer. Cooking the components separately gives the beef more room to brown and protects the softened vegetables from excessive heat. You do not need to wash the pot between these stages. However, remove any burnt black residue if something has gone wrong, rather than incorporating it into the sauce. The vegetable mixture goes back in as soon as the meat is browned; it is not being prepared to stand uncovered for hours.
Brown the beef in two batches
Increase the heat to a fairly strong browning setting suitable for your pot and add half the minced beef. Spread it across the base and allow brief contact with the hot surface before breaking it up with a spoon. Turn and separate it until larger pieces become smaller crumbs and brown patches develop. Remove that first batch and repeat with the second. Every individual crumb does not have to turn dark brown. What matters is giving released moisture enough opportunity to evaporate so that the meat can actually fry rather than sit in liquid.
If a pool of water appears immediately, the pot may be too crowded or the heat too low. Avoid stirring constantly in a grey puddle while already adding wine. Let the moisture evaporate over controlled heat and create more space if necessary. The base must not turn black. Once both batches are browned, return them together with the vegetables and pancetta. Brown colour alone does not prove that the meat has cooked thoroughly and safely; the full simmering stage that follows is part of the method. Do not taste the mixture while the mince is raw or only partly cooked.
Add the wine, tomato purée and passata
Pour the measured 125 ml wine into the meat mixture and use the spoon to loosen the brown cooking residue from the base. Let the liquid reduce uncovered for a few minutes until noticeably diminished. There should no longer be a substantial puddle of wine between the meat crumbs. A weaker wine smell is a useful cooking observation, but it does not prove that all the alcohol has disappeared. If you are cooking without wine, add the planned stock at this point instead. Flambéing is unnecessary. Pour the liquid carefully from a measured container rather than handling a large bottle over the hot hob.
Stir in the tomato purée and cook it with the mixture for around a minute without letting it catch and darken. Add the passata and the initial 250 ml hot stock. Stir right down to the base so the meat, vegetables and liquid combine evenly. Bring the mixture to a gentle simmer, then reduce the heat. The larger addition of liquid belongs at this stage. Adding passata and stock to raw mince before browning would create a different method in which the meat cooks in liquid. Browning and simmering have separate purposes and need a clear place in the sequence.
Simmer gently and watch the moisture
Set the lid slightly ajar and simmer the ragù very gently for around two hours. Small bubbles should rise intermittently; a vigorous, splattering boil is unnecessary. Stir approximately every 15 to 20 minutes, checking the entire base as you do so. Towards the end, when the sauce becomes thicker, check more frequently. Add hot stock from the reserve in small amounts whenever the mixture is drying out or beginning to catch. Two or three tablespoons at a time are easier to judge than a large ladleful added without checking what the sauce needs.
After roughly two hours, the vegetables should be soft and the meat juicy within a cohesive sauce. If you want a softer texture, or the mixture has not yet reached it, continue simmering, potentially for around three hours in total. Time alone does not determine the result. A wide pot with its lid well open loses more liquid than a narrow pot with an almost closed lid. Record the texture you observe rather than treating one finishing minute as universal. If the sauce remains watery, open the lid further and reduce it with more frequent stirring instead of simply turning the heat up sharply.
Adjust milk, seasoning and the final texture
If using the optional whole milk, stir in the 100 ml after approximately the first hour of simmering. Allow it to blend into the sauce and the additional liquid to reduce during the remaining cooking time. It does not turn this batch into a cream sauce. If you omit the milk, simply leave it out; there is no need to replace those 100 ml automatically with stock. Add further liquid according to the condition of the mixture. Milk is an optional variation, not a remedy for burnt ingredients. Remember its presence when serving guests who avoid or cannot tolerate dairy.
Season the thoroughly cooked ragù with salt and pepper towards the end. It should be easy to spoon and distribute between strands of pasta. If a large amount of liquid fat collects on top, carefully spoon off some excess. There is no need to remove every trace of sheen, since some fat contributes to the texture. A watery sauce needs controlled reduction; a dry one needs a little hot liquid. This method does not call for flour as a thickener. If the sauce tastes very acidic, first check whether it has cooked sufficiently and is properly seasoned rather than automatically stirring in plenty of sugar. Small adjustments are easier to assess.
Combine with pasta or use in lasagne
Cook your chosen pasta once the ragù is ready to serve. That prevents drained noodles from sitting around while the sauce still needs another half hour. For four main portions, 400 g dried tagliatelle is one starting point; adjust for appetite, accompaniments and the packet guidance. Fresh egg pasta contains a different amount of water and is not simply interchangeable gram for gram. Put some hot sauce into a wide pan, lift in the cooked pasta and combine gently. Add a little pasta cooking water if needed to help the sauce move smoothly between the strands.
Begin with a suitable amount of sauce and offer extra ragù separately rather than burying the pasta under the whole potful. You can store the remainder on its own. For lasagne, weigh out the quantity of finished sauce required by your chosen recipe. The raw beef weight or initial passata amount does not tell you the final yield after simmering. Its texture must also suit the sheets: dry pasta absorbs moisture from the sauces, whereas already cooked sheets need less additional absorption. Coordinate the ragù with the béchamel and planned layers instead of using a very dry sauce unchanged in every situation.
Cool portions and reheat stored ragù
Divide leftover ragù into smaller, shallower containers so it can cool quickly, and refrigerate promptly. Do not leave the large cooking pot on the hob overnight. Keep the portions covered in a refrigerator at no more than 7°C, preferably below 5°C. Plan to use refrigerated portions soon: Germany's BfR recommends consuming or freezing cooked meals within two to three days. That guidance is not a guarantee regardless of ingredients, hygiene or the cooling history. Cool portions intended for freezing promptly first, then pack them in suitable freezer containers labelled with their contents and date.
Thaw frozen ragù in the refrigerator and reheat it in a saucepan, stirring throughout. It should reach at least 70°C for two minutes in every part; a food thermometer helps if you are unsure. A small splash of water or mild stock can prevent the sauce becoming too dry as it heats. Reheat only the portion you need and keep the remaining supply refrigerated. For your next batch, useful notes include the meat quantity, pot size, stock actually used and finished yield. Those observations help you plan larger quantities without merely doubling the meat on an already crowded browning surface.